Data Rescue 4 Support
Guides
How To Change Temporary Storage Location
How To Recover From A Secondary Hard Drive
Frequently Asked Questions
Please see the full comprehensive list and information in the User Guide (PDF).
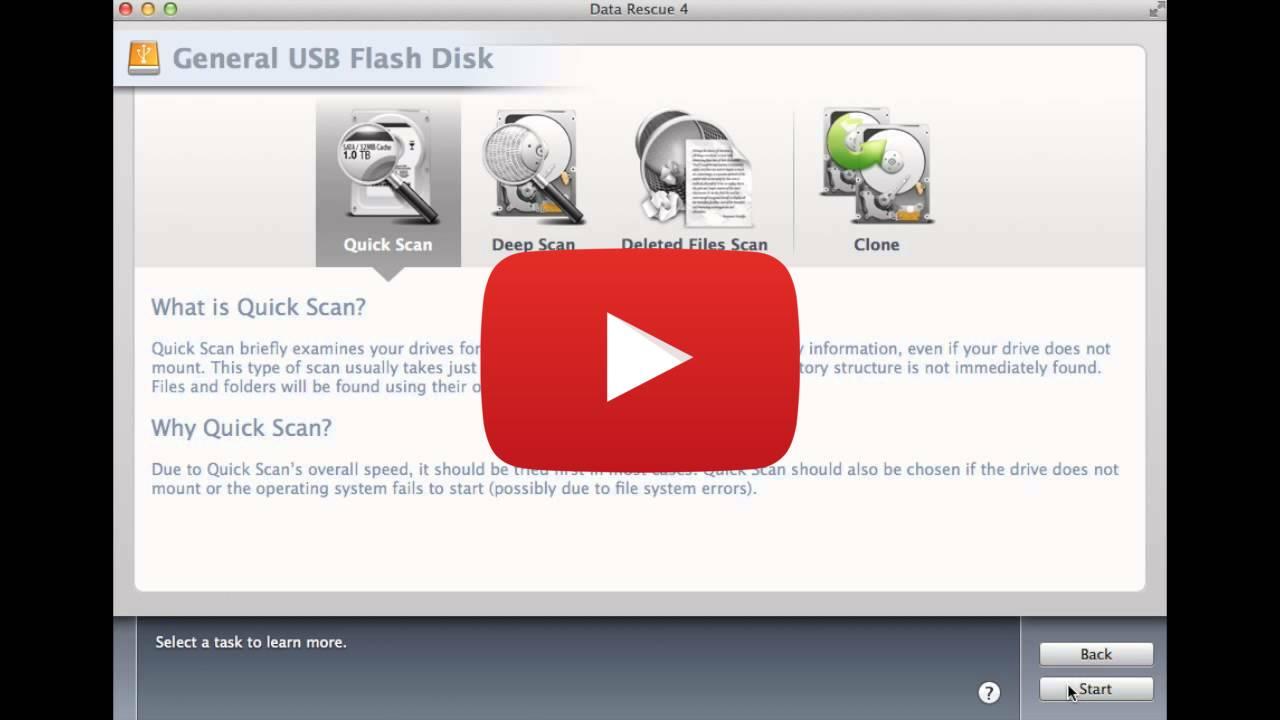
The possibility of recovering data with it’s original file name and folder structure depends on the specific recovery scenario. If you are attempting to recover from a drive that is failing to mount and cannot be accessed through OS X, or from a system that will not boot, it is possible to recover folder/file structure since the data is still fully intact in most cases. This data will be found in the ‘Found Files’ folder in the results a Quick or Deep Scan. If you are attempting to recover files that were deleted or files from a formatted hard drive, generally the filename and folder structure are not going to be recoverable. The reason for this is because when files are deleted, the link between the raw data on the hard drive and the filesystem is broken. This is because the metadata for the file, which includes filename, folder location and other information about the data, is lost. When files are deleted, their location on the hard drive is marked as available free space and until that location is overwritten with new files, the raw data may be recoverable. This data can be found in the ‘Reconstructed Files’ folder in the results of a Deleted Files or Deep Scan.
Error 1 - Issue with the BootWell Drive Solution - Try again with a higher speed flash drive or erase drive in Disk Utility and redo Create BootWell drive within Data Rescue 4. Error 3 - Issue with source drive Solution - Try to prepare on a working Mac. Error 4 - Drive is disconnecting or unable to be accessed (possibly from being too slow)(either internal drive or BootWell drive). Solution - Try again, possibly need a faster high speed flash drive or prepare on a working Mac. Error 6 - No recovery partition, having trouble accessing recovery partition. Solution - Try to prepare on a Mac with a recovery partition. Error 8 - Unable to access main internal drive. Solution - Try to prepare on a working Mac, error can be caused by internal drive failure. Error 11 - Log files cannot be created. Solution - Try again, possibly need a faster/higher speed flash drive.
We do not offer any refunds for our products. We have a free demo made available on our website. This demo will enable you to scan for your missing files and also offers a preview mode after the scan, and if the demo works, so will the full version. Our terms of sales states that once we send out the serial number, we can not offer a refund as the serial number license was sent out and there is no definitive way to retrieve or cancel that. Please see the Terms of Sale.
No, it will not. You will need to purchase Data Rescue 4 in order to have full capability of the product.
If you have attached a drive with a damaged volume since you started Data Rescue, Data Rescue may not automatically notice it. Try the Expert - Refresh Volume List menu item. To access the Expert menu on the toolbar, you'll need to enable the Expert Features in Preferences. If the volume you are looking for still does not appear, it may be because Data Rescue is unable to find the correct name for it, in which case it may show some other name such as unknown for the volume name. Or it may be that Data Rescue can see the device, but is not able to recognize a volume structure on the device. If that is the case, you will need to choose the device name for scanning rather than the volume. Finally, it could be possible that your drive is malfunctioning to the point where your computer is not able to talk to it at all, in which case even the device name will not appear. In this case, no software will be able to scan your device. In this latter case, you might try some or all of the following things to see if your device can be made to appear: Double-check the drive cables and power source; remove/reattach the drive and/or power cycle it; power down and restart your computer. You can double-check that the drive can be seen by your computer by using Disk Utility to see if it can detect the drive. If the drive fails to show up in Disk Utility, this means that the computer does not detect the presence of the drive, and no software will be able to access it either. If possible, you could also try mounting the drive into an external enclosure and then see if the computer will detect the drive, we've seen this work in some cases. We've also seen some hard drives appear intermittently depending on the nature of the problem with the drive, so you may want to give it several tries, shutting the computer down in between, to see if the drive will re-appear to the system.
*There could be two reasons for this, as explained below: When you do a Deep scan, Data Rescue uses two different algorithms to locate files. These methods will often locate many of the same files twice - once under a catalog folder and again under the CBR folder. (Data Rescue does not currently have the capability to automatically cross correlate these sets of files, but may do so in a future version.) So if you elect to recover everything, it will often be the case that the total space required exceeds the original media size. The second reason why the found files may total more than expected is the possibility of anomalously (and incorrectly) large files. In the course of scanning the media, Data Rescue will often come across bad files and catalog entries. Data Rescue is able to filter out the vast majority of these bad entries, but not all of them. Occasionally a few of these may show up in the recovery list with incorrect and large sizes. If you suspect this may be the case, you can easily find these large files by searching for files greater than a certain size using the Edit: Find menu item. A useful technique to eliminate these from the recovery is: first mark everything by clicking the checkbox for the top level folders, then search for and uncheck the large files which appear to be bogus.
Temporary Storage Location is the workspace where the software will store minor log files while performing your scans. This location must be a separate drive from the drive you are trying to recover, in order to prevent any additional damage to your lost data.
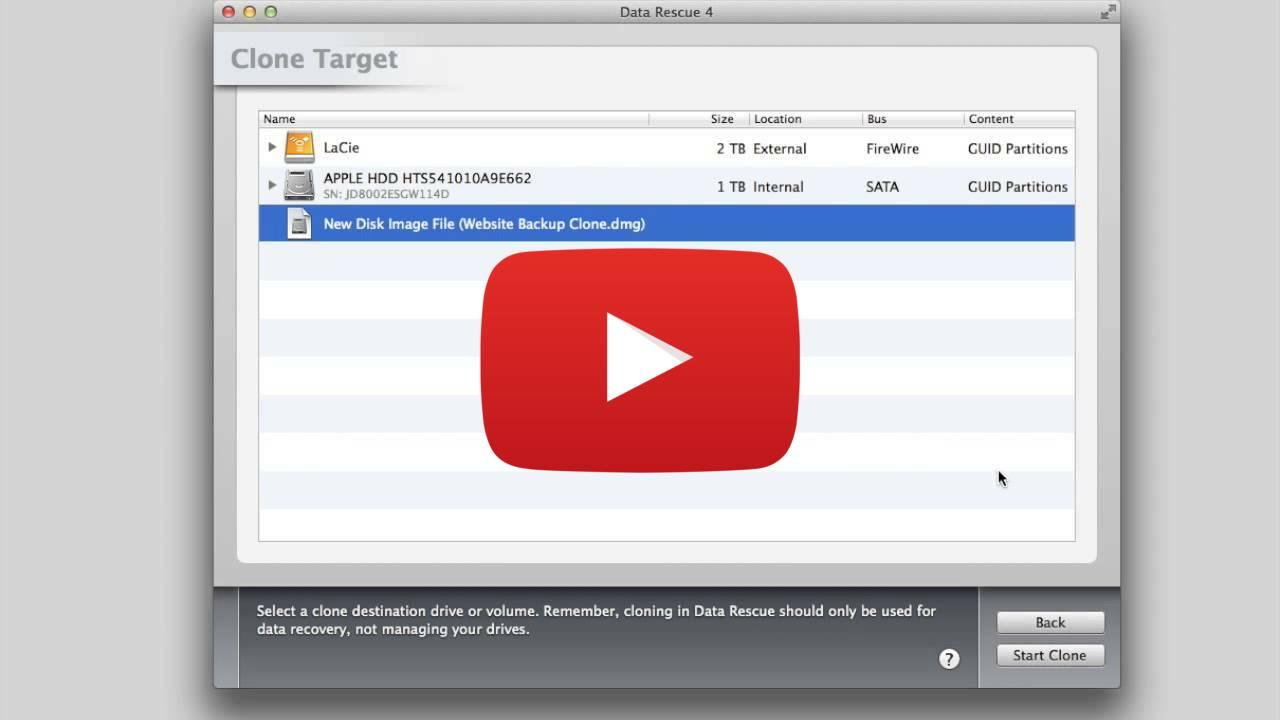
Clone in Data Rescue 4 will allow you to clone the raw data of a failing hard drive to a brand new or existing hard drive for you to run the data recovery. Note: Make sure that there is no data on the drive that you are using for Clone. It will be completely ERASED. Clone is not a utility that will allow you to clone your failing hard drive so you can replace the failing hard drive with the cloned hard drive.
Yes, Data Rescue 4 can recover from Raid drives. In Data Rescue 4 if the Raid drive shows up as one drive then just scan that one drive. If the Raid drive is showing up as individual drives then within Data Rescue 4 using Expert features Data Rescue 4, you can recreate the Raid for recovery. You would have to know the setup for the Raid (i.e. Primary/Secondary drive and stripe or mirror). Data Rescue 4 can recreate a Raid of 8 different drives for recovery. If the drives are striped then the user will have to know the stripe size also to recreate the striped Raid. This allows greater flexibility to recover data from a Raid drive.
If you purchased the software from our Prosoft’s online store: Your serial number will be emailed to you from sales@prosofteng.com (please check your spam filter). If you purchased from another retailer: Your serial number will be on a sticker on the bottom of the inside cover of the printed insert.
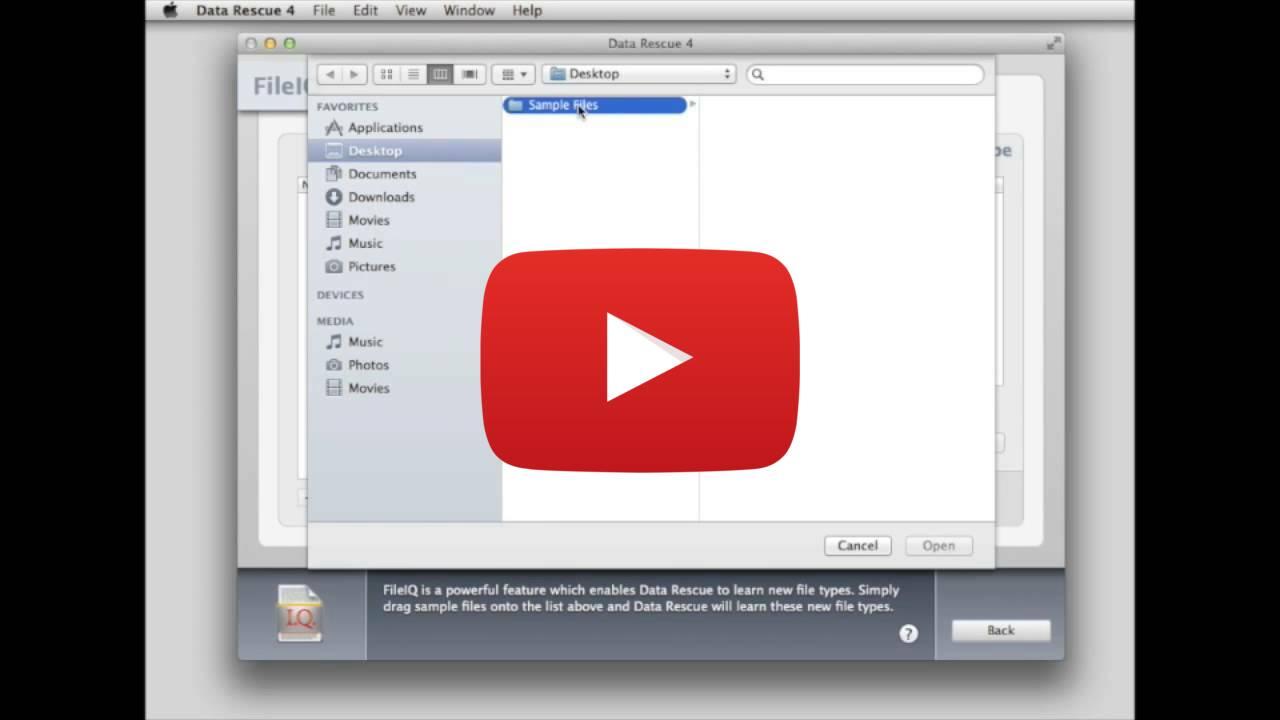
In OS X, when a file is deleted, for example by dragging it to the trash and emptying the trash, the file's name and folder information is usually erased by the system, and is therefore irretrievably lost. However in most cases, the most important part of the file - its contents - are still present on the disk. If a drive is reformatted, usually the original file catalog is permanently lost and thus recovering files by their original name and directory location is not possible and thus files are recovered by content. Finding the file by its contents alone is in general a difficult task, requiring algorithms to recognize those contents among all the billions of bytes of data on the disk. This task requires algorithms that are tailored to each specific file type. Data Rescue x made a start at this by providing support for about ten important file types that can be recovered by content. Data Rescue II increased this content scan capability by an order of magnitude, supporting more than one hundred separate file types. And the latest Data Rescue once again increases this content scan capability. (See the following questions.) If the file types you are looking for are among the supported types, there is a good chance that Data Rescue will be able to find it. Beyond the ten-fold increase in number of content scan file types supported, Data Rescue enhances your ability to find deleted files in another way: the Deleted Files Scan scans only the free space portion of your drive, greatly reducing the number of files that you must look for to find particular ones. In addition to all of this is FileIQ. FileIQ allows you to add your own file type to Data Rescue to further increase it's capacity to recover your important files. FileIQ works by analyzing your file samples and adding the file patterns so that your User Defined file type can now be located. This vastly increases Data Rescue's capabilities to find your deleted files.
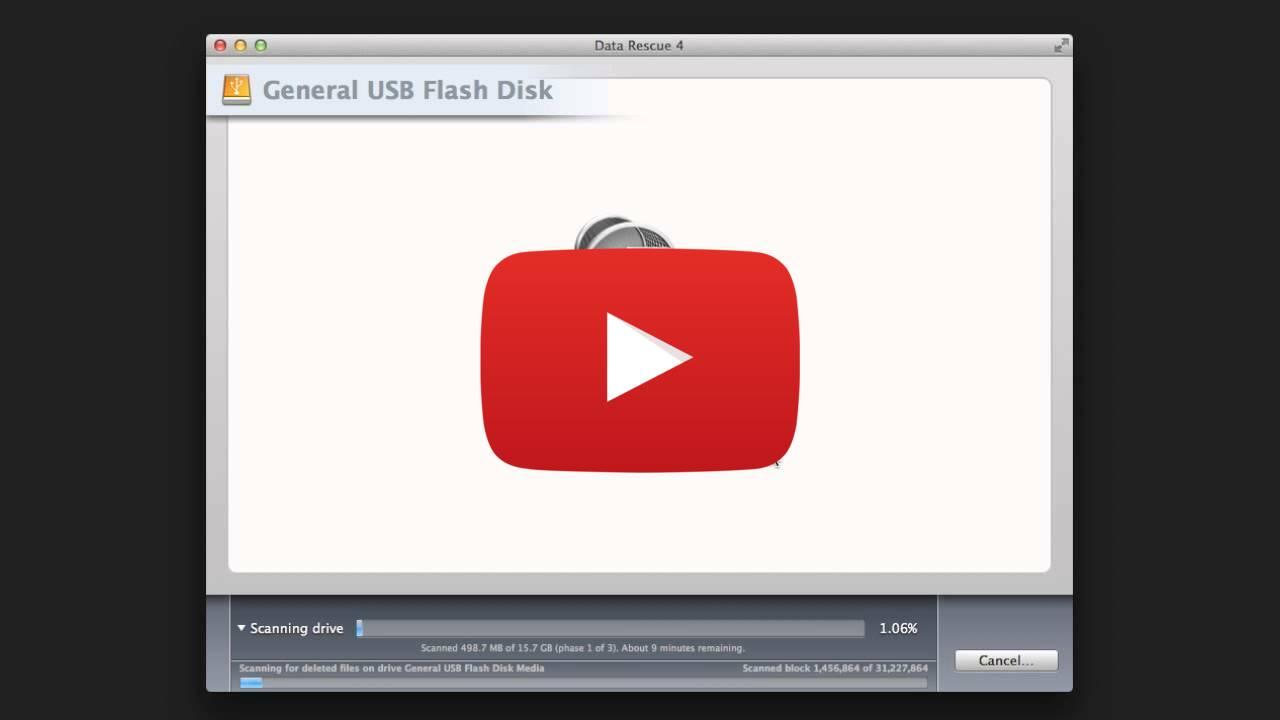
Most cases of apparent freezing are actually slow reads due to disk problems. If Data Rescue runs into a slow disk area where the disk is having trouble reading, it may appear to freeze, but actually just be very slow. If you think it has frozen, make a note of what is being displayed on the progress display, for example, the block number, then check again in half an hour or so and see if it has advanced at all. If not, it is probably just slow due to disk read problems. You can contact Prosoft technical support for further assistance. Here are a couple more tips: Make sure cables connecting to disk drives are properly connected. Disconnect or turn off unnecessary devices.
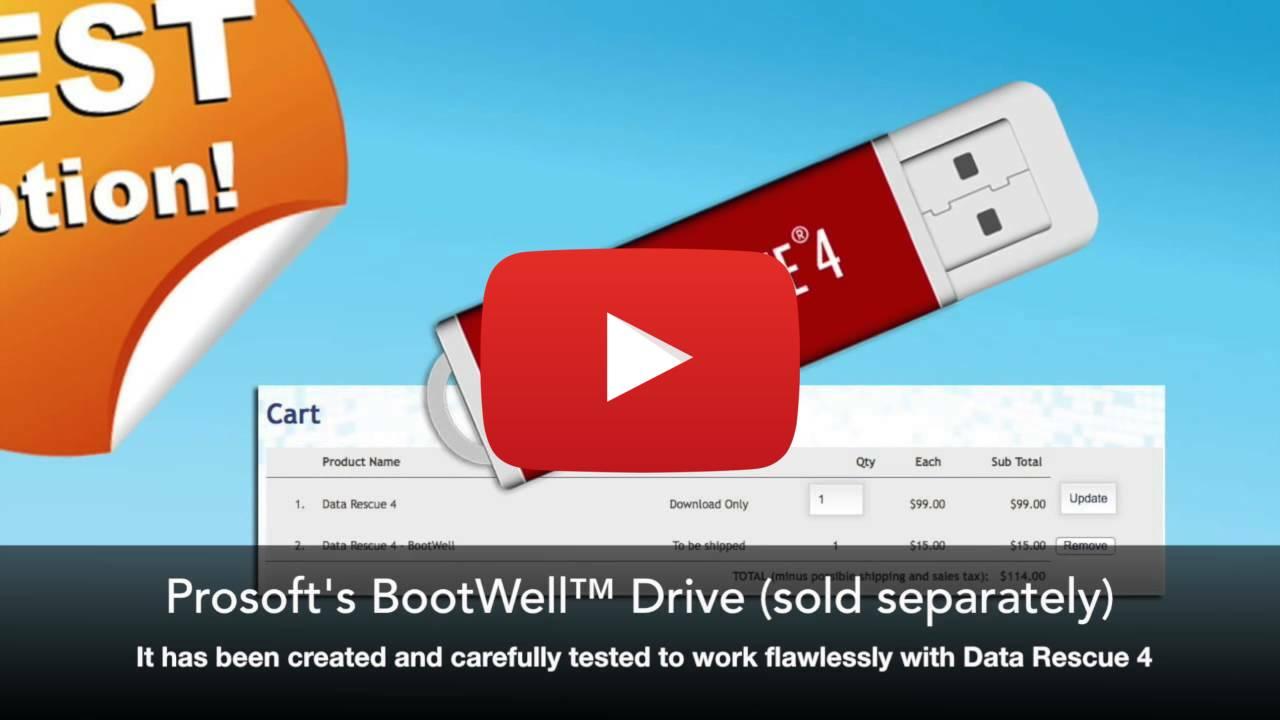
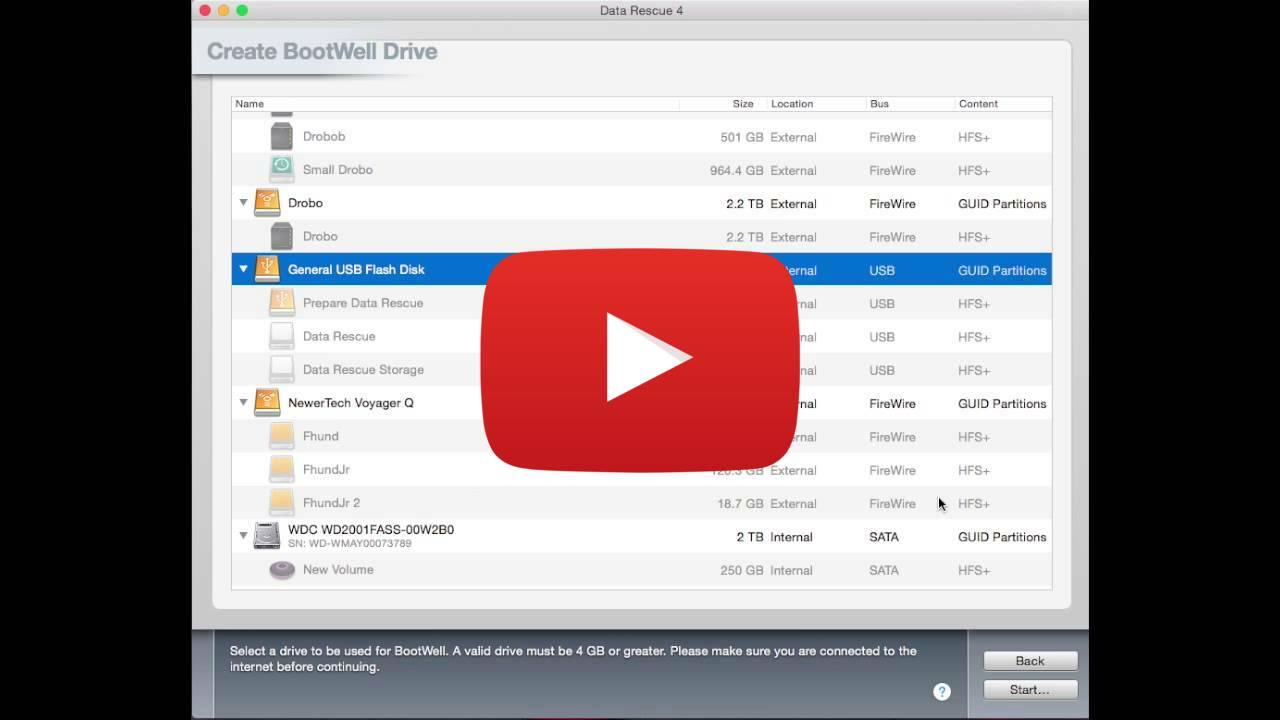
The Data Rescue 4 BootWell is a special secondary startup drive that can be used to safely recover files from your internal hard drive or another computer. A BootWell will startup any functioning Intel Mac with an internal hard drive. A BootWell drive purchased with Data Rescue 4 is a Hi-Speed USB 3.0 flash drive. It will run at a higher speed on older USB 2.0 Macs and even faster on a newer Mac with USB 3.0 ports. We have tested the read and write speed on this flash drive on the different macOS that Data Rescue 4 supports. The current macOS is resource intensive and therefore will require a Hi-Speed flash drive to create a Data Rescue 4 BootWell. This BootWell drive has been chosen after rigorous testing and found this to have the best read and write speeds. Our BootWell drive is a good solution and is available from our website for a nominal price.
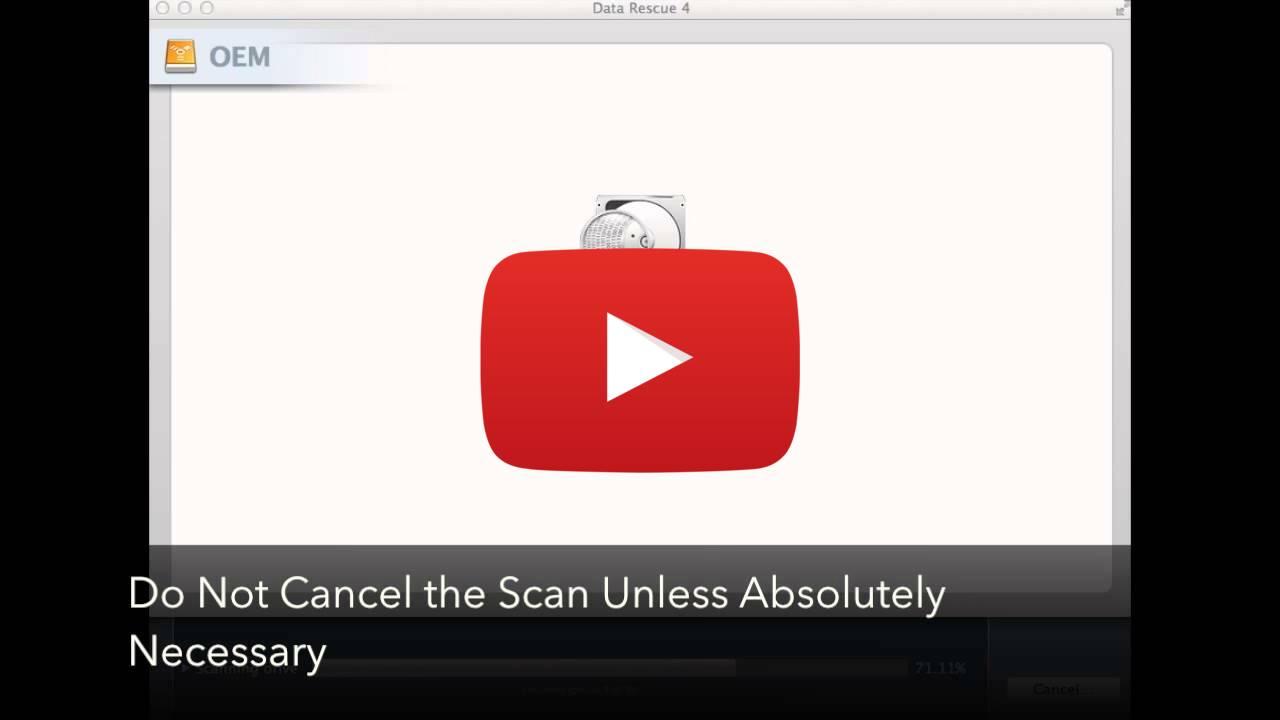
Yes, the scan process can be interrupted at any time by pressing the cancel button. When running a Deep or Deleted Files Scan you have 4 options when choosing to end a scan early. Cancel: completely cancels the scan and saves no progress or data Suspend: pauses the scan and saves current progress allowing continuation later End Early: forces Data Rescue 4 to end the scan early and provide any results it has already found Continue: exits prompt and continues the scan **Please note that ending the scan early will end only the first phase of Data Rescue 4’s scan process, and will still progress through the next two phases of the scan process to catalog the results. The results from the ended scan may take up to an hour to process. Allow adequate time for the results to be processed. There are few risks with ending scans early, the main being if you choose to suspend a scan to continue later you may not be able to due to either your drive being in a different state or problems with the drive or corruption in the software. Every scan or read done to a damaged hard drive further damages the drive, this can be problematic when trying to end scans early as you may not be able to go back and recover data from that drive.
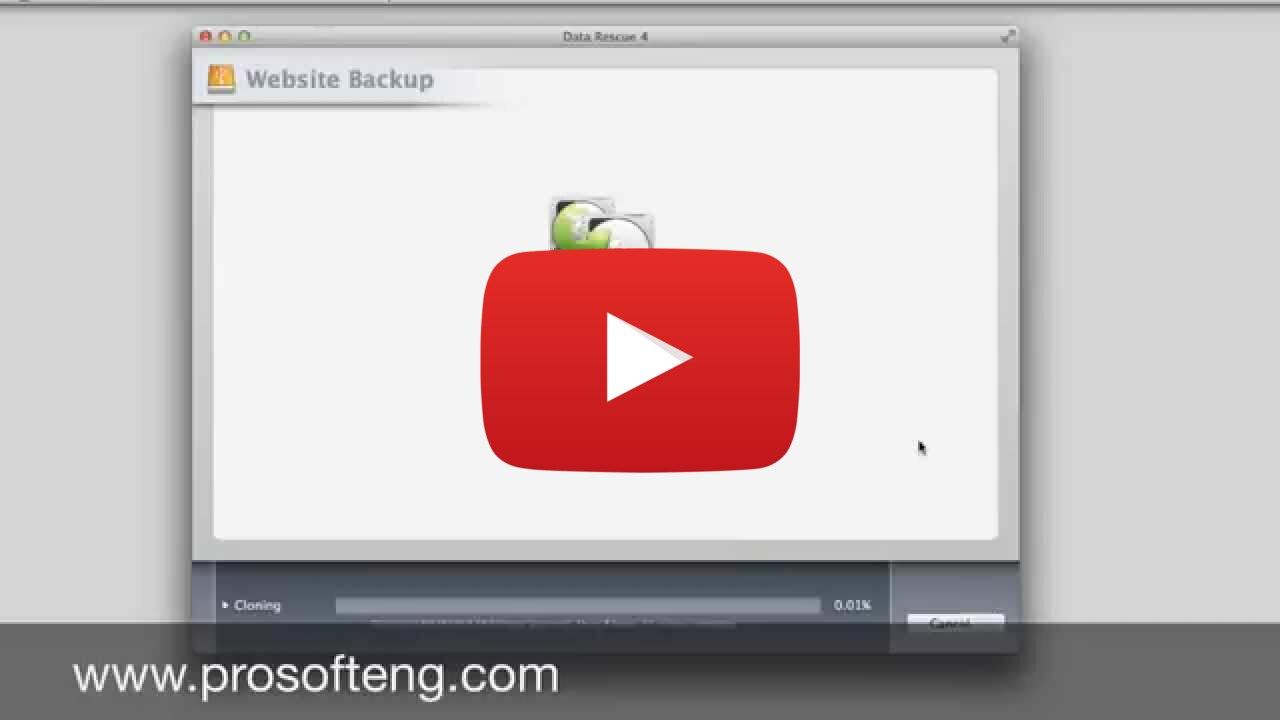
Yes you are, but be aware that if you end it early, you will not be copying over all the available data possible and you will only have at best, a partial data recovery. We suggest that you always let the clone finish, unless the time remaining skyrockets for an extended period of time.
*Please read all the instructions through first before attempting. Critical: The instructions below are designed to help you reformat and repartition your external hard drive. If you have data on the drive, you must back it up to another location before proceeding. This process is Data Destructive and cannot be undone. Once the process begins, ALL THE DATA ON THE DRIVE WILL BE LOST! 1. Double left-click on your Internal Mac drive and choose Applications -> Utilities and double-click on Disk Utility. 2. In the far left pane, choose the drive that you want to partition and format. Typically there are two listings for each drive unless you have more than one partition on a particular drive. Choose the drive listing that is farthest to the left for the drive that you want to format. It is usually directly above the name of the drive. 3. Click the Partition tab to the right, it is between Erase and RAID. 4. Click on the Current dropdown menu and click on 1 partition. This will make the Options button selectable. Now click the Options button and choose Apple Partition Map if you have a Power PC or GUID if you have an Intel mac. Then click on OK. Make sure that the format dropdown is set to ” Mac OS Extended (journaled) “. 5. A box will come up letting you know that formatting and partitioning the drive will erase all of the information that is on the drive. If you don’t need any of the information on the drive, then click on Partition. 6. The drive is now formatting and you will see a status bar at the bottom that says Creating Partition Map. When it is done, this bar will go away and the drive should now show up on your desktop. 7. Your drive can now be used as a workspace / destination option for recovery.
The Demo version of Data Rescue 4 does not require a serial number. Simply click in the box “I agree to the license” and then click the demo button.
Videos