How to Install and Activate Data Rescue on MacOS
The installation and registration of Data Rescue is fairly straightforward, however, this guide will walk you through the whole process. Feel free to start a chat (During regular business hours) with one of our representatives during these steps if you have any questions or concerns. Alternatively, you can email us at contact@prosofteng.com and we will get back to you as soon as possible.
1. Download the latest version of Data Rescue via our Downloads page or click here to Download Data Rescue.
2. The file will be called Data_Rescue_x.x.x.dmg and will be located in your downloads folder via Finder.
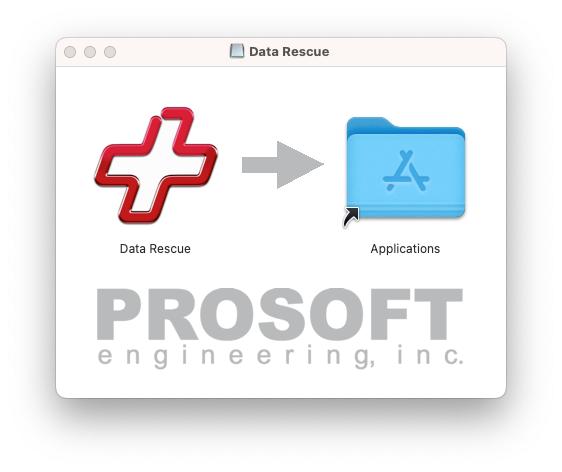
3. Double-click on the file and once opened drag and drop the Data Rescue Icon into the Applications folder within the pop-up window.
4. Now double click on the Data Rescue logo located in your Applications folder.
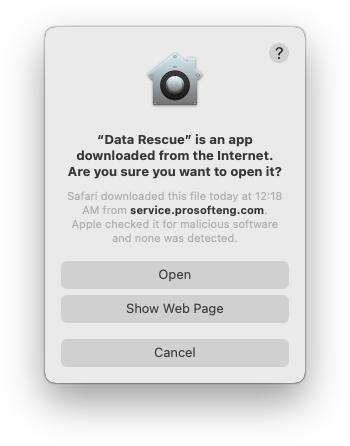
5. The computer may inform you that you are attempting to open an application that was downloaded from the internet. You will want to select the “Open” option.
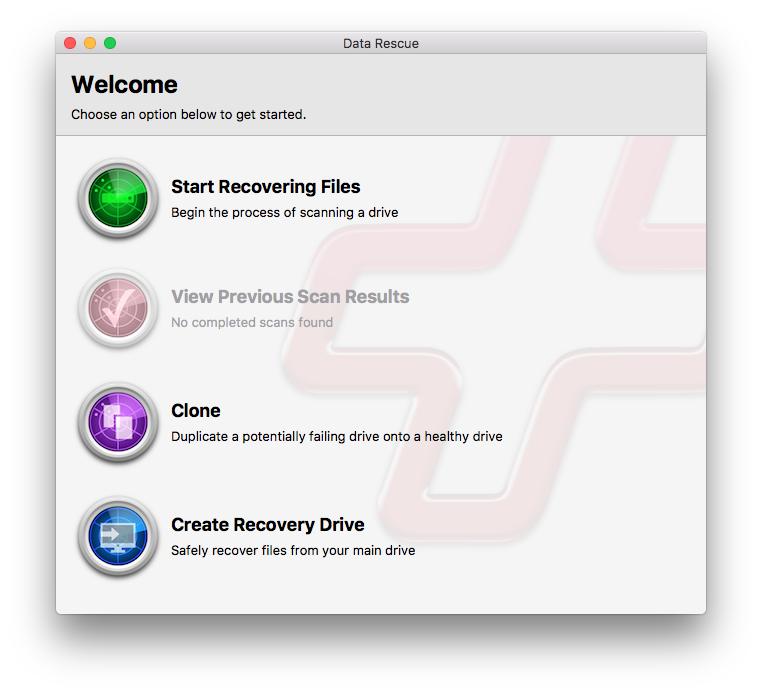
6. Data Rescue is now open and ready to use as a demo. However, you will need to Register the software to use our trial recovery, add an activation key, or if you already made a purchase. If you want a guide on how to use Data Rescue read through our guide “Recover deleted files on Mac”.
7. To Register Data Rescue select the Help drop-down menu while having Data Rescue open and select Registration.

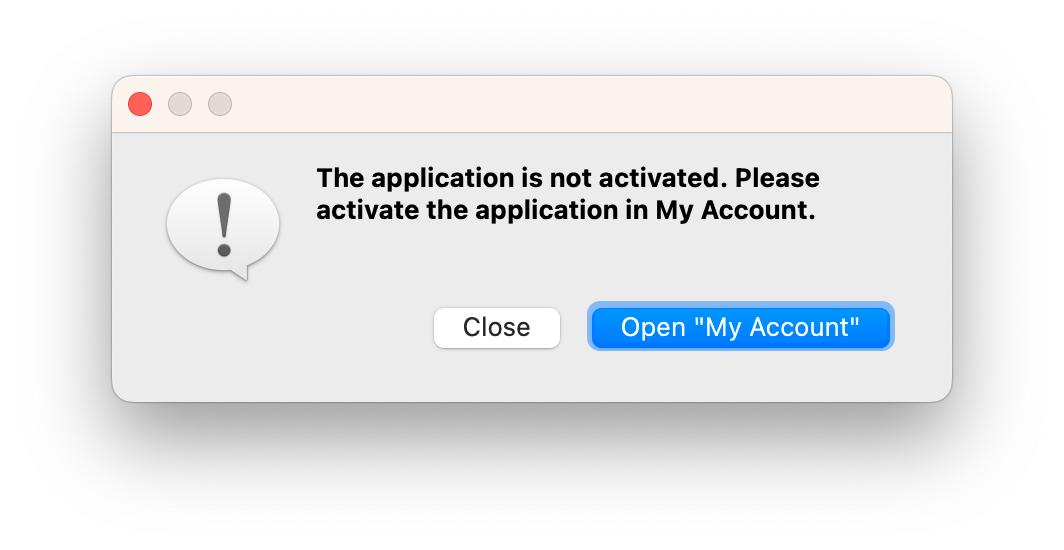
8. Once you select Registration it will bring up a pop-up informing you of your current Registration status. Since we have not yet logged into the software our status for the application will be “not activated”. Select the open “My Account” option to login into the software.
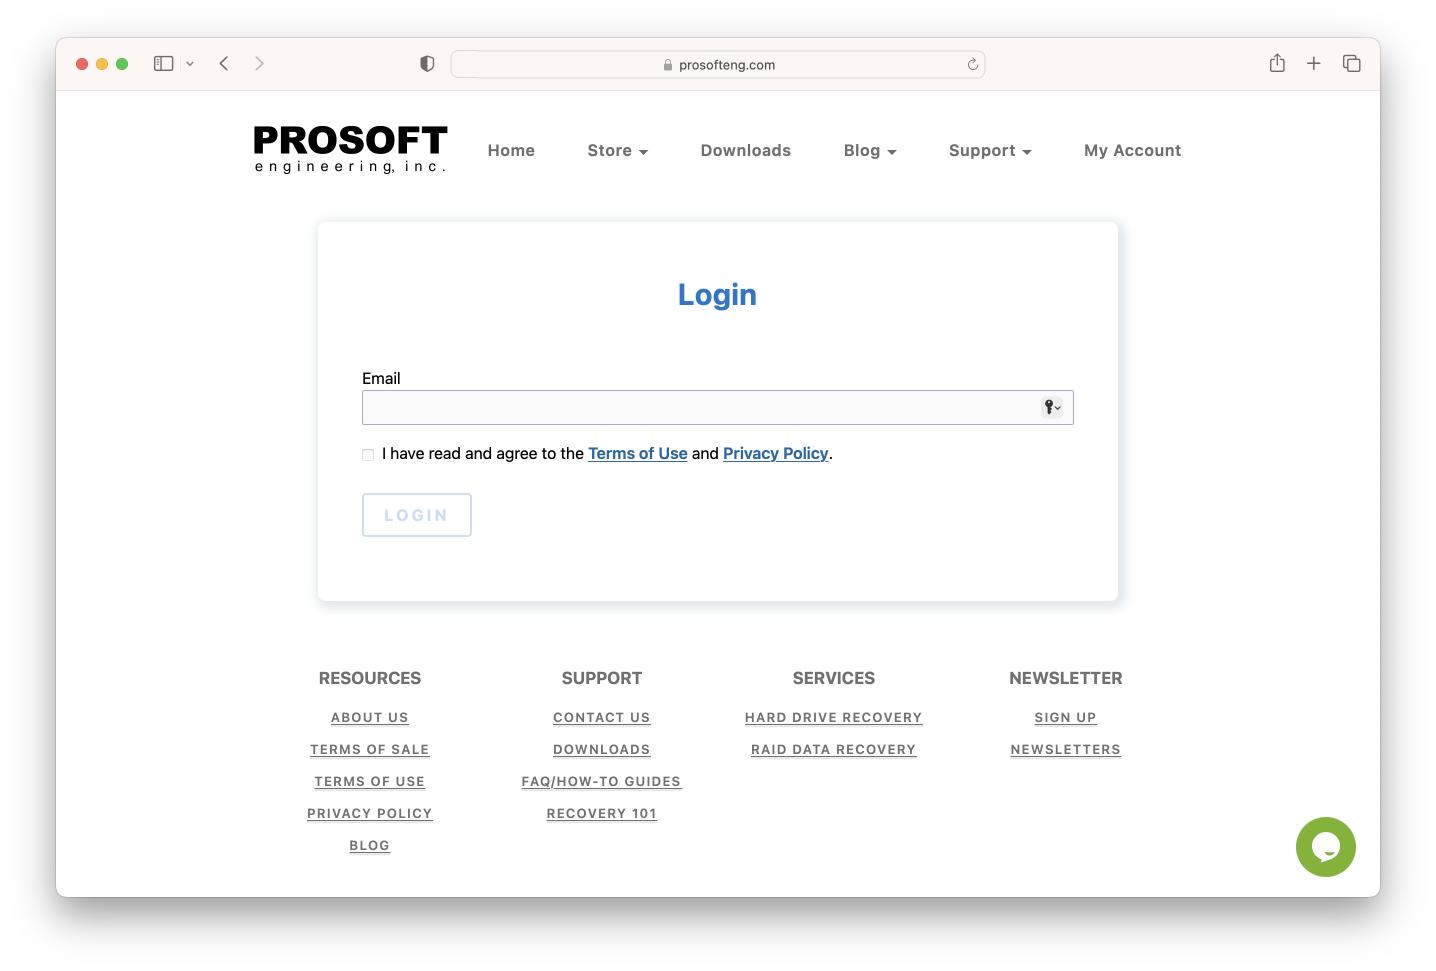
9. Selecting open “My Account” will open your default web browser with our My Account login portal. You will need to enter your desired email that will be used for your account or the email used at checkout if a purchase was already made.
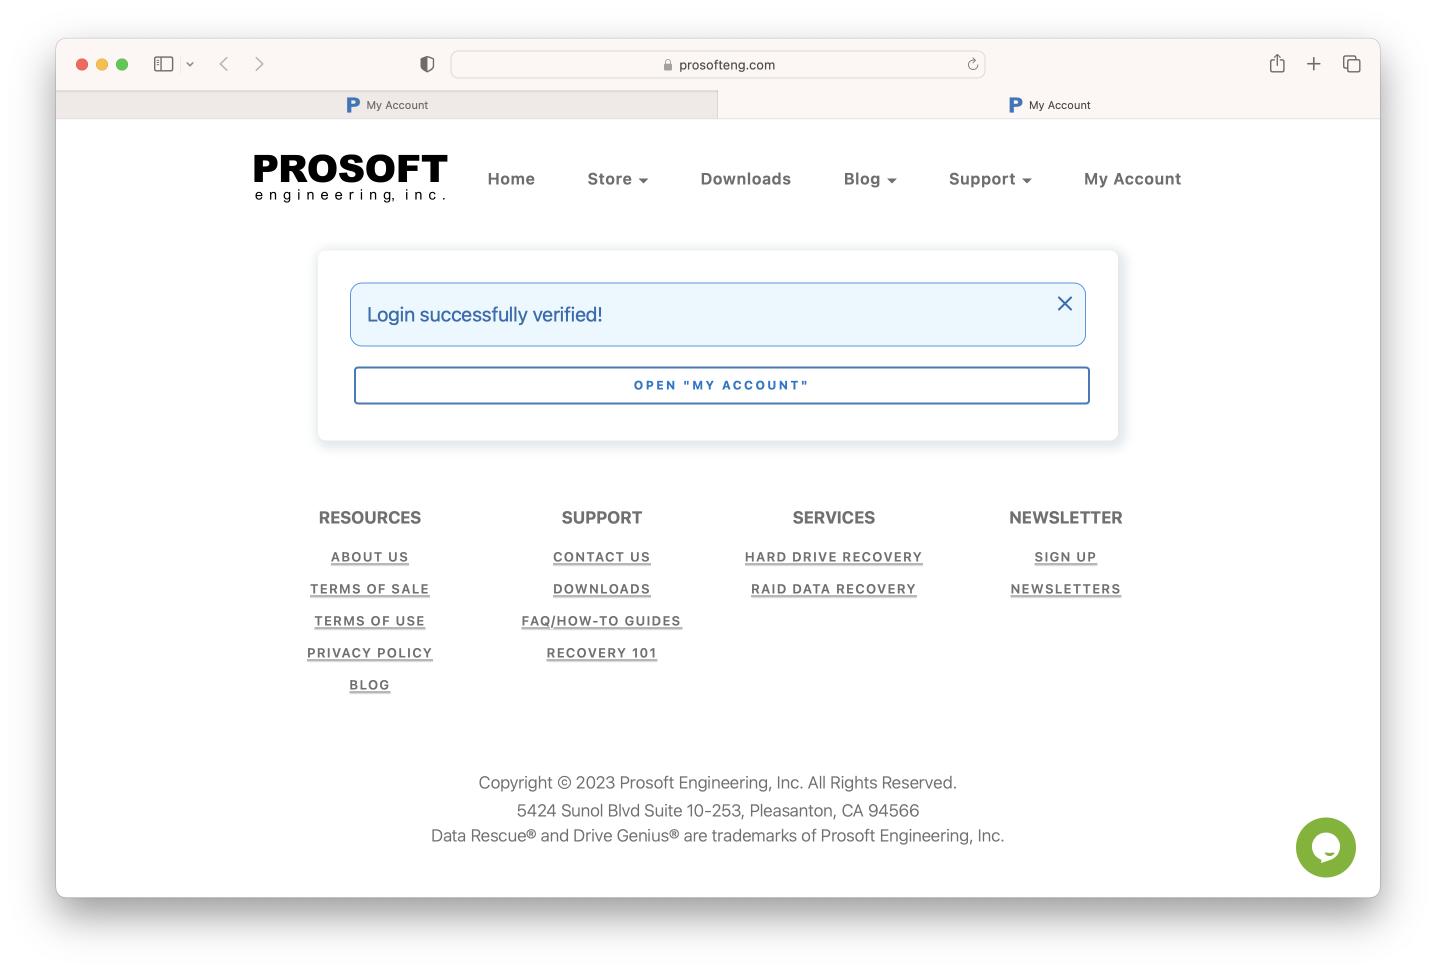
10. Once you select Login with your account email you will be sent an email that contains a link that will automatically log you into your My Account portal (check spam folder). Once you click on the link it will bring up your default browser once more with a message stating that your Login was successful.
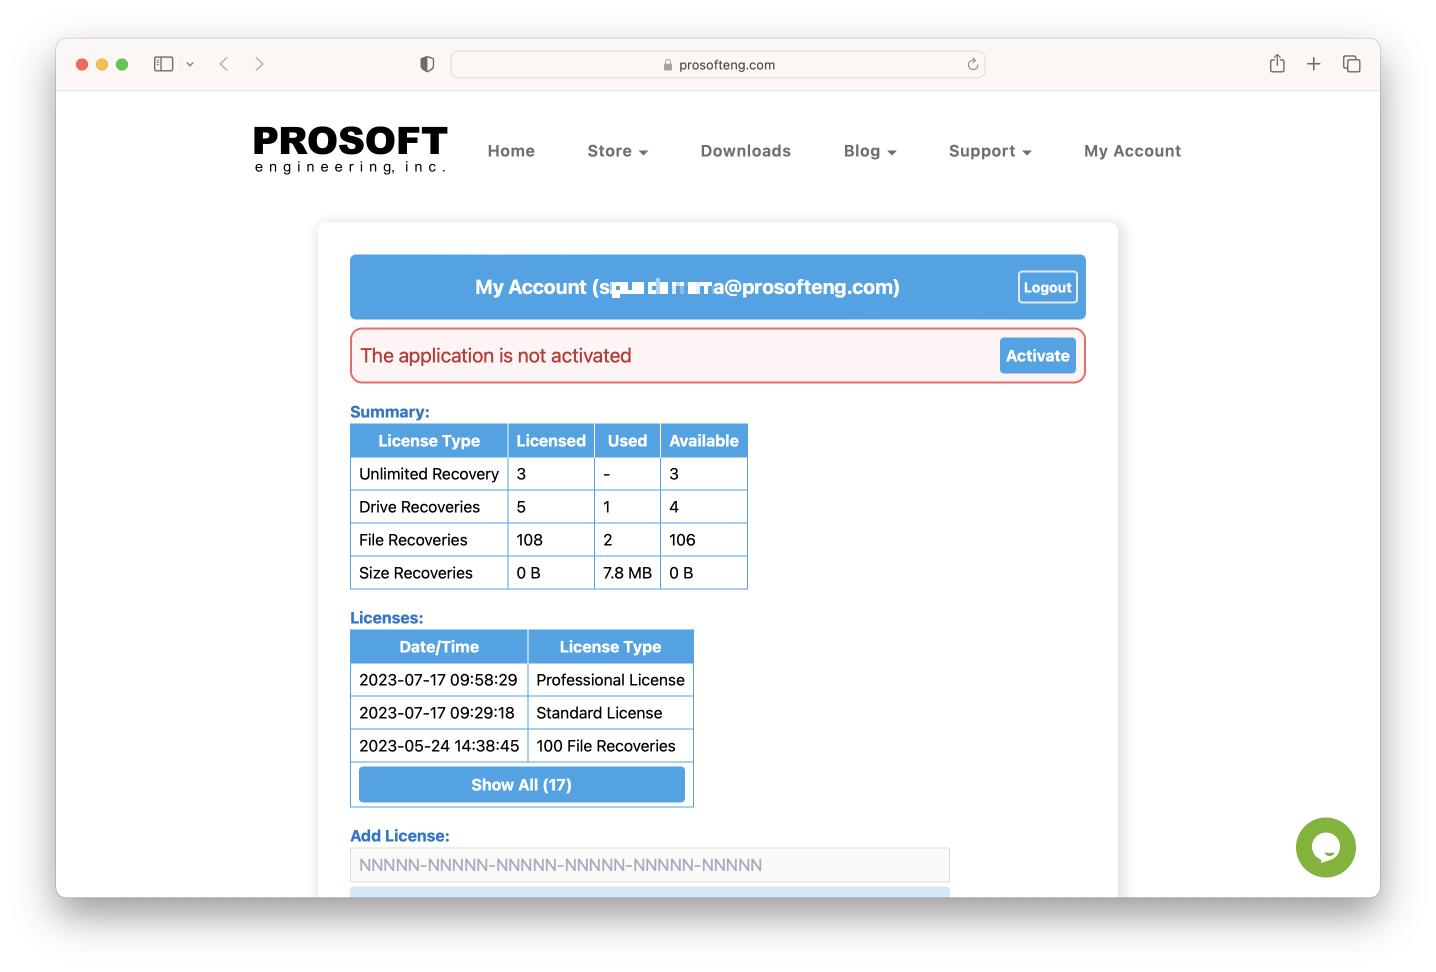
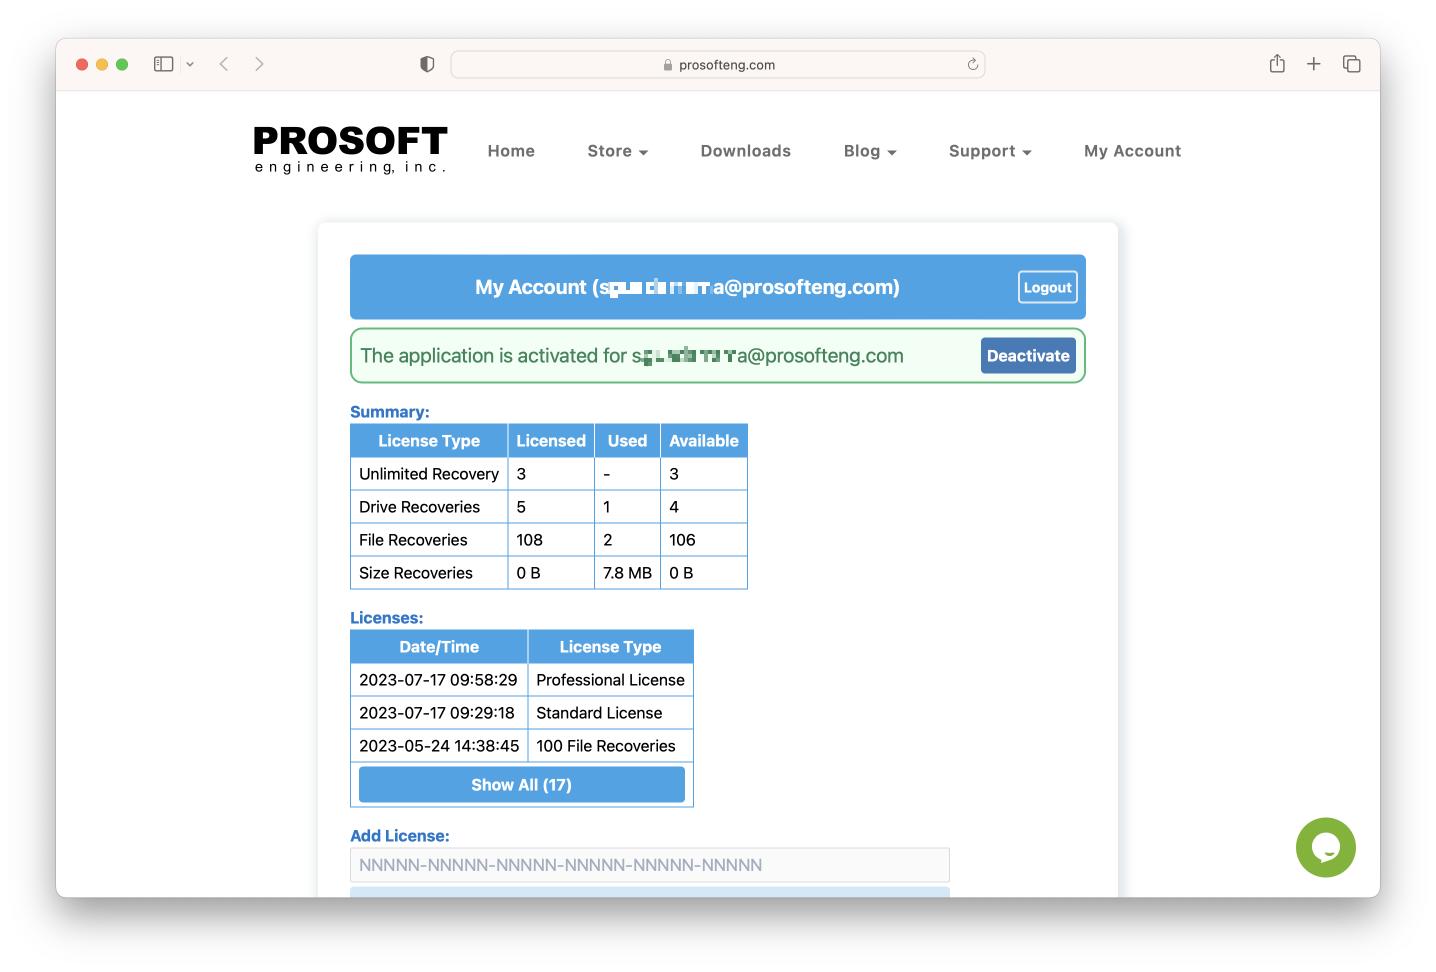
11. Selecting open “My Account” will display your portal and selecting Activate will authenticate the software. Once activated you can continue with the trial version or recovery if the license was purchased through our site. Go to step 13 if you have a key to add.
12. Now that your system is activated you can bring up Data Rescue once more and continue with the recovery process.
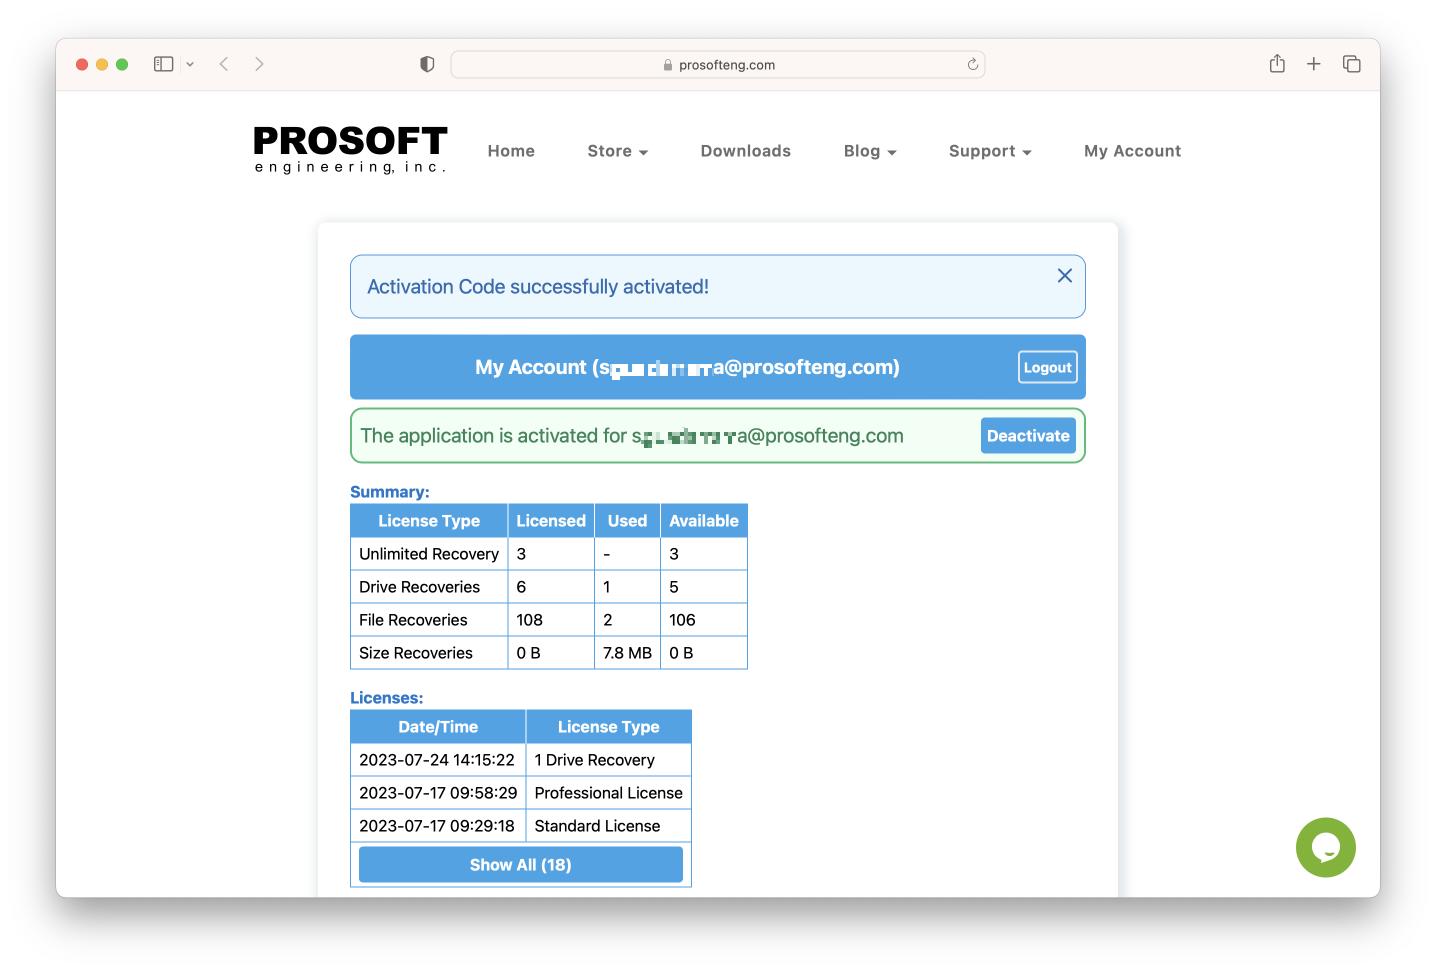
13. If you have a license key that was provided to you if the purchase was made outside of our site. You can enter the key into the “Add License” Section shown in the screenshot below.
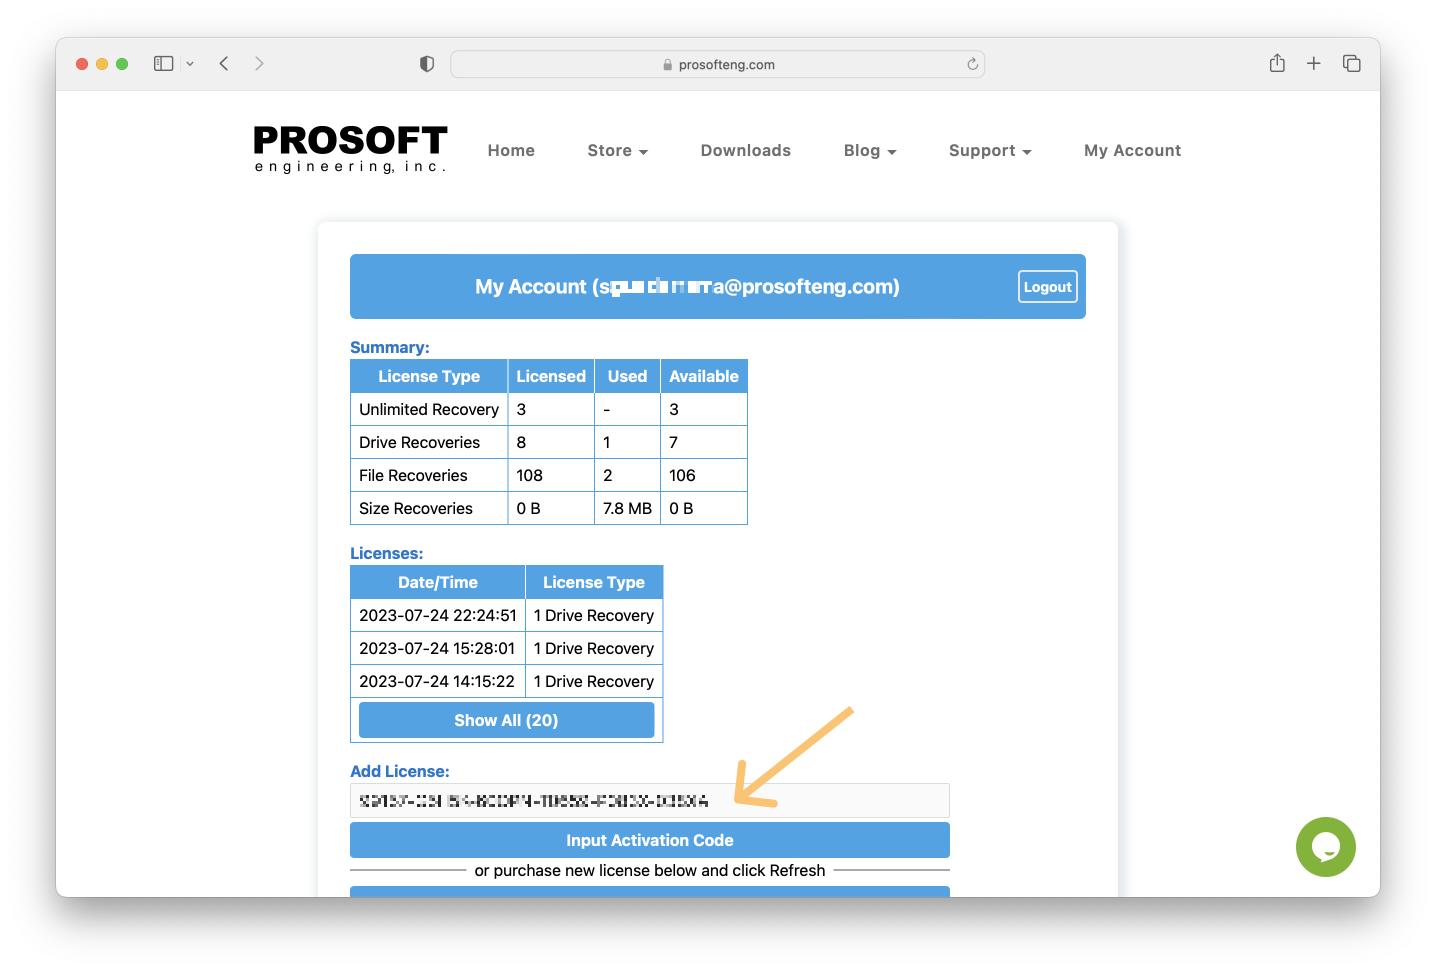
14. When you select “Input Activation Code” after adding your key you will get a message stating “Activation Code successfully activated!” now you can close this page and continue with your recovery process in Data Rescue.