How to Create a Bootable Clone on macOS (Sonoma, Ventura, Monterey, Big Sur) - Update 2024
There have been several ways to create a bootable external drive of your internal drive for many years on macOS. However, it has become strenuous to get a bootable clone of your internal startup drive in recent versions. Close to impossible on customized macOS Big Sur, Monterey, Ventura, and Sonoma given the introduction of Apple's Cryptographic Signature Technology known as a Signed System Volume. The new addition prevents any external media from being bootable without a Signed System Volume. At this time, Apple is the only one capable of creating a Signed System Volume. We are not able to replicate or have a perfect workaround for this change.
In the past, we were able to create a stripped-down version of macOS and allow users to boot into it. We called this bootable external hard drive our Bootwell™ drive. While it still works on most Intel computers, on Apple M1, we were left searching for a suitable solution for our users to have a bootable clone of their internal drive. We found a workaround to our problems using one of Apple's utilities called Apple Software Restore (ASR). This feature creates a Signed System Volume with exact copies of all files with valid cryptographic signatures. In our test, we created a bootable external hard drive clone of the internal startup drive using ASR.
The drawbacks to this external bootable drive are the required initial boot-up check on the first startup. This means that it can take around 20 to 30 mins for all the resources to come back to idle when first booting up into your external hard drive. Secondly, it is not always possible to boot into other systems that are not the ones that created the clone. This means you are only able to use this external bootable drive on the computer that created it.
Provided below are steps on creating a bootable external hard drive using the ASR utility. You can also use our clone tool built into the latest version of Drive Genius.
Disclaimer: We do not know how long this utility will work as it can be changed without notice. We are causing Sonoma in this guide, however, it can also be used on Ventura, Monterey, and Big Sur.
Create a bootable external hard drive using ASR via terminal on macOS
1) We will want to find a suitable hard drive with enough free space to support your internal hard drives data. In this case, we are going to use the drive named Dest. You can run the command “diskutil list“ in the Terminal App found in your Applications Utility Folder to view all of the drives connected to the computer.

2) Reformat your drive to be compatible with your computer if you do not see your drive in Finder and see it in Terminal.
To reformat the drive using Terminal you can use the command below
diskutil erasedisk APFS Clone /dev/disk5
In the command above APFS is the file system that we will be setting for this drive. Clone is the name you want to assign to the drive you will be reformatting. /dev/disk5 is the drive that we want to be formatted.
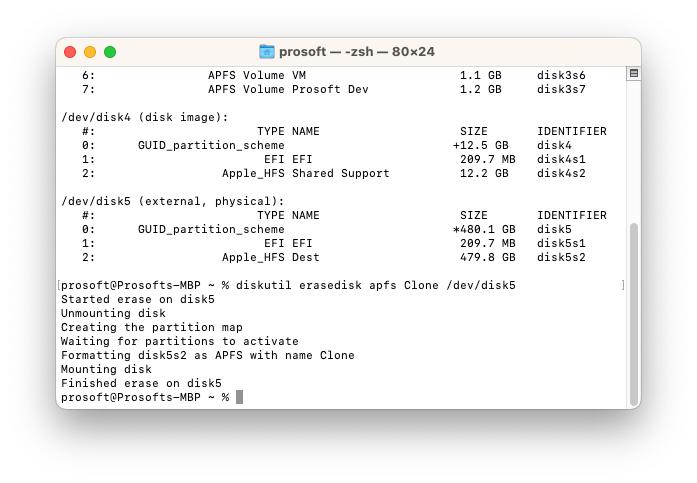
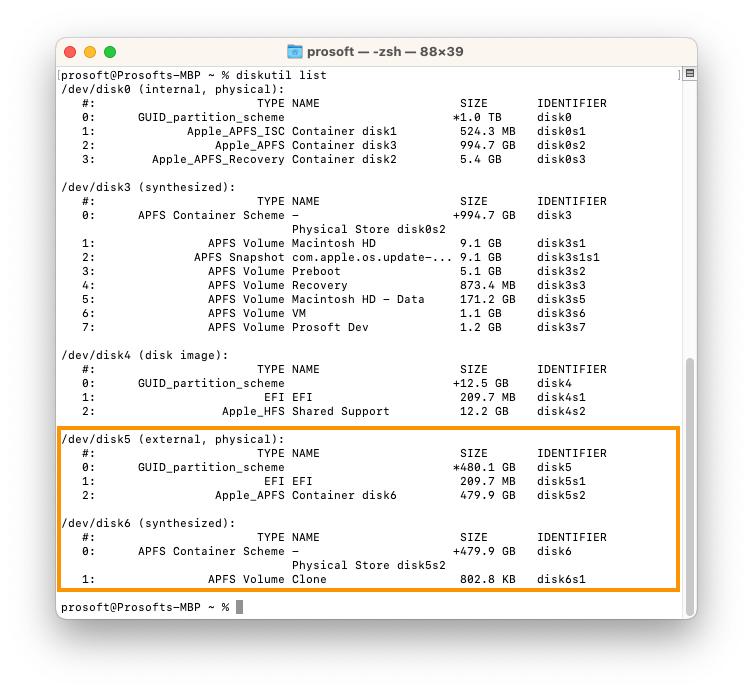
This 500GB drive is now formatted to APFS and contains our Clone Volume. APFS creates Container which is recognized as another disk, however, we will only see the Clone Volume in Finder.
3) Run the command below which will initiate the cloning of your internal startup drive.
sudo asr restore --no-personalization --source / --target /Volumes/Clone --erase --verboseWhere Clone is the name you assigned your destination drive. You will be prompted for your admin password before you can run the command. You will then be asked to confirm the deletion of all the data on the selected destination drive (Type “y” for yes and “n” to cancel).
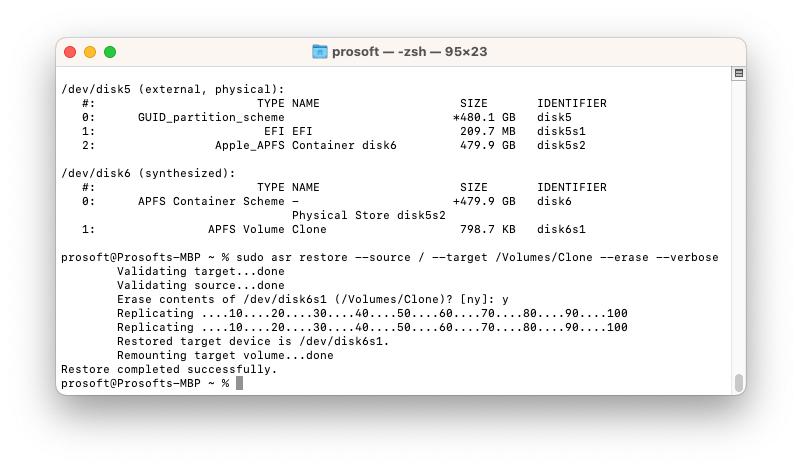
Failed to create source stream for replicationVolume replication failed - Operation not permitted
4) Once the clone is complete if you are running Ventura or Sonoma you will need to copy over the Cryptexes Directory that will allow this drive to be bootable. You can skip to the next step if you are running Monterey or Big Sur.
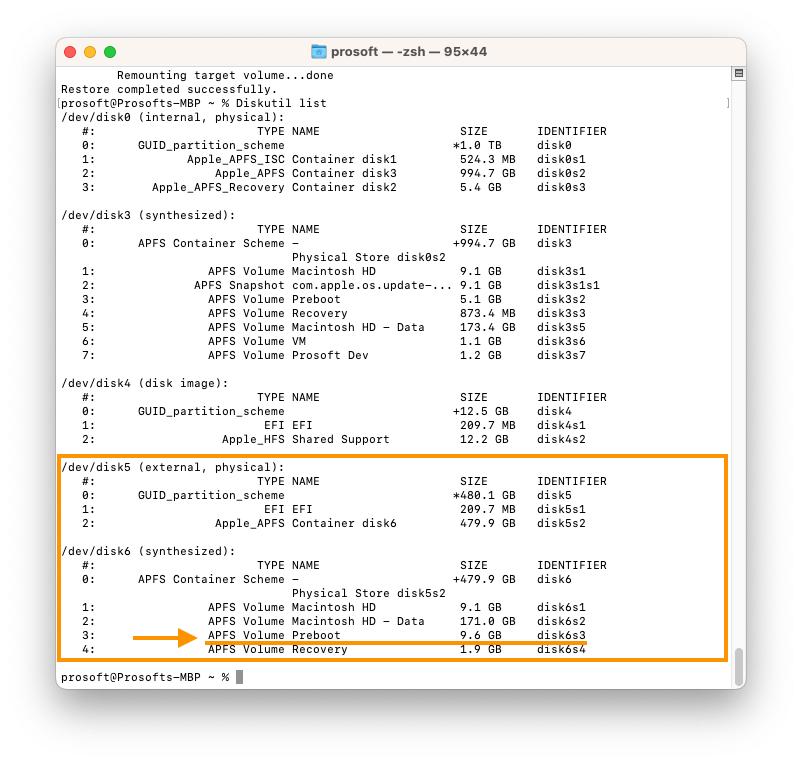
To copy the Cryptexes directory over to our destination drive we will need to identify what the Preboot Volume Identifier is since we need to mount it. Previous versions of macOS contained the Cryptexes Directory already cloned with our ASR command above, however, this directory was moved to the Preboot in Ventura and Sonoma.
You will want to run the command diskutil list and locate the drive where we copied the data too. In this situation, we have the 500GB (shown as 480GB) drive. Since the ASR command formatted our drive to APFS to be identical with our internal boot drive. It created a container that holds the Preboot Volume. In this situation, the Idenfier for our Preboot Volume on our external clone is /dev/disk6s3
5) To mount the Preboot now we will want to run the command below. Replace /dev/disk6s3 with your Identifier.
diskutil mountDisk /dev/disk6s3Once the preboot is mounted you will want to run the following command to copy over the final files needed to have a bootable external hard drive for Ventura and Sonoma. You will be prompted for your admin password before you can run the command. The coping of files may take a few minutes so just sit back and wait for it to finish.
sudo cp -av /System/Volumes/Preboot/Cryptexes /Volumes/Preboot
6) Now the external drive will now be bootable with your computer. You can boot into this external clone by one of the following options based on if you have an Intel or Silicon (M1/M2) based Mac.
Booting Options
apple silicon mac’s (m1)
- Shut down the computer
- Power on the computer and continue to hold the power button until you see the boot drive options
- Select your external hard drive where we created the clone (Should be called Macintosh HD if you have not changed the name prior)
- You will be asked to Authenticate the startup disk using your admin User and password
Intel based mac’s
- Shut down the computer
- Power on the computer while holding down the Option key until you see the Apple loading bar.
- Select your external hard drive where we created the clone (Should be called Macintosh HD if you have not changed the name prior)
7) You will want to log into your profile and let the computer sit for about 20min. If you try and use the computer now. Things will be moving really slowly and you will most likely get a scroll wheel with any task that you run.
Once the system has settled from running it checks on the first initial boot. You will be able to use this external hard drive as normal. I would recommend changing the name of this external drive from Macintosh to something that allows you to identify which drive you are on if the drive icon is not helpful.
Creating a bootable clone using Drive Genius
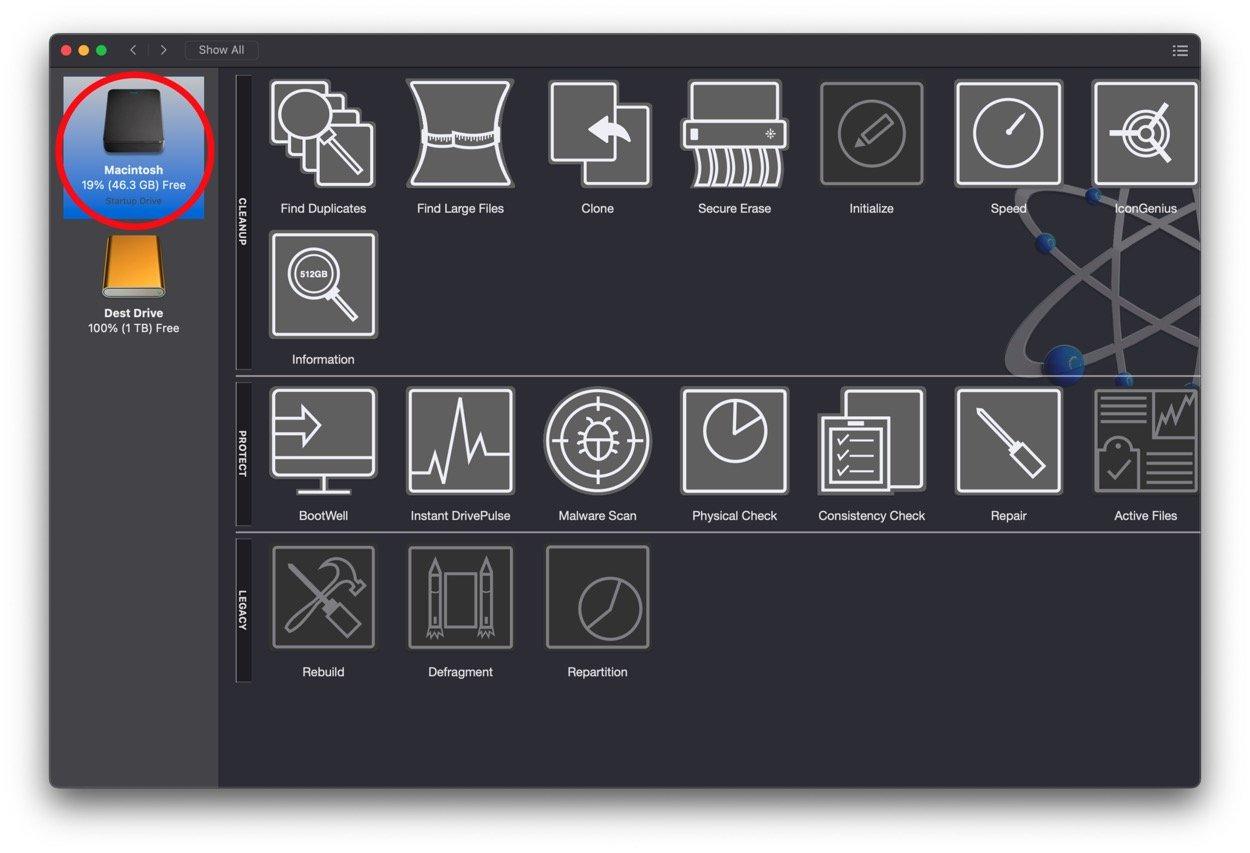
1) While within Drive Genius select your internal startup drive.
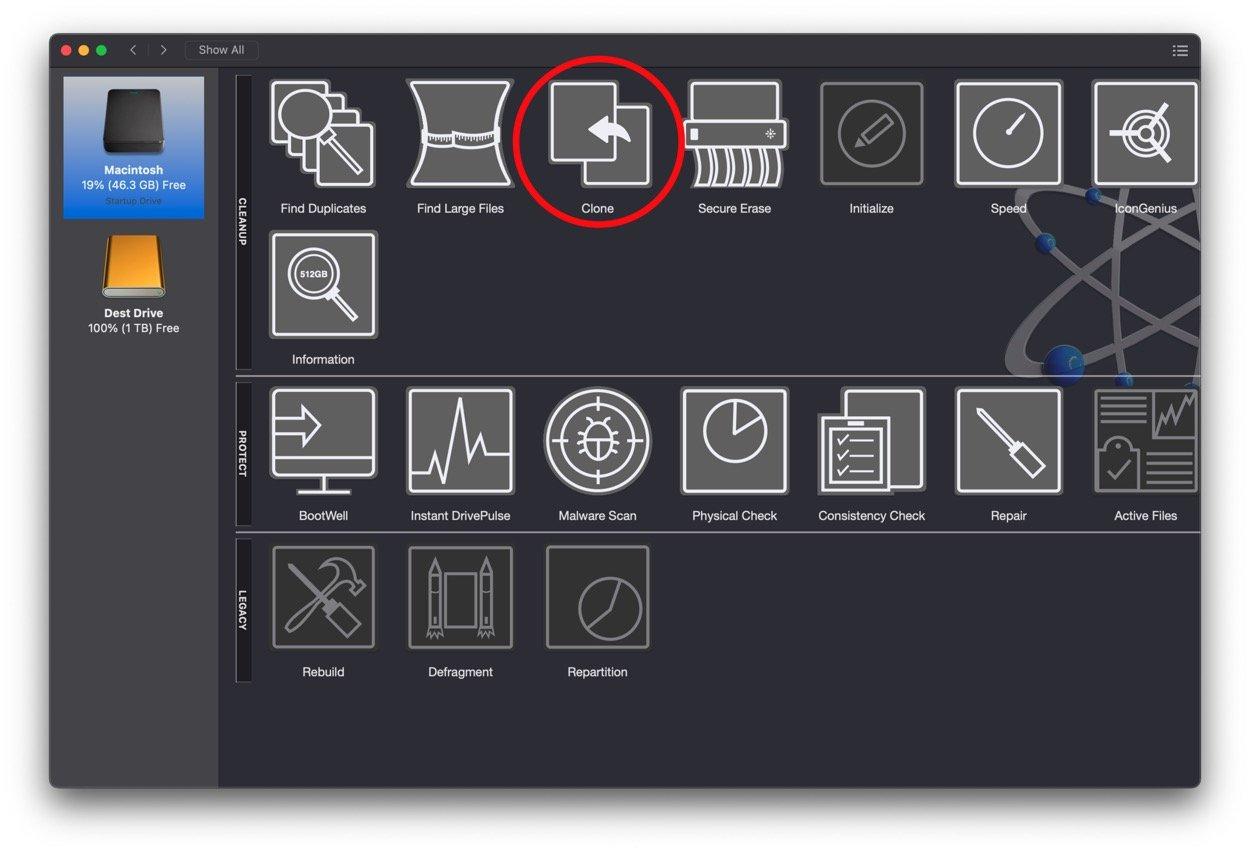
2) Select the Clone utility (You may be only be shown information about the clone utility if it has not been used before. Just select the start option at the bottom right-hand side) to move to the next window.
3) Here you will select the destination drive (The drive you are attempting to make bootable).
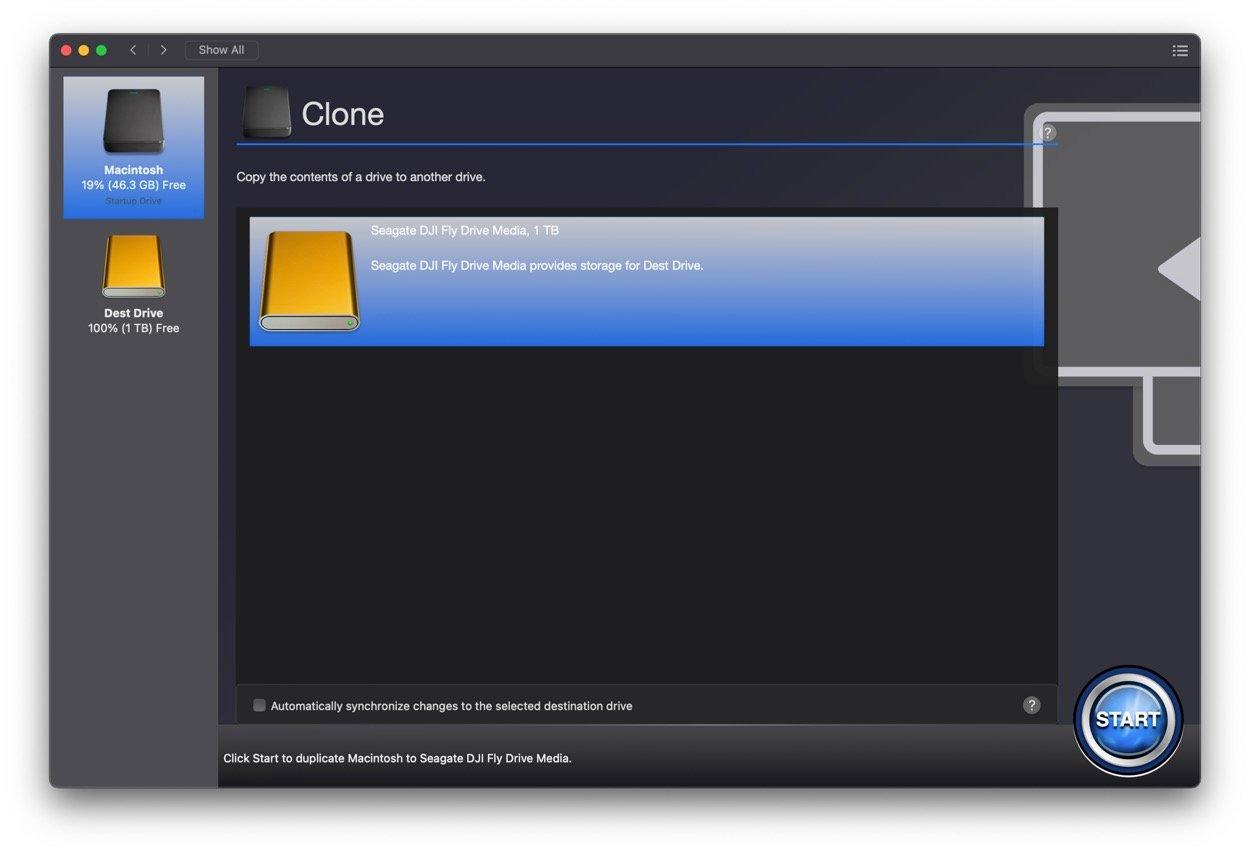
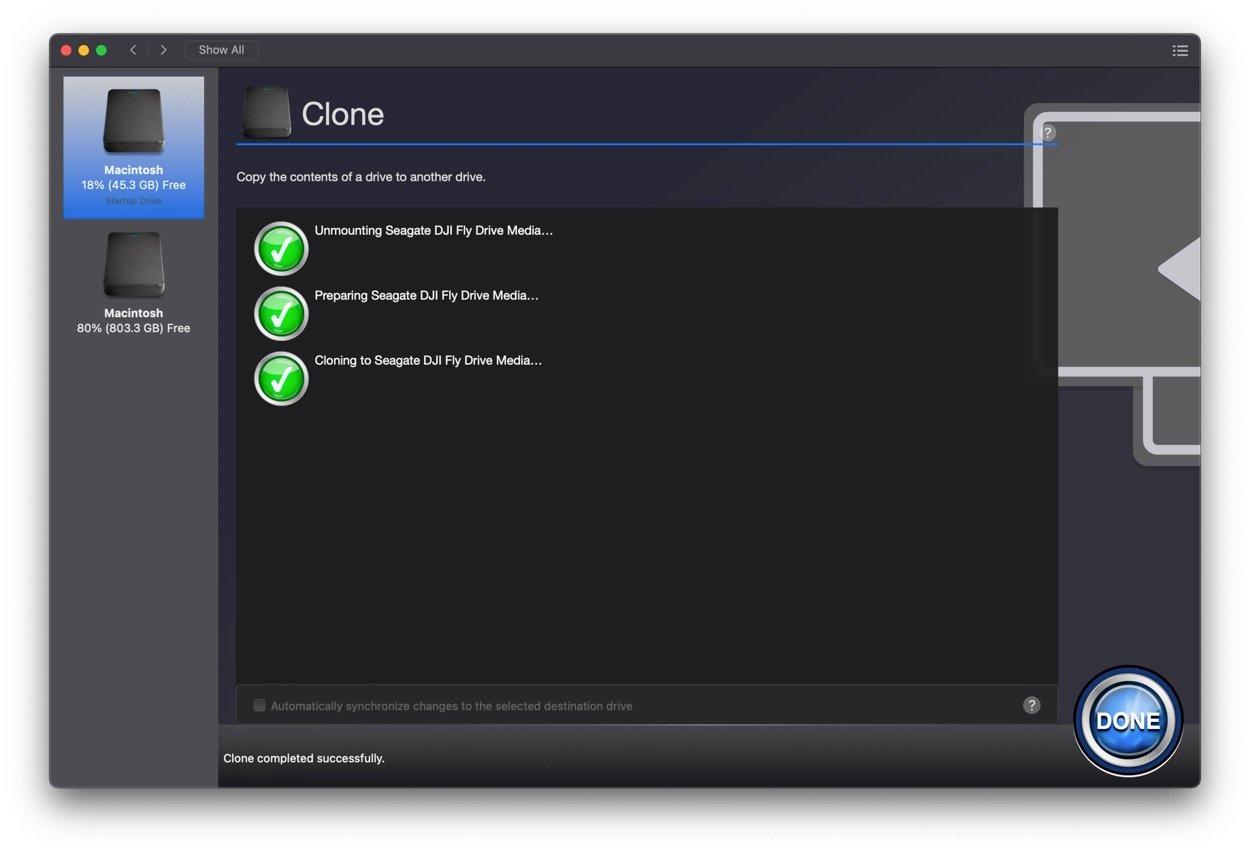
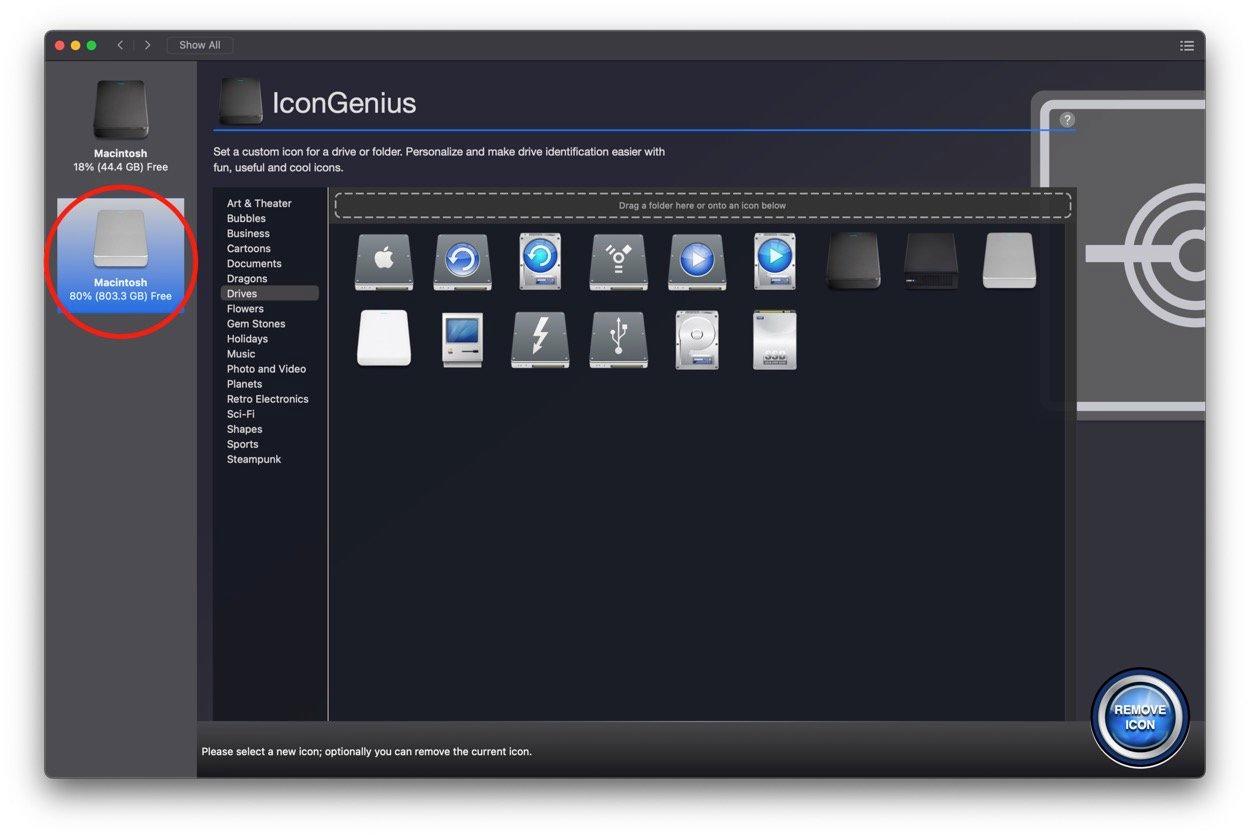
4) Once you click the start options Drive Genius will prepare the Destination Drive for you. It will start by reformatting the drive to APFS and begin to copy all of the files over to the destination drive. This process can take around an hour to complete, however, once complete you will be able to boot into the external hard drive in one of the following ways depending on your hardware. You can notice that both drives will look identical within Finder. You can look into using our IconGenius to change the external drive's icon.
Drive Genius - Booting Options
apple silicon mac’s (m1)
- Shut down the computer
- Power on the computer and continue to hold the power button until you see the boot drive options
- Select your external hard drive where we created the clone (Should be called Macintosh HD if you have not changed the name prior)
- You will be asked to Authenticate the startup disk using your admin User and password
Intel based mac’s
- Shut down the computer
- Power on the computer while holding down the Option key until you see the Apple loading bar.
- Select your external hard drive where we created the clone (Should be called Macintosh HD if you have not changed the name prior)
5) You will want to log into your profile and let the computer sit for about 20min. The system is running macOS verifications on all the files within this new disk since the boot drive changed. If you try and use the computer now. Things will be moving really slowly and you will most likely get a scroll wheel with any task that you run. The service that you will see taking up a lot of resources will be a process called XprotectServ which is apples built in antivirus tool.
We hope that this guide was able to help you create a bootable external hard drive while running macOS Sonoma, Ventura, Monterey, or Big Sur. However, ASR will only be temporary until we can find a suitable solution. Sign up to our mailing list to receive any changes to Drive Genius and our other products.
Frequently Asked Questions
How do I make my external hard drive bootable for Mac?
The steps described above will create a bootable clone of your internal hard drive. If you do not need your source drive data. You can also create a stand-alone boot drive on Mac by following our guide How To Create A Bootable External Hard Drive On Mac.
Can an external hard drive be used as a boot drive Mac?
Yes, an external hard drive can be used as a boot drive on Mac. An external boot drive can allow you to run checks on your internal boot drive with Drive Genius or allow you to scan your internal drive for lost or deleted data with Data Rescue.
How do I make my external hard drive bootable?
You can make your external hard drive bootable by cloning your start-up drive using Apple's Terminal utility Apple Software Restore. This process is described in this guide which will work for Sonoma, Ventura, Monterey, and Big Sur.
Why is my external hard drive not bootable Mac?
A version of macOS that has a signed system volume will be needed for an external hard drive to be bootable on Mac. This can be accomplished by following our steps described above or using Apple's macOS installer which will install a fresh copy of MacOS onto the drive.
How do I know if my external hard drive is bootable?
You can check if your external hard drive is bootable if you see it as a selectable option in your Startup Disk menu in System Preferences.