Data Recovery from an Internal Mac Hard Drive
Oh no, you’ve reinstalled your operating system or deleted files from your computer that you still needed! Your precious documents, images, videos, or other data is gone forever. Or are they? With data recovery software like Data Rescue, it is possible to recover deleted or lost files from your internal Mac hard drive.
Recovery is not always possible as every case is different, so we recommend trying the demo version of Data Rescue to ensure your files can be recovered from your internal Mac drive. This will allow you to perform a full scan of your internal drive and preview the files to make sure they are valid and recoverable before purchase. Follow along with this guide to learn more about data recovery from an internal Mac drive.
Note: Need help with Data Recovery on Windows? We've got you covered in this blog on Windows Data Recovery Software.
Downloading and Installing Data Rescue
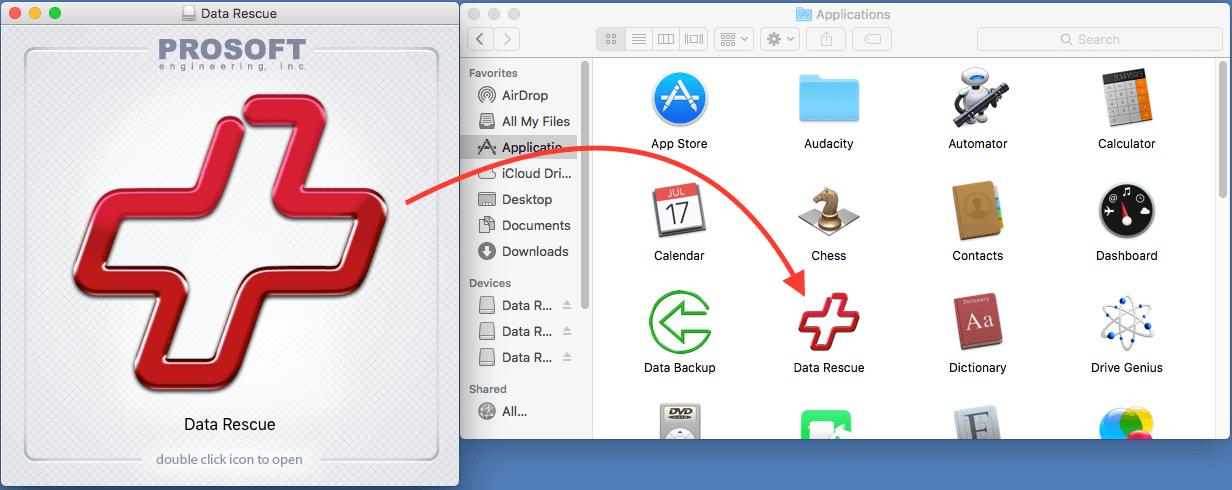
The first step in recovering from your internal drive is to download and install the software. If you have already installed Data Rescue you can skip to the next section. The software can be downloaded directly from our website on our Downloads page. After the download has finished, open the Data Rescue DMG file. A window will open with the Data Rescue logo. To install the software, you will want to drag the icon into your Applications folder as pictured below:
The software is now installed and can be launched from your Applications folder. You will be prompted to enter your name and asked for either your demo or purchased serial number. After entering that information, you will be taken to the Welcome screen and are ready to select your internal drive for scanning.
Note: If you are running the latest operating system, High Sierra, you will need to follow the steps in the following section of this guide before continuing. If you are running an earlier version of Mac OS you can skip the next section.
High Sierra OS Update
Due to changes made in the latest Mac OS High Sierra, it is required that you boot from an external Recovery Drive in order to recover files from your internal drive. A Recovery Drive is a special startup drive that can be created through the Data Rescue software on your own device, or alternatively purchased preconfigured on our website.
Note: Creating a Recovery Drive on a device will erase all contents of the device. It is recommended that you backup the files of the drive or use an empty device. We recommend using a USB 3.0 Flash Drive that is 8GB or larger.
To create a Recovery Drive, from the Welcome screen click on the “Create Recovery Drive” menu option. Highlight the device and press “Start” in the lower right to create the Recovery Drive. Confirm that the device will be overwritten to continue.
To boot into the Data Rescue Recovery Drive, restart your computer while holding the Option key. Once a list of drives appears you can release the Option key and select the Recovery Drive, which will be named Data Rescue.
Note: You will need to re-enter your serial number when booting to the Recovery Drive.
Once you are booted into the Recovery Drive and have entered your serial number, you can follow the rest of the instructions included in this post.
Selecting Your Internal Drive for Scanning
From the Welcome screen, select the first option, “Start Recovering Files”, to begin the process of scanning a drive. You will be taken to a screen similar to the one below.
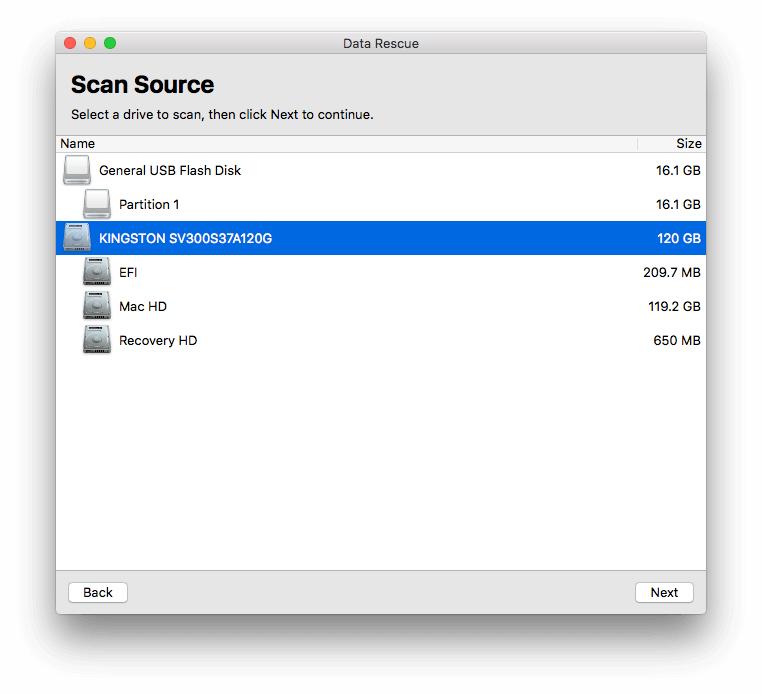
In our example, we can see that our internal drive is the Kingston device because Mac HD is listed as a partition on the device. Common internal device names on Mac computers include AppleHDD or AppleSSD. For best results when searching for lost or deleted files, we recommend selecting the top level hardware name of your internal drive, in this case that would be the highlighted Kingston. Press “Next” after selecting your internal drive to move to the scan selection screen pictured below.
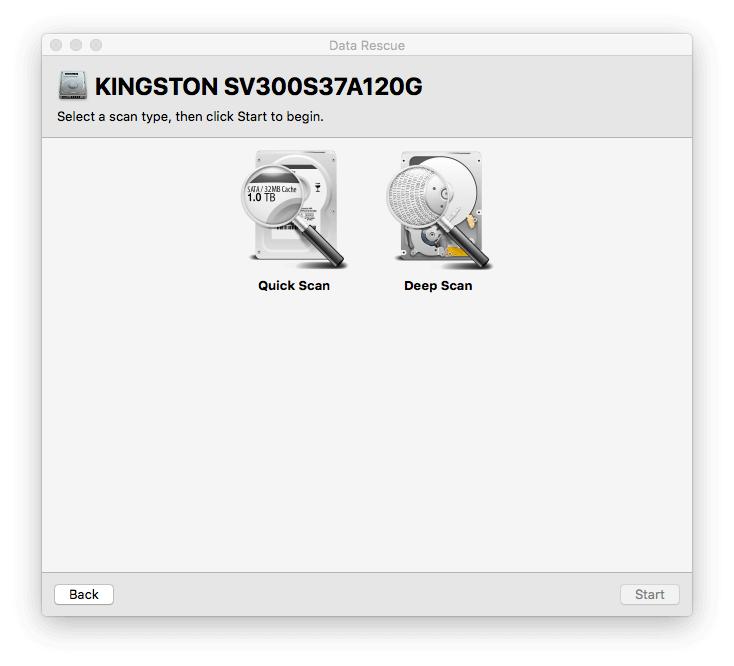
You can click on the Quick or Deep Scan to learn more about each scan. For lost files from deletion or formatted drives, we recommend using the Deep Scan. Select this scan type and press “Start”. You may receive a warning similar to the one pictured below.
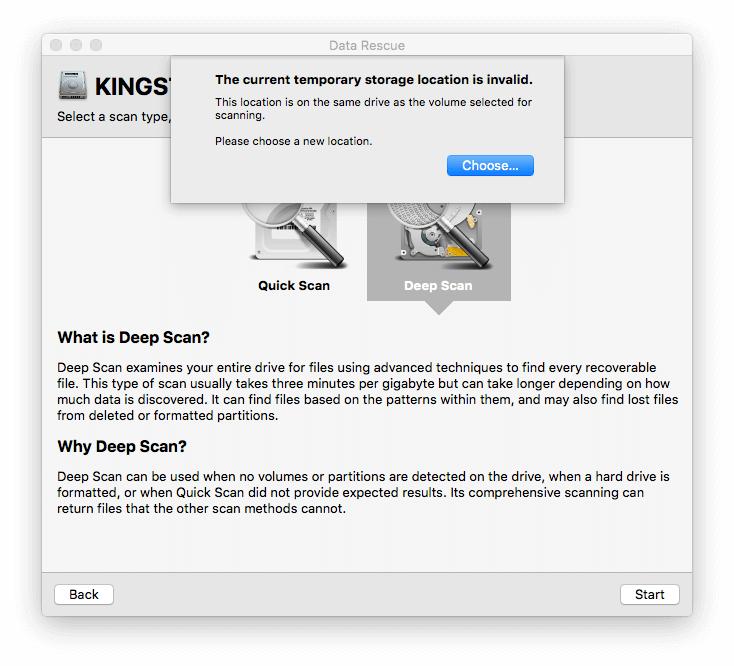
This warning will appear if your temporary storage location is invalid. To learn more about choosing the temporary storage location, head to the next section.
Choosing a Temporary Storage Location
Note: If you are running the latest operating system, High Sierra, and booted from a Recovery Drive as described in the High Sierra section above, you can skip this section.
The temporary storage location is a drive, or a folder on a drive, that is used during a scan to store persistent information found during a scan. Data Rescue will automatically choose the startup drive as the default location, unless there is not enough free space remaining. Since we are trying to scan our internal drive, this is why we are prompted that the location is on the same drive as the volume we selected for scanning.
Press the “Choose…” button to go to the Temporary Storage Location window pictured below. You can also access the menu at any time by going to File → Change Temporary Storage Location.

From this screen you can select a valid temporary storage location. A valid location must:
- be located on a separate physical drive from the drive selected for scanning.
- contain a valid Mac OS Extended file system (HFS+) with write-access (see below).
- have enough free space to store information about the drive selected for scanning. This value is estimated to be 2% of the selected drive’s capacity.
If a location selected is not a valid Mac file system, Data Rescue can erase it so that it can be used as a storage location if it’s identified as “Erase Required”. In this situation, you can select the location and click “Choose”. An Erase window will be displayed to confirm the operation. Once erased, you can go back and re-select the location once again.
Note: Erasing a volume will destroy all file data on it. This feature is most often used for when a new drive is purchased from a retail store and is not properly formatted for use with a Mac.
In the example image above we are going to be using an external USB flash drive as our temporary storage location, which fulfills the requirement of using a drive separate from our internal one.
Once you have highlighted a valid temporary storage location, click the “Choose” button to begin your scan.
Finding and Marking Files for Recovery
After your scan has completed, the last step is to mark files and folders to be recovered. The possibility of recovering data with it’s original filename and folder structure depends on the specific recovery scenario.
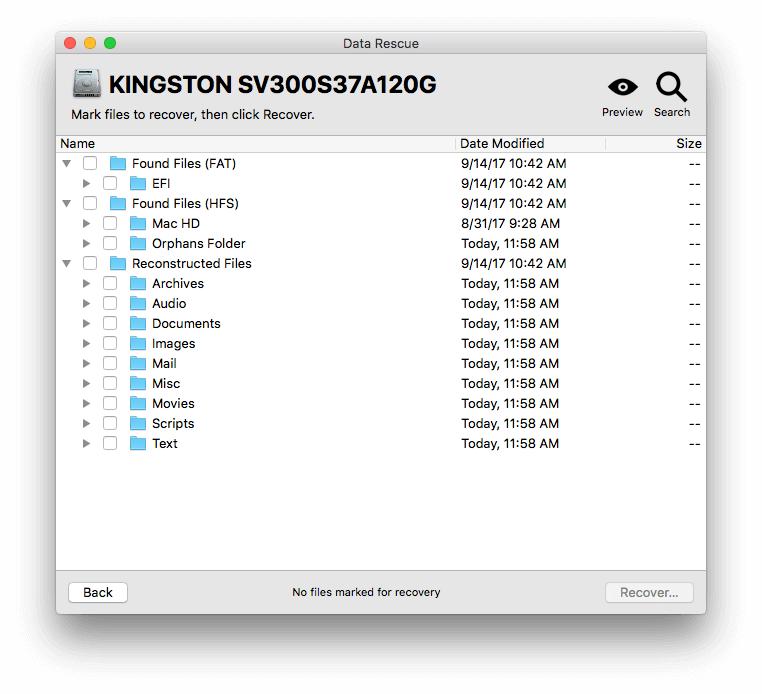
If you are attempting to recover from a drive that is failing to mount and cannot be accessed through Mac OS, or from a system that will not boot, it is possible to recover folder/file structure since the data is still fully intact in most cases. This data will be found in the “Found Files” folder in the results of a Quick or Deep Scan. If you are attempting to recover files that were deleted or files from a formatted hard drive, generally the filename and folder structure are not going to be recoverable. Data lost in those cases will be found in the “Reconstructed Files” folder organized by file type.
You can highlight a specific file and press the “Preview” button in the upper right to see if the file is intact. Mark files or folders by clicking the checkbox to the left, and press the “Recover” button in the lower right once you have marked all files or folders you’d like to recover at this time.
After pressing the “Recover” button, you will be asked to select a location to recover the files. You can select any location other than the internal drive you have scanned, as that could potentially overwrite files you are looking to recover. If the device is large enough, you are able to select the temporary storage location to recover the files to.
Now your recovery is complete, and you can go to the recovery destination to access your files.