How to Run Physical Check on a Drive
Physical Check is designed to detect hardware issues with drives. It goes through extensive tests to determine if there are possible hardware issues. Physical Check reads every data area on a drive in sequence and determines whether the drive reports an error for any of these reads. The time required for a Physical Check test to complete is dependent on the drive’s size, speed, and its physical health.
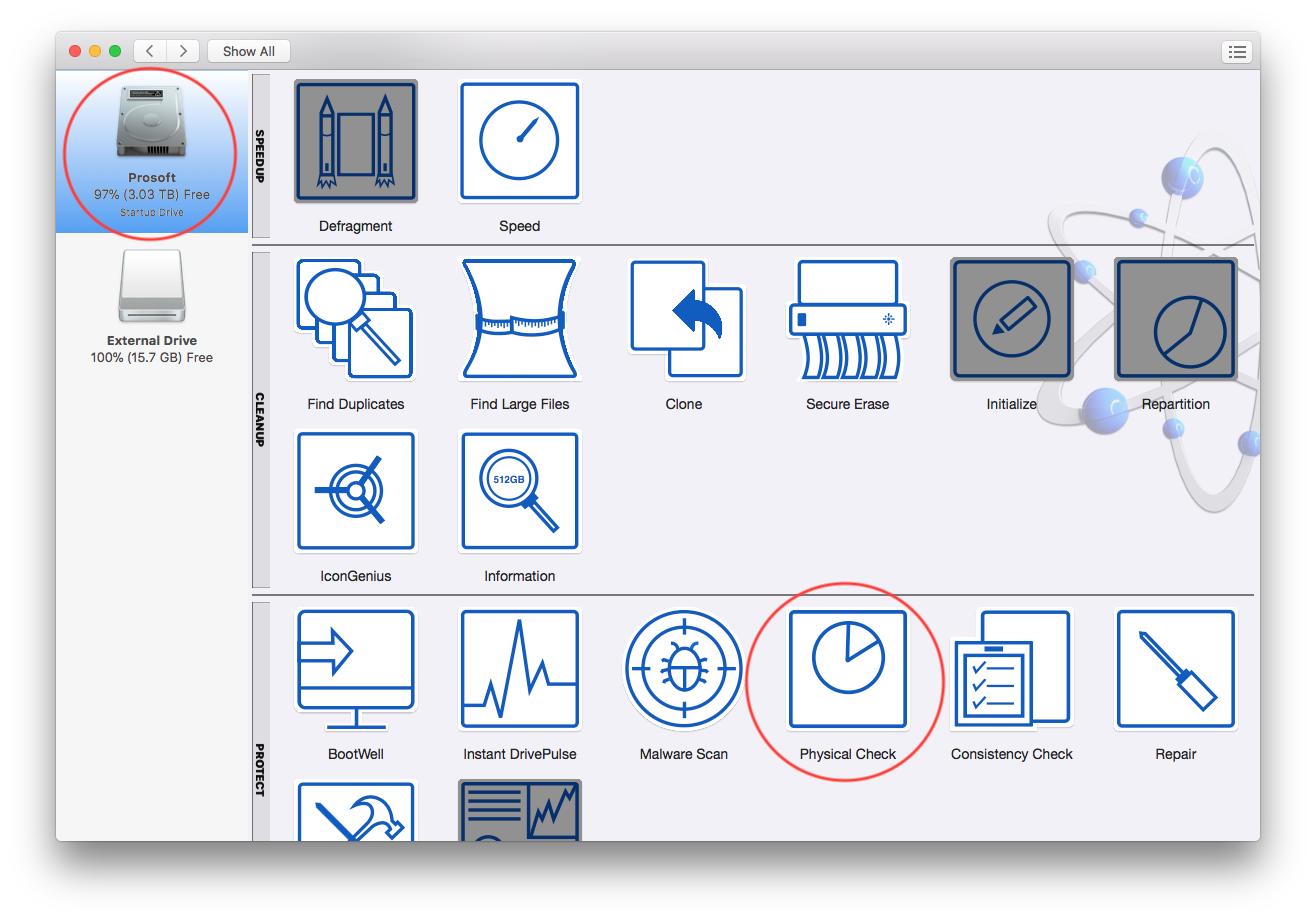
To run a Physical Check on a drive, select the drive from the left of the Drive Genius Window that you’d like to test, then select the ‘Physical Check’ utility in the Protect section of the feature window as shown below:
The Physical Check utility will have the following options:
Revive Damaged Areas - If Drive Genius or DrivePulse informs you it has found bad areas, or you suspect there are bad areas on a drive you can enable Revive damaged areas to instruct the hard drive to reallocate any bad data areas that are found. When Drive Genius finds a bad area, it will attempt to read the information from the bad area and write it back to the same area. This will kick-in the drive’s reallocation mechanism and move the data area contents to a new area
Extended Check - The extended check option will verify the read and write ability of every data area on the drive. Unlike the Revive option, which only attempts writes for bad areas, the Extended check option will read and write the contents of every single data area on the drive; possibly multiple times. If you have the time to let the Extended check complete, it will find faults with the drive even when other tests, other utilities or vendors themselves declare the drive to be in good condition.
After selecting your desired options, press the ‘Start’ button in the lower right to perform a Physical Check. Once the physical check is complete it will inform you of any bad blocks or other issues with your drive.