How to Recover Files
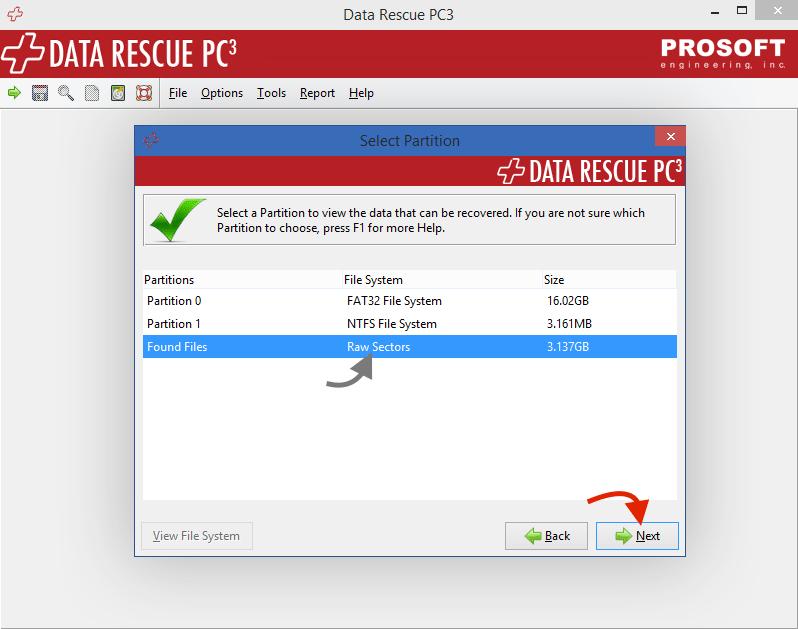
1. After a scan is complete, you should be shown a “Select Partition” window with a few partitions located within. You will need to select a partition (for this example I selected the “Found Files” partition) and press the Next button at the bottom right corner. This will begin to create a list of files.
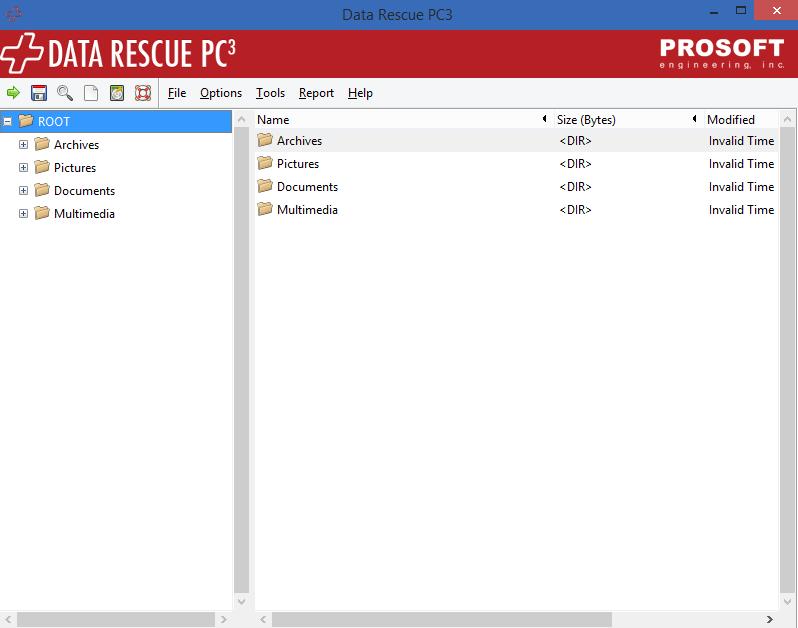
2. You will now be presented with a list of files and folders, from here, navigate to a specific file you may looking for.
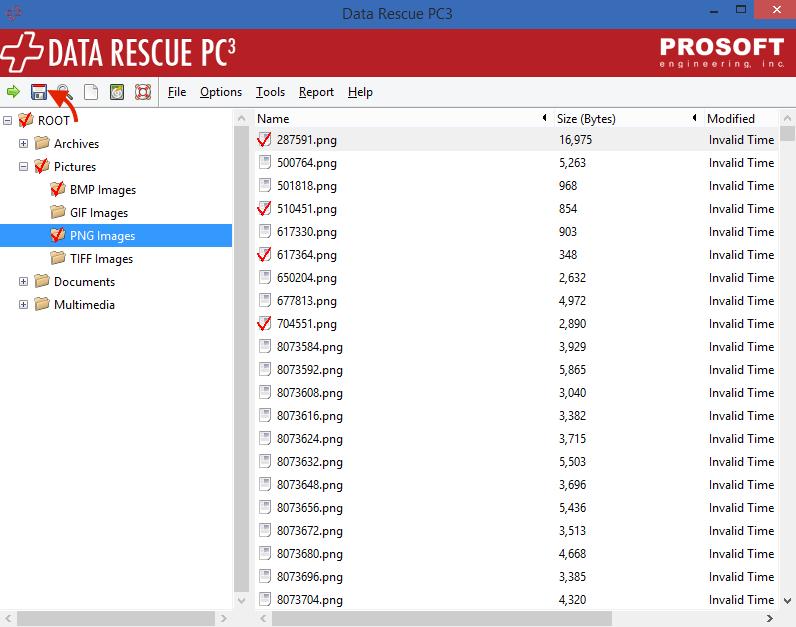
3. Once navigated to a specific folder/file you are looking to recover, on the left side of the software you may choose to recover specific folders and files by either highlighting it and pressing the spacebar or right-clicking and pressing the “Check” option.
Once you have them selected, the next step is to click on the floppy disk at the top left of the software.
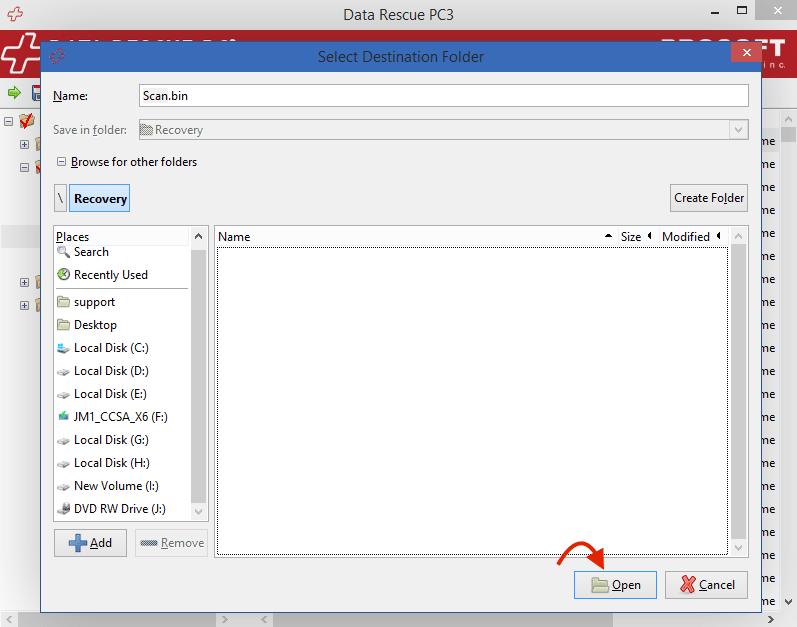
4. A window will open, now select the location in which you wish to recover the files to and press “Open”.
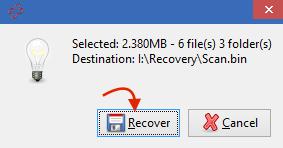
5. Another window will appear detailing the amount of data you will be recovering, if you certain this is the amount you wish to recover, press the “Recover” button and the software will begin the recovery process.
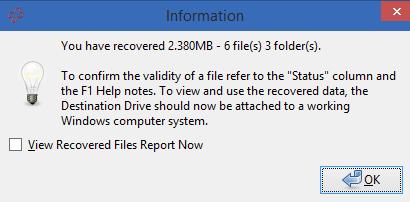
6. Once the process is complete, a final window will appear confirming the data recovered.
7. The data will now be recovered into the directory you specified, in windows explorer navigate to that location and look at what data has successfully been recovered.