How to make a BootWell
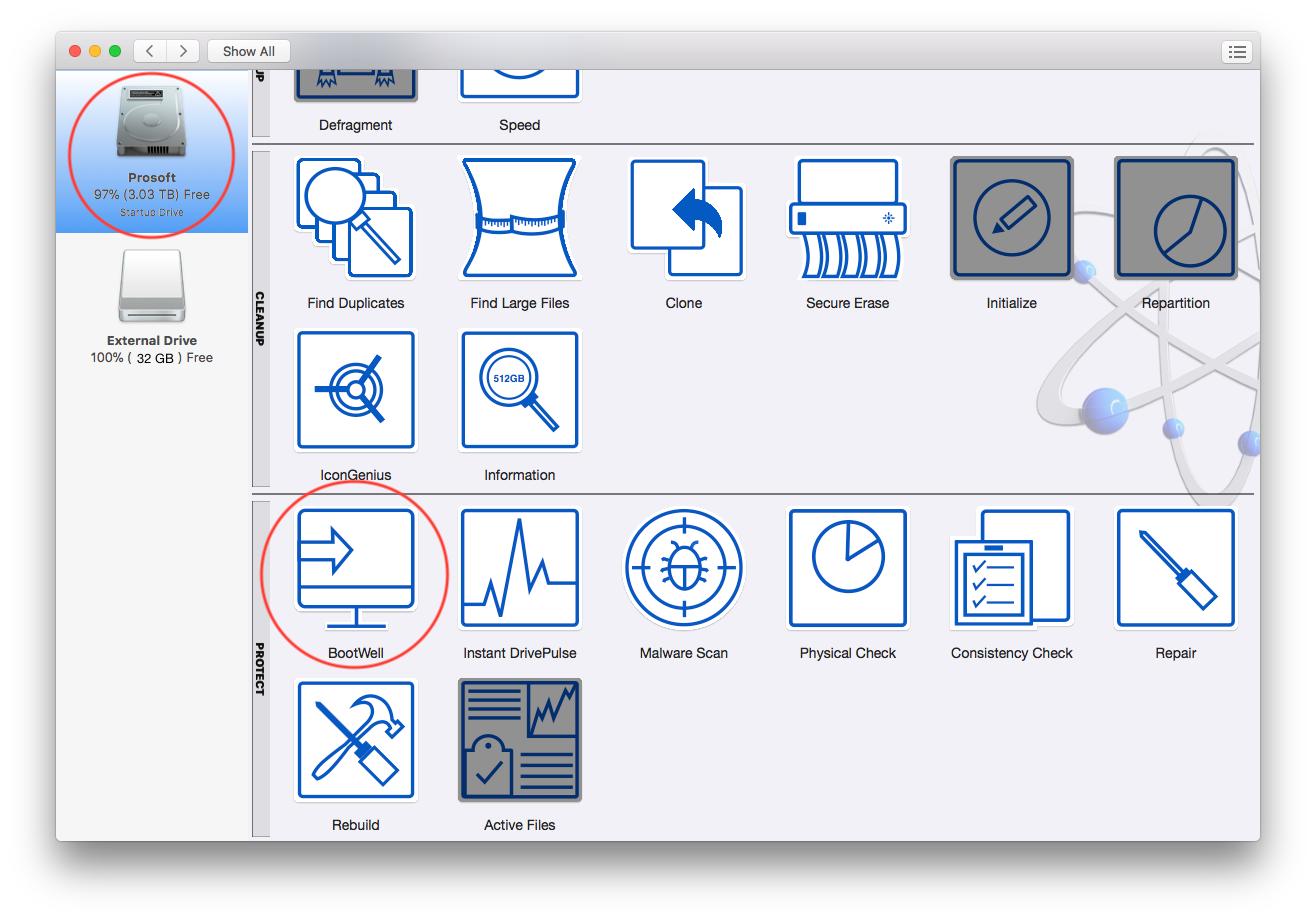
The Drive Genius BootWell drive is used to maintain and manage your primary internal hard drive on your Mac.
Most Drive Genius utilities work on your primary internal hard drive “live” with no need for a secondary startup drive. However certain utilities require starting your computer from a secondary drive so they can have exclusive access to your primary drive, this is where the BootWell comes in.
To create a Drive Genius BootWell, you will need a Hi-speed USB 3.0 flash drive that is 32GB or larger.
Note: The chosen USB will be completely erased.
After selecting the BootWell creation utility, connect the device you’d like to use as a BootWell if you have not done so already.
You can now select the desired device and press the ‘Start’ button in the lower right, as shown below:
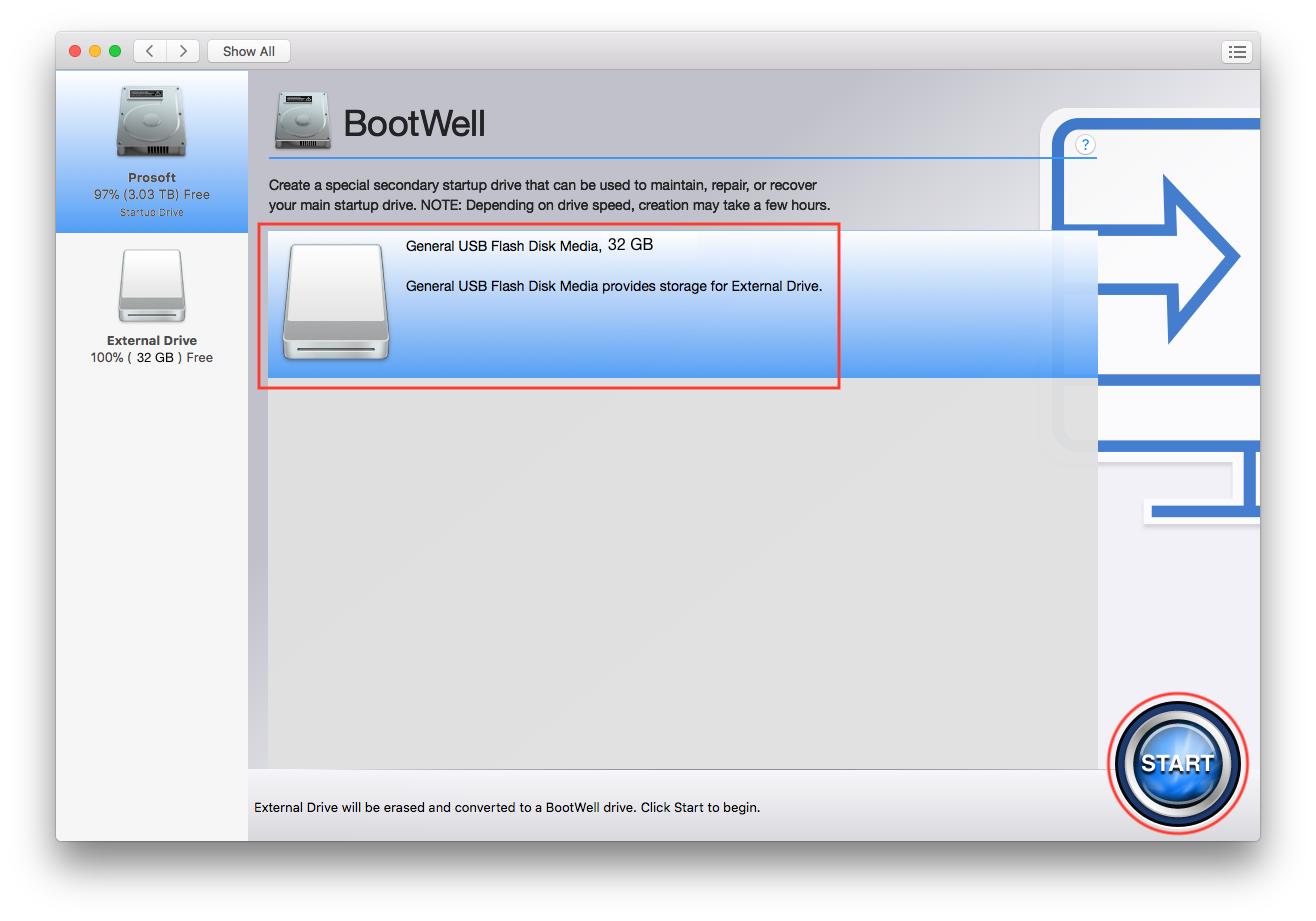
Confirm that you have selected the correct device, and press ‘Create BootWell Drive’ to begin creating the device.
You can reboot into the BootWell drive directly from the internal drive via this method:
Go to the Apple logo on the top left of your screen > System Preferences When the System Preferences window opens, select ‘Startup Disk’ In the newly opened window, you will see all the bootable devices connected to your computer. You can now select which device you’d like to boot from by highlighting it and clicking ‘Restart…’. This will reboot your computer from the selected device.
Alternatively, you can use the startup boot menu to select a boot device:
While powering on or restarting your Mac, hold the Option key down. A list of bootable devices will be displayed. You can then release the option key and select a boot device.
Note: If you do not see the Bootwell as an option in your boot device options. You will need to follow the previous method for the first initial boot of the Bootwell. Once you have booted once using the previous method. You can select it as a boot option from your boot device menu (turning on the computer while holding down the option key).