How to Change Drive Icons
IconGenius makes it easy to keep track of your hard drives using custom icons. To set a custom drive icon:
Select the drive from the left of the Drive Genius Window that you’d like to set a custom icon for, then select the ‘IconGenius’ utility in the Cleanup section of the feature window as shown below.
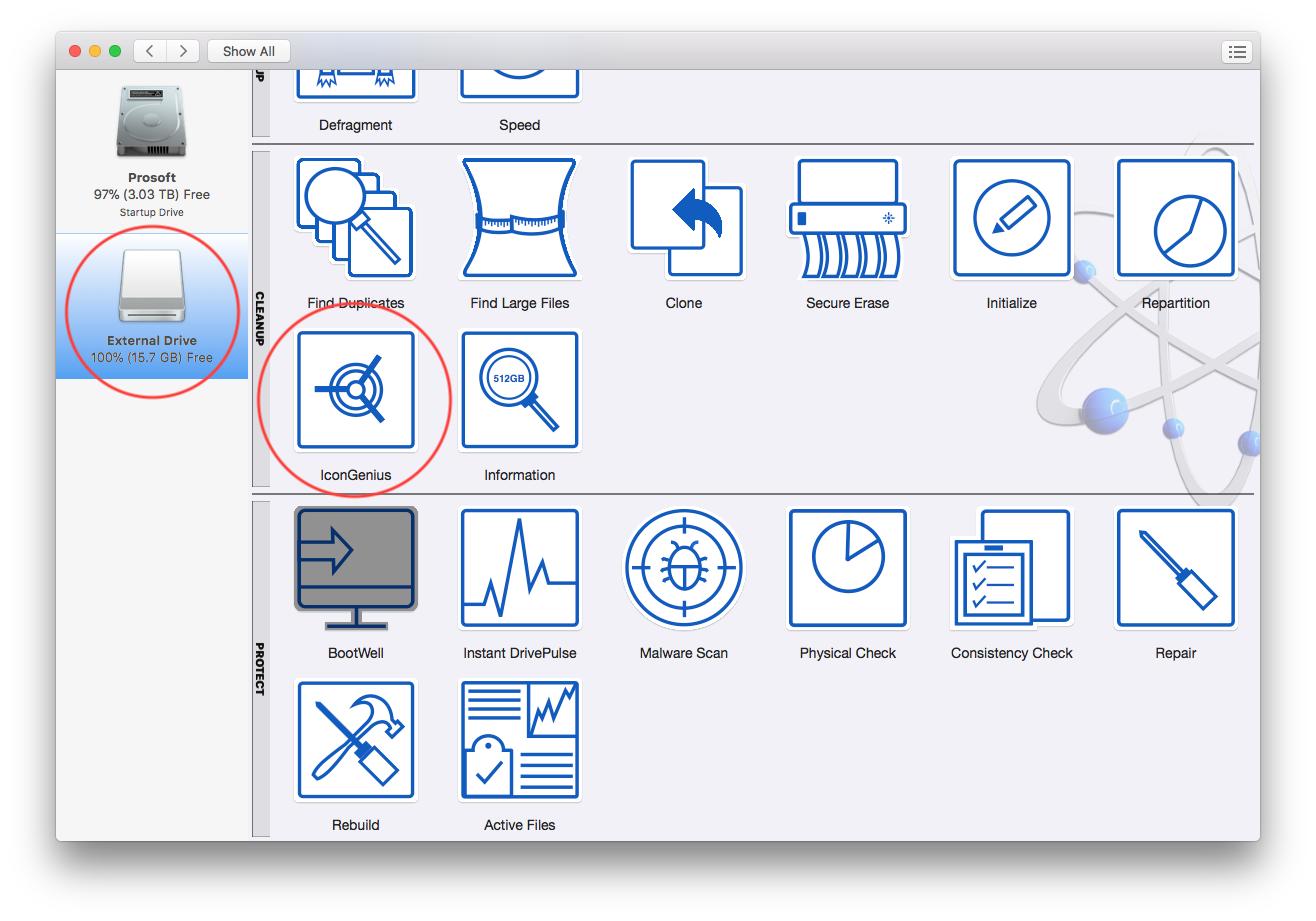
2. Select IconGenius feature.
In the list of available icons, click the image that you wish to change the drive’s icon to.
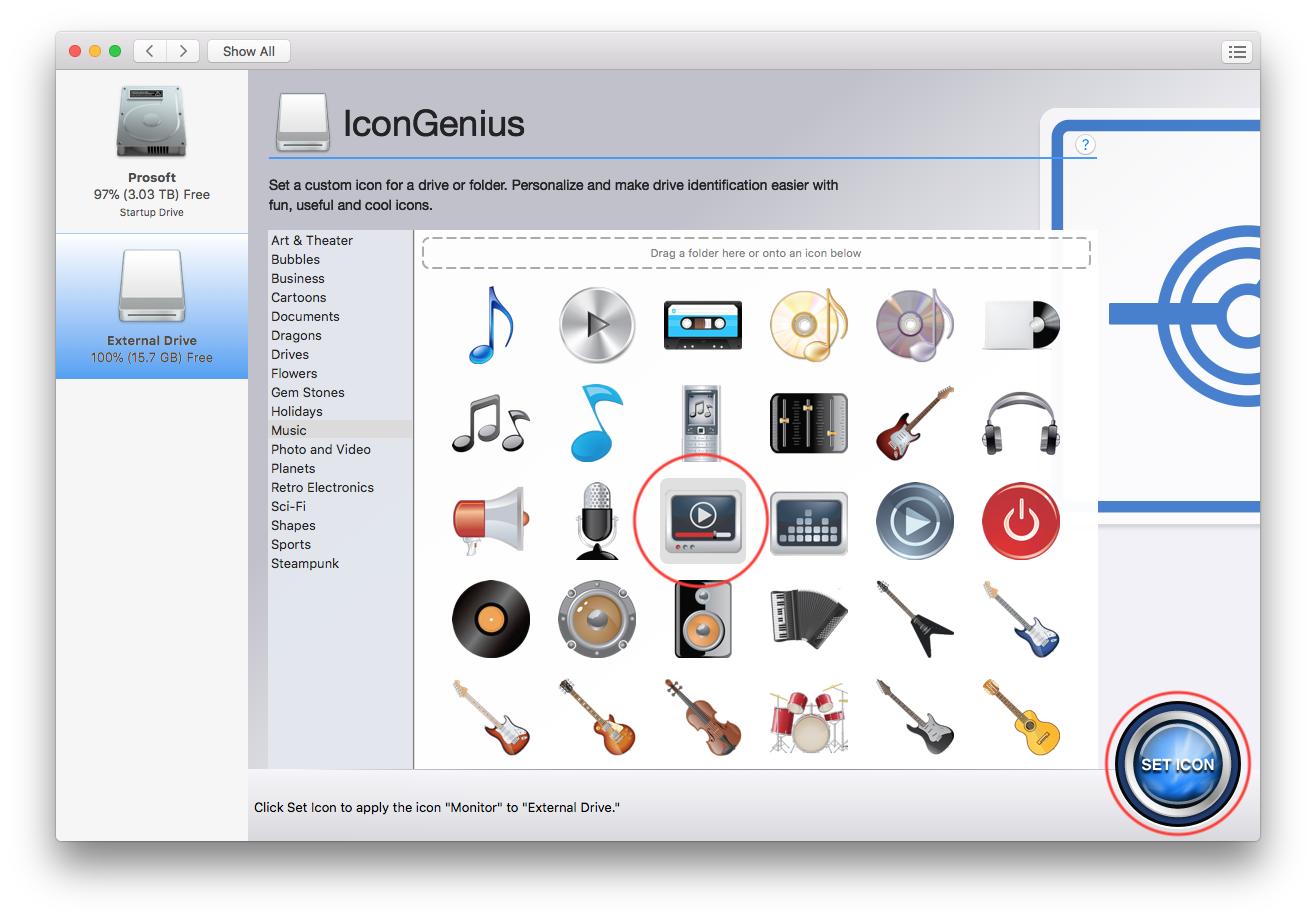
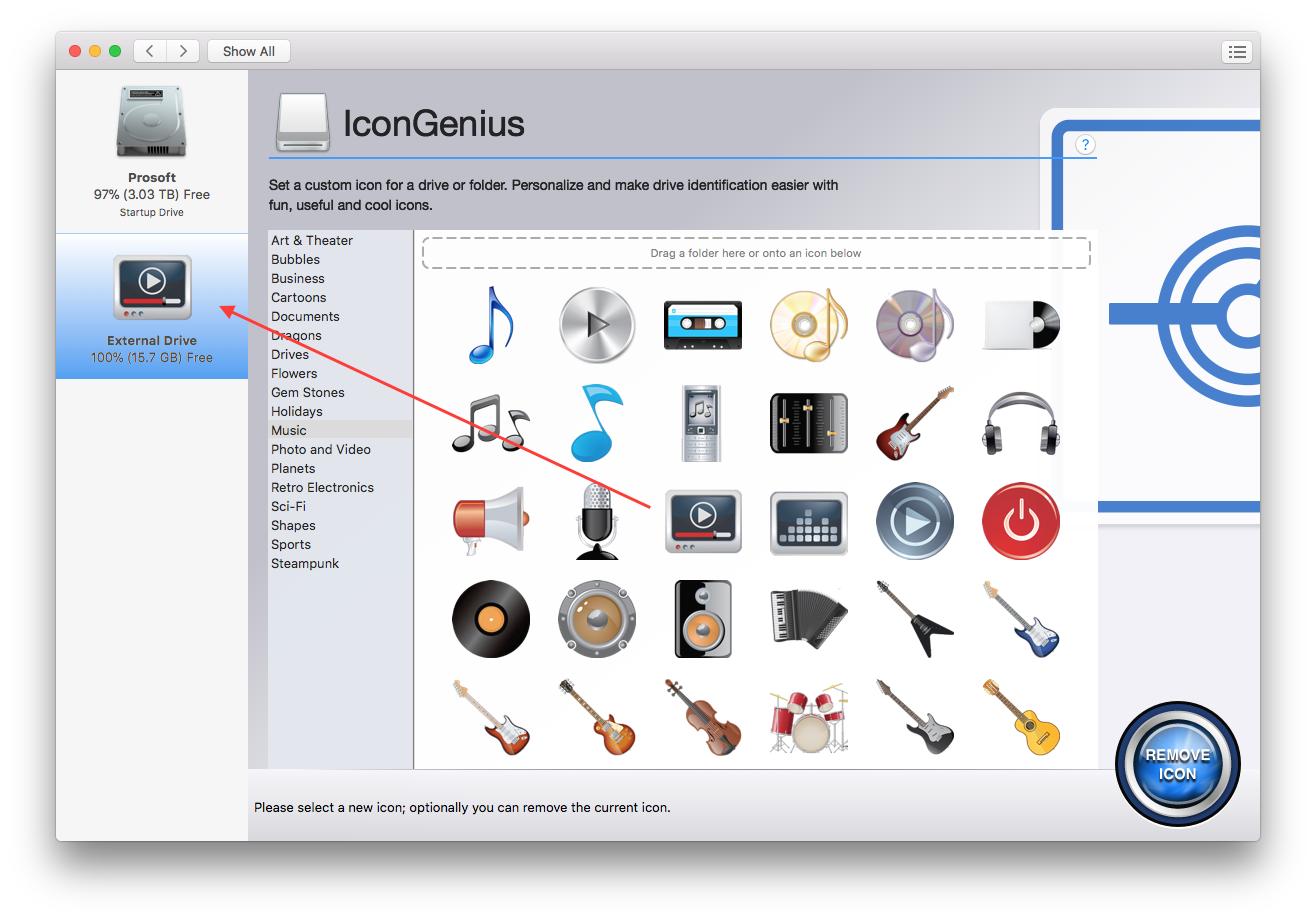
After the icon is highlighted, press the ‘Set Icon’ button on the bottom right. You icon has now been set. You can see you newly set icon in the drive list on the left of the Drive Genius window as shown below.