How to Secure Erase a Hard Drive
Securely erasing a hard drive is very important if you want to truly make all data on the device inaccessible.
Normally, deleted files can still be retrieved from your computer’s free space using software tools, as they are only truly ‘deleted’ once they are overwritten with new data. Securely erasing a drive involves the process of writing one or more ‘passes’ of random or pattern data to a drive, in the process overwriting any actual files on the device.
Please note: The ability to secure erase is a powerful tool. Ensure you have selected the correct drive before erasing. Securely erasing a drive using one or more passes will render all data unrecoverable, even through advanced data recovery software tools such as Data Rescue.
Select the drive from the left of the Drive Genius Window that you’d like to securely erase, then select the ‘Secure Erase’ utility in the Cleanup section of the feature window as shown below:
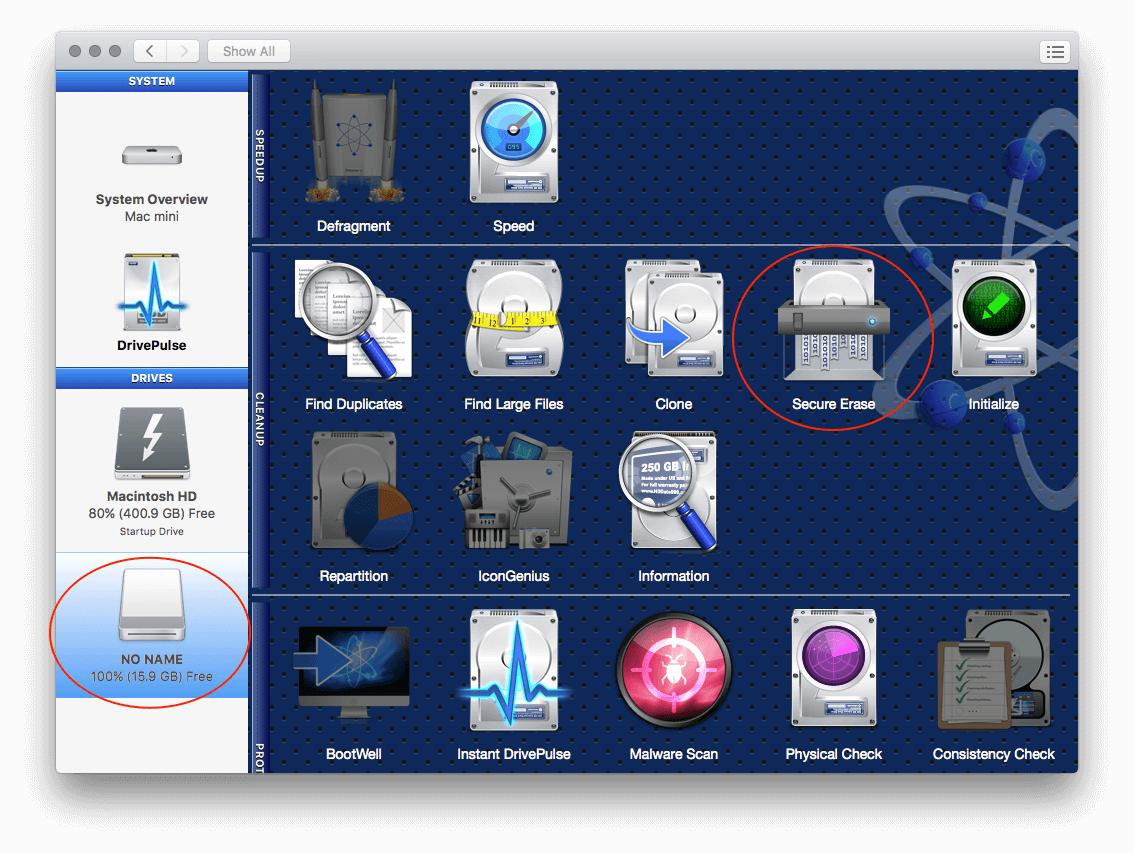
In the above example, we will be securely erasing an external 32GB USB flash drive.
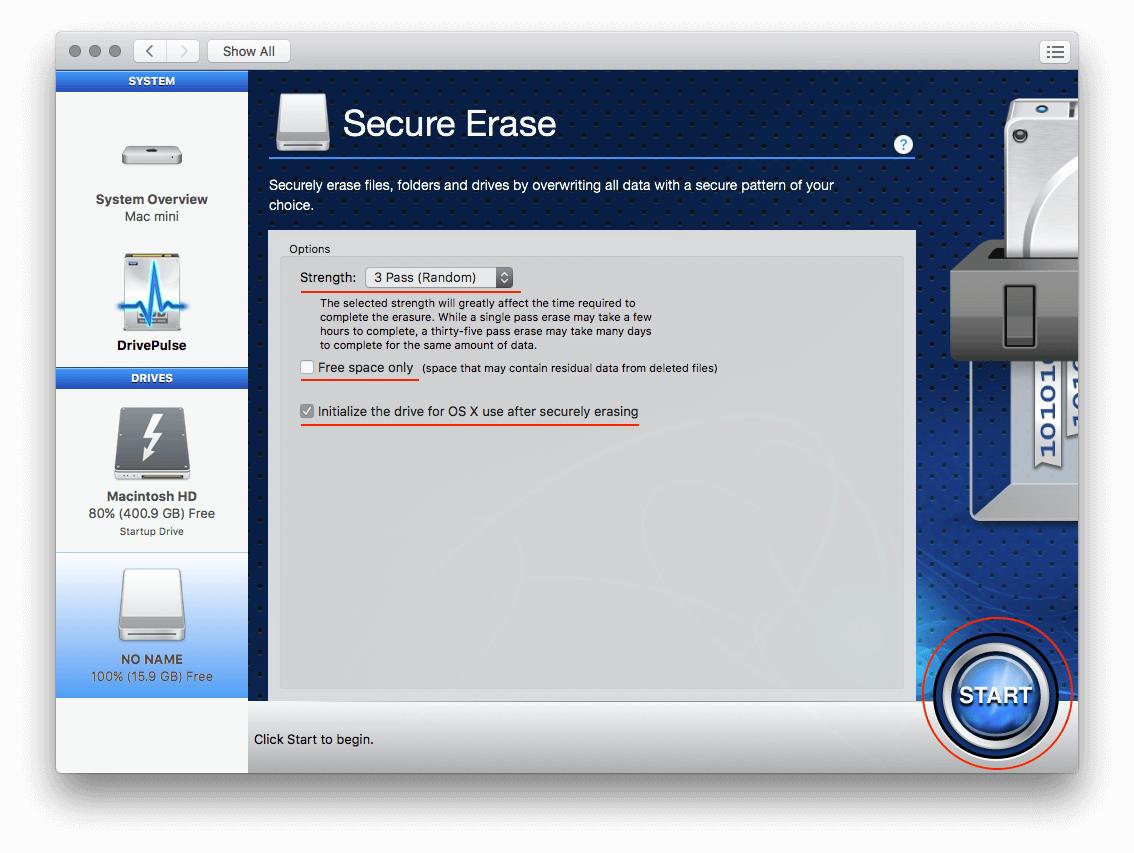
The Secure Erase utility will have the following three options:
Strength - The strength refers to the number of passes that will be written to the device. For example, the 1 Pass option will write the digit 0 across every specified data area of your hard drive a single time. As the number of passes is increased, the time for a secure erase to complete will increase significantly as it has to repeat this process multiple times for every storage area of a device.
Free Space Only - This is an optional checkbox that allows you to leave current files on the device intact. This means that only the free space on your device will be overwritten with the specified number of passes. This is useful if you’d like to securely erase files that were deleted from a device using the standard delete process, eliminating the possibility of retrieving them with data recovery software.
Initialize drive for Mac - This is another optional checkbox that adds the option to format the selected device for use with Mac computers. Note that this option can only be selected when securely erasing the entire contents of a device.
Note: Secure Erase for your internal startup drive is only available with the ‘Free space only’ option when using the normal installed application. If you would like to securely erase your entire internal drive, including your Mac operating system, you will need to boot from a secondary location such as another computer or by creating and using our BootWell utility.
Select your desired secure erase options and click the ‘Start’ button as shown below:
A warning will pop up noting that all data will be destroyed on the selected device. Confirm you have selected to correct device to securely erase and press the ‘Secure Erase’ button. A status of the secure erase procedure will be available at the bottom of the window.