How to Browse a Previous Scan
In Standard Mode, only the most recent scan is saved. You will need to make sure that the drive you saved the temporary storage location to is connected and turned on before proceeding with the following steps.
Step 1
Open Data Rescue.
Step 2
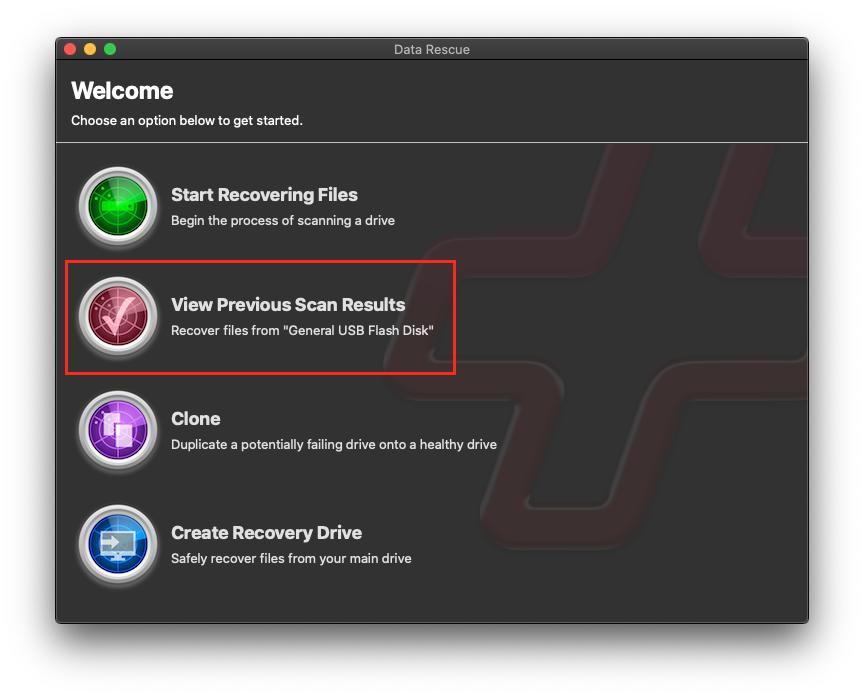
Select ‘View Previous Scan Results’.
Step 3
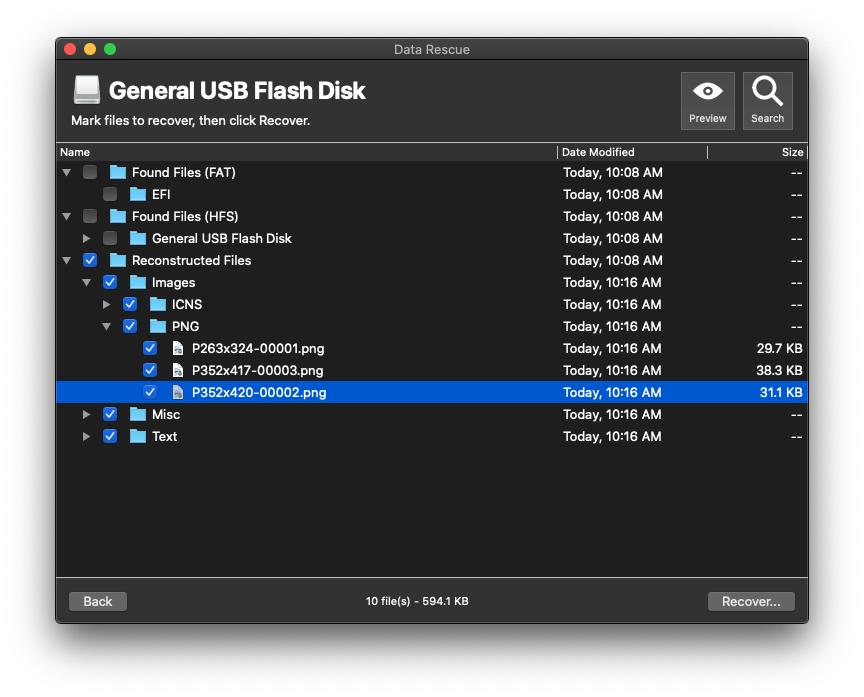
Browse your past results in the ‘Scan Results’ screen. Ensure to have the same external drive you have scanned plugged in. If not, it will stated “Disconnected” which will not allow you to preview your scan results.
NOTE: If these results are greyed out as shown above, the drive is not properly connected or is having a physical issue.
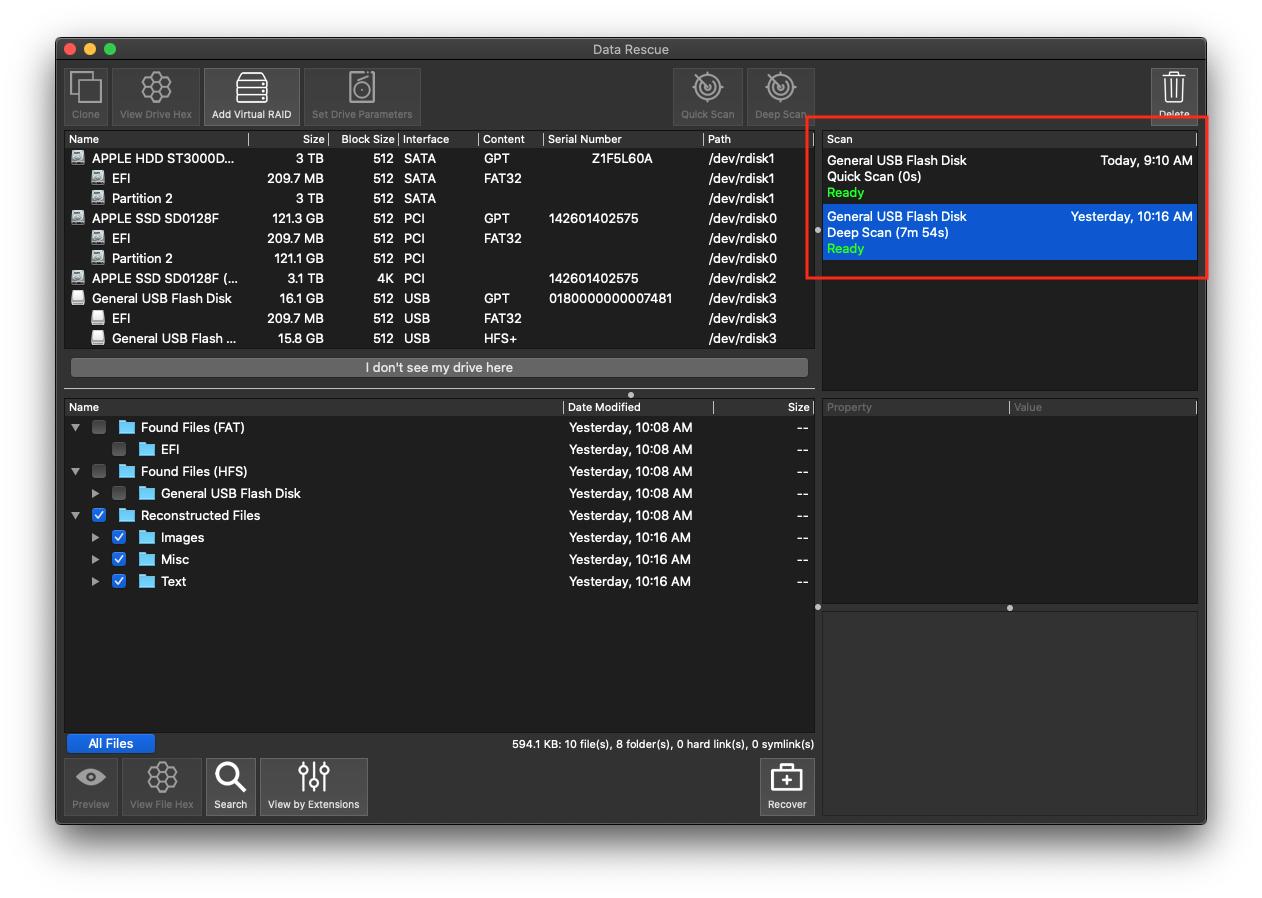
If you are using the Professional Mode, you can save and access multiple scans automatically. Completed scans will be displayed in the upper right area of the Professional Mode window under ‘Scan’ as shown below: