Create a Data Rescue 3 Bootable DVD
Step 1 – Using Apple’s Disk Utility
Download the Data Rescue 3 DVD disk image from the link that was supplied in the email from your purchase.
Open Apple’s Disk Utility (located in Mac HD/Applications/Utilities).
Click on the “Burn” icon on the top left corner of the Disk Utility window.
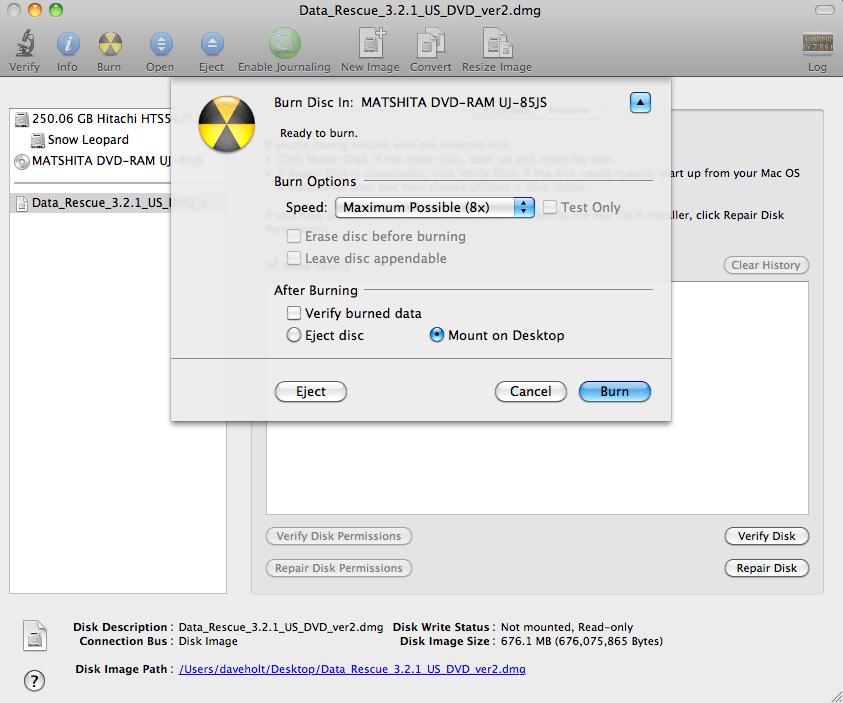
An “Open” prompt will appear. Locate and select the “Data_Rescue_3.2.1_US_DVD_ver2.dmg” file and select “Burn”.
A burn prompt will appear asking to insert a blank DVD-R. Insert the Blank DVD-R and select a burn speed below 6x speed.
Press the “Burn” button to begin the writing process to the DVD.
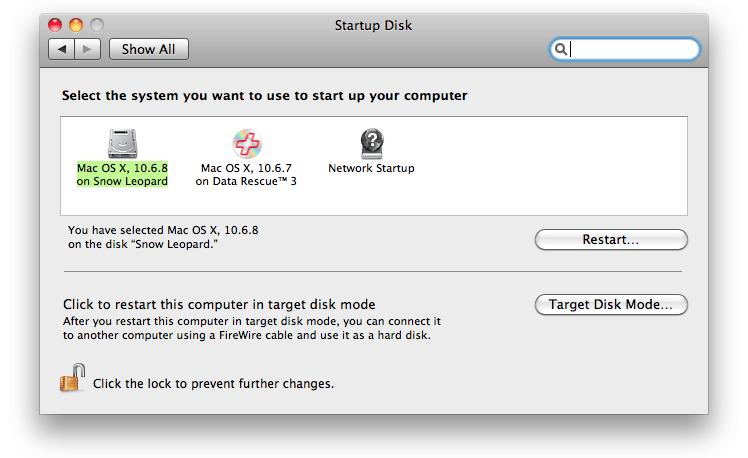
Step 2 – Select the Startup Disk
You are now ready to boot Data Rescue 3 from your device. Simply restart your Mac and hold down the ‘C’ key until you see the blue screen.
You can also open your system preferences/startup disk and select the boot device then restart your Mac.
Alternatively you can restart your system by holding down the ‘alt/option’ key to bring up the options menu during startup. Select your bootable Data Rescue 3 DVD and click the continue arrow to proceed with booting from the DVD.