Booting from the DVD
Connect your secondary storage device now before continuing to the boot DVD steps.
To boot from Data Rescue 3 DVD:
Insert the Data Rescue DVD into the DVD Drive.
Restart the computer holding the “C” key.
Continue holding the “C” key until the Apple logo is displayed.
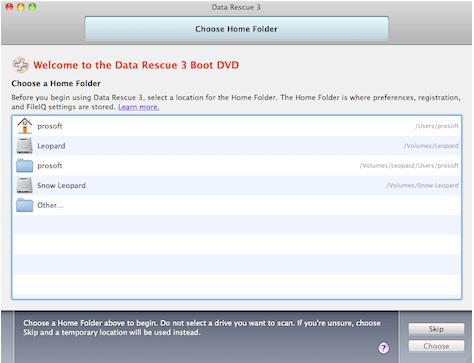
When the Data Rescue 3 DVD boots your Mac the following screen appears for you to choose a “Home Folder”.
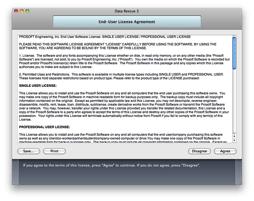
Agree to EUA
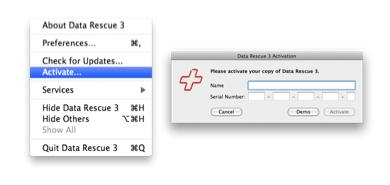
Enter your name and serial number and click “Activate”. If you are evaluating Data Rescue 3 click “Demo”.
Start New Scan Choose this option if you want to begin scanning a drive. This will be the case for the majority of users who haven’t used Data Rescue 3 before.
Resume Suspended Scan If you have suspended, or paused, a previous scan in Data Rescue 3, you can use this option to continue where you last left off. Make sure you have the original drive that was being scanned connected to your computer. If you only have one suspended scan, it will be resumed immediately. Otherwise you will be prompted to choose a scan to resume.
Browse Completed Scans This option is available if you already have one or more completed scans. Selecting this will bring you to the Scan Results where you can locate files for recovery.