How to Set Up a Custom Backup
Data Backup includes several predefined sets for your default destination choice. If you would like full control over your backup settings, set up a custom backup by following these steps:
Step 1
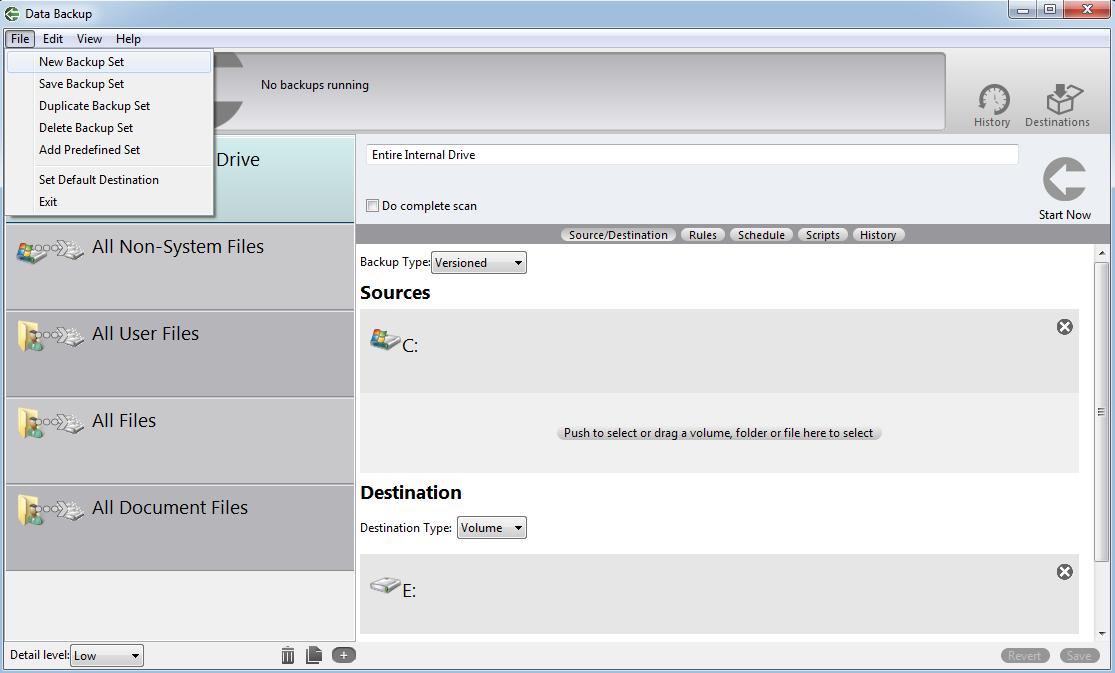
Create a new backup set by pressing the plus icon in the bottom left of the Data Backup window as indicated in the screenshot below. You can also go to the File → New Backup Set dropdown menu option to create a new set.
Step 2
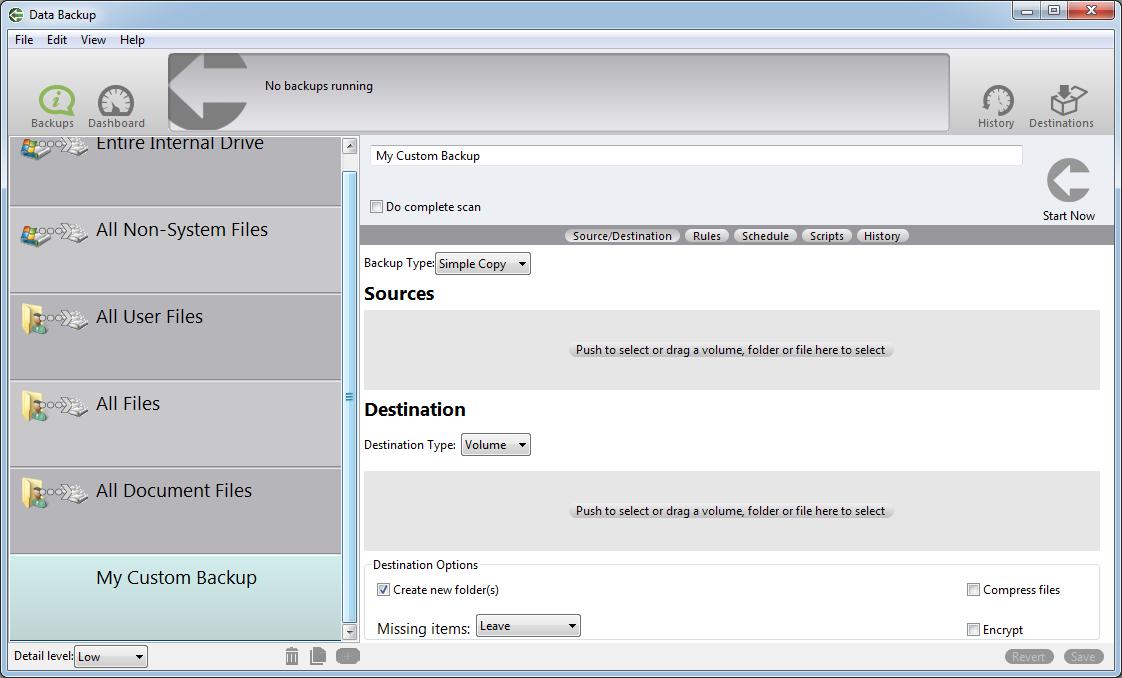
Create a name for your custom backup set in the textbox at the top of the backup set screen. In our example we have named it ‘My Custom Backup’, but feel free to choose a name that helps you better remember what the backup does (For example: Work Drive to Home Drive Backup).
Step 3
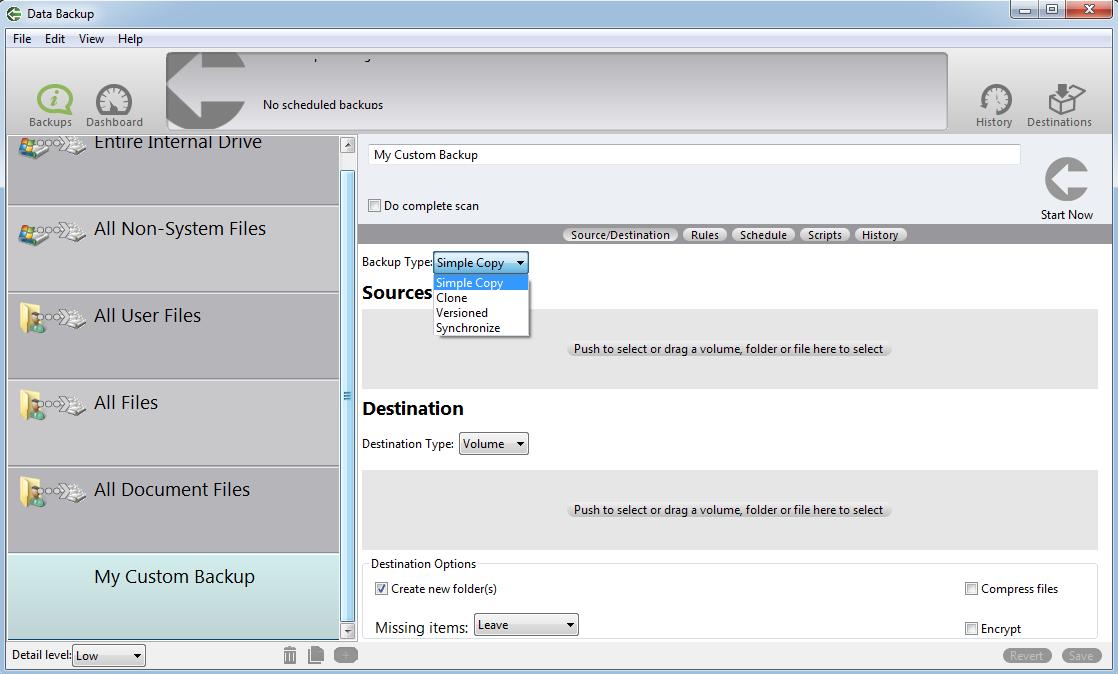
Select a backup type from the dropdown menu. Options include Simple Copy, Clone, Versioned, and Synchronize. For more information about the backup types see our how-to guide on choosing a backup type.
Step 4
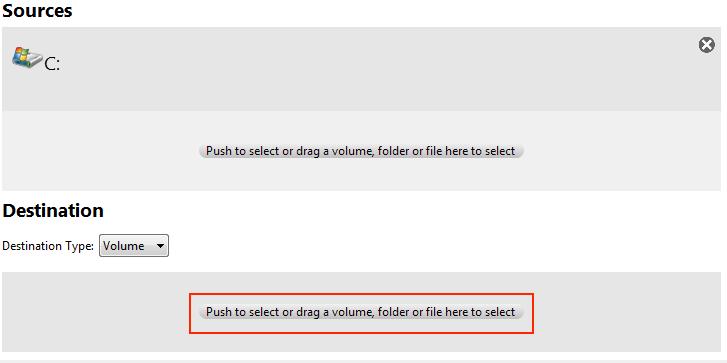
Choose one or more sources for your custom backup by dragging the source into the ‘Sources’ area of the backup set window or click the source area to open a file explorer window to select your source. You can choose an entire drive, folders, or individual files as your source.

Step 5
With your source(s) selected, you can now select your destination for your custom backup.
Step 6
With your source(s) and destination selected, you can now set your destination options. These options are described in more detail below.
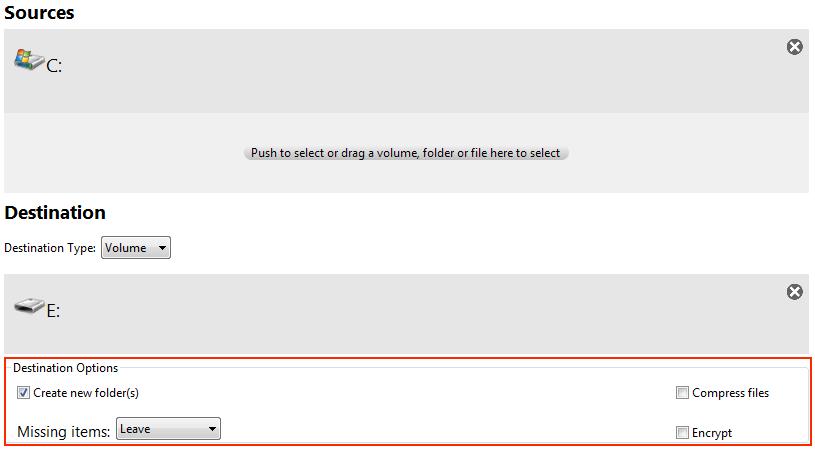
Create New Folder(s)
You may choose this option to create a new folder for each of your source volumes or folders in the destination volume or folder with the same name as the source volume or folder. This option does not apply to Full or Incremental backups.
If you have multiple sources selected, it is automatically selected (and cannot be turned off). It cannot be selected for Synchronization. If this option is selected for a Clone backup of a bootable volume, the resulting backup will not be bootable.
Missing Items
You may choose one of the methods for handling files and folders that exist in the destination volume or folder that are missing from the source volume or folder (this option applies only to Clone, Simple Copy, and Synchronize).
Leave - do nothing, leaving the old files in place.
Delete - remove the file, permanently
Move to Trash - put the file in the Trash to be removed later
Compress Files
You may choose this option to minimize the space required for your backed up files. When ‘Compress files’ is checked, all files copied to your destination drive/folder will be compressed with an algorithm called Gzip.
This standard compression protocol ensures that you will be able to access your backed up data using standard operating system utilities. Even though all files are compressed during the backup process, you will be able to see the files individually using the Finder, and you will be able to double-click on the backed up files which will cause them to be uncompressed automatically. Overall, in general, compressed files will have their size reduced by approximately 50%.
Encrypt
You may choose to protect your backed up files from unauthorized access by Password Protecting your backup. When ‘Encrypt’ is check marked, all files copied to your destination drive/folder will be encrypted with AES-128 algorithm.
This standard is the latest encryption standard approved by the U.S. Government for sensitive documents. Encryption can be used in conjunction with the compression option explained above. When the encryption option is selected, when starting or scheduling your backup, you will be asked for a password which can be used during the encryption process. This password will be used to encrypt an RSA private key. You can also enter a hint which will be shown when you restore from the backup.
Encrypted backups are extremely secure. If you lose your password, you will not be able to access the information in your backup.
Please note that once you select an encryption key, it is stored in encrypted format in the destination drive/folder and will be used for all subsequent backups in this backup set. Because of the secure nature of the encrypted backup, you may not reset this key under any circumstance.
Even though you can see your encrypted files by browsing within the file, you cannot access them unless you restore them from within Data Backup. You will be required to present your password during the restoration process.
Please Note: The compress and encrypt options are not available for the clone backup type.
Step 7
You are now ready to run your custom backup. You can save the set by pressing the ‘Save’ button in the bottom right of the window. If you do not press this, Data Backup will ask if you’d like to save the set when you run the backup. Press the ‘Start Now’ button in the upper right to run your custom backup.