Creating a Drive Genius 3 Lion Startup Disk
Creating a bootable Startup disk with a macOS installed on it to run Drive Genius 3 is the preferred way to run and access all features. When you run Drive Genius 3 from a startup disk you will boot and launch the application much faster and eliminate the need for paid future DVD updates. Additionally you can access the internet and other utilities like Apple’s Disk utility or Data Rescue 3 for more severe needs.
Follow the steps below to format your startup disk and install Lion. These general steps are designed to help you get started and they do not substitute Apple’s recommended support documents. In some cases a few steps may not be listed based on your configuration or hardware needs, however they can typically be answered with personal information or wireless connectivity settings. Please visit Apple’s support page for the latest and complete information on restoring Lion: https://support.apple.com/kb/HT4718
Step 1: Format your Lion startup disk
The very first step is to identify your storage device your going to use and back up any files on it if needed and format it with a GUID partition table. You will need at least 32GB or more for this exercise. You can use various devices like external USB, Firewire, SDHC or SDXC card, or a Thunderbolt storage device.
Step 2: Access the Lion Recovery mode to start the installation
Now that your storage device is formatted with a GUID partition you are ready to install Lion to it. Follow the steps below to access the Lion Recovery Partition and install Lion to your storage device and create your Startup Disk.
1. Restart your Mac and hold down the “option” key until you see the Lion recovery partition.
2. Select the recovery partition icon and click the arrow to proceed.
3. The recovery partition allows you to install a new copy of macOS Lion by clicking on the “Reinstall macOS” icon.

4. After selecting the reinstall option follow the prompts.
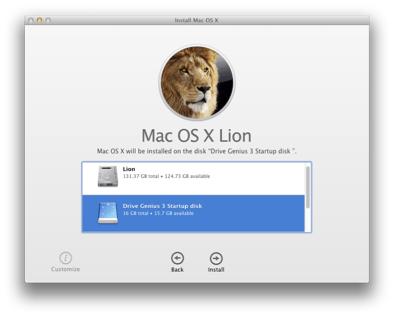
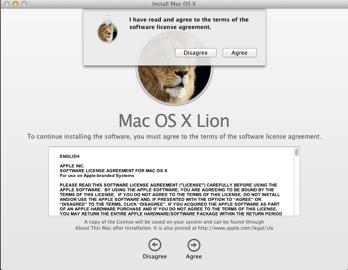
When choosing your destination pay close attention and select your external storage device that you previously formatted for this purpose and not your internal boot volume. After selecting Drive Genius 3 Startup Disk agree to terms of the license.
Depending on which mac you have and how Lion was installed, you may be prompted to verify your eligibility to install Lion with your Apple ID if you made the purchase on the Apple or App Store. Additionally if you have a 2011 Mac Mini or MacBook Air or newer you will have a slightly different install path and go through the Lion internet recovery option. You will need to be connected to the internet to do this and additional time will be needed to download Lion.
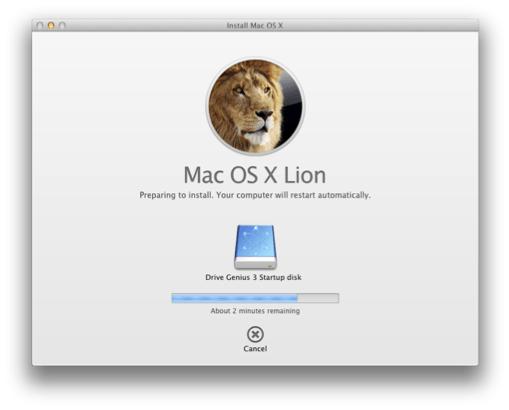
Installation can take up to 10-45 minutes to copy all the necessary files and install Lion. During the installation you will have to answer some basic setup questions and if you want to transfer files from your current volume. If you are using a 32GB drive or volume you need to choose “Do not transfer files”, to minimize the Mac OSX size.
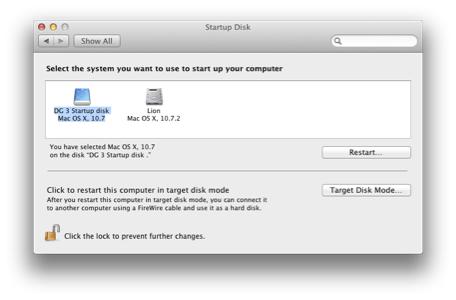
5. After the Lion installation is complete it will prompt you to restart and start using lion. After restarting hold the “Option” key down until you see the “Option” Menu. Now you can will see your DG3 Startup Disk icon and simply click the arrow to boot from it.
6. Upon rebooting you will install Drive Genius 3 to the applications folder and launch it from your startup disk like you would any other app. Now that you are running Drive genius 3 from a separate startup disk you can use all of the features on your internal Mac HD drive.
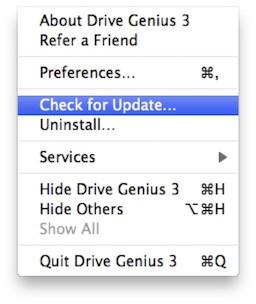
If a new version of Drive Genius 3 is released after you have created your Lion startup disk it will be detected by the app, or simply select Drive Genius 3 from the menubar and click “Check for Update..”. Drive Genius 3 will update its self and there is no need to purchased or burn a DVD ever again.