Data Backup with a Network Attached Storage Device
Backing up to a network attached storage (NAS) device is simple and straightforward with the latest version of Data Backup. A NAS device can serve as a central location to store your files for access from all devices that are connected to your network. This post will detail the steps you can take to get your network attached storage device ready for a NAS data backup with the Data Backup software.
You will need to have Data Backup installed on the source computer that contains your important files, and of course you will also need access to a shared NAS device on your network. Read on as we discuss how to access your NAS on Mac, adding your NAS to backup set, and other information related to the process.
Connecting to Your NAS Device on Mac
If you have never used a NAS before, you may need to configure it according to your device manufacturer’s instructions. Once the device has been configured it can be accessed as follows:
Select Finder as your current application by clicking the desktop or the Finder icon in your Dock.
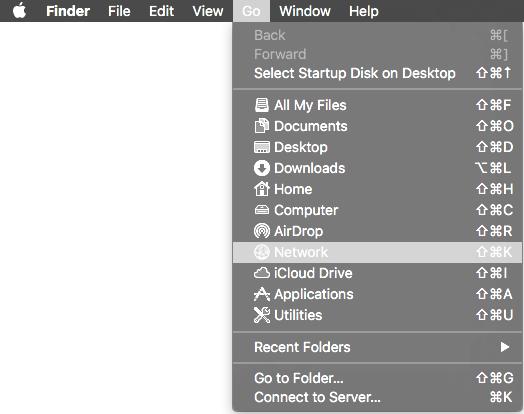
Select the Go dropdown menu in the menu bar at the top of the screen, and choose the Network option as shown in the screenshot below (Or use the keyboard shortcut CMD + Shift + K):
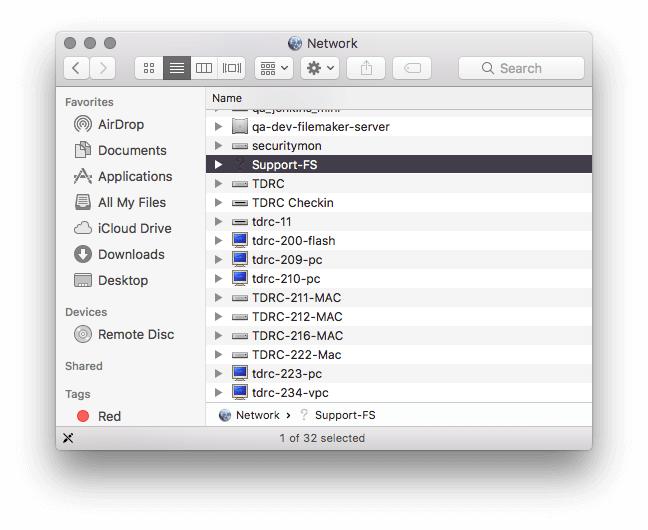
Select your network attached storage device from the Network window that opens. In this example, we will be backing up to a Drobo 5N device named Support-FS.
You have now accessed the root of your NAS device! In the screenshot below you can see several Sharepoint locations that can be selected.
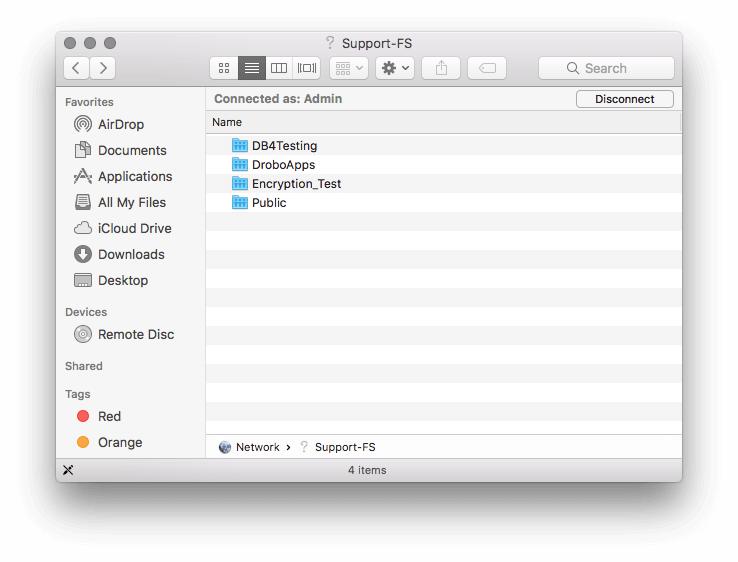
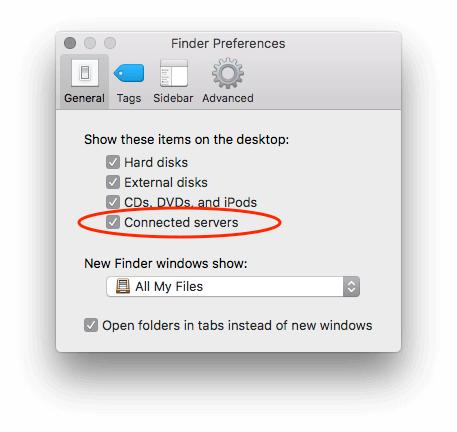
Bonus Step! I have double clicked on DB4 Testing in the above screenshot, which is an empty location we will be using in our example as a destination for files. After double clicking a location on the NAS, the location may be viewable as an icon on your desktop, which can be easily dragged into Data Backup when configuring your setup. If you do not see your network location added to your desktop, this can be enabled in the Finder preferences by going to the Finder → Preferences dropdown menu and checking the ‘Connected Servers’ option in the general tab under ‘Show these items on the desktop’ as shown below.
Performing a NAS Backup with Data Backup on Mac
Now that we know how to access a network attached storage device on Mac, we can easily select it as our backup destination using Data Backup. A network attached storage device can be used with both pre-set and custom backup sets. For the purposes of this guide, we will be creating a new custom backup in order to backup the Documents folder to the NAS shown in the previous section, but you can select any folder/drive you’d like as your source. Follow the steps below to perform a NAS data backup:
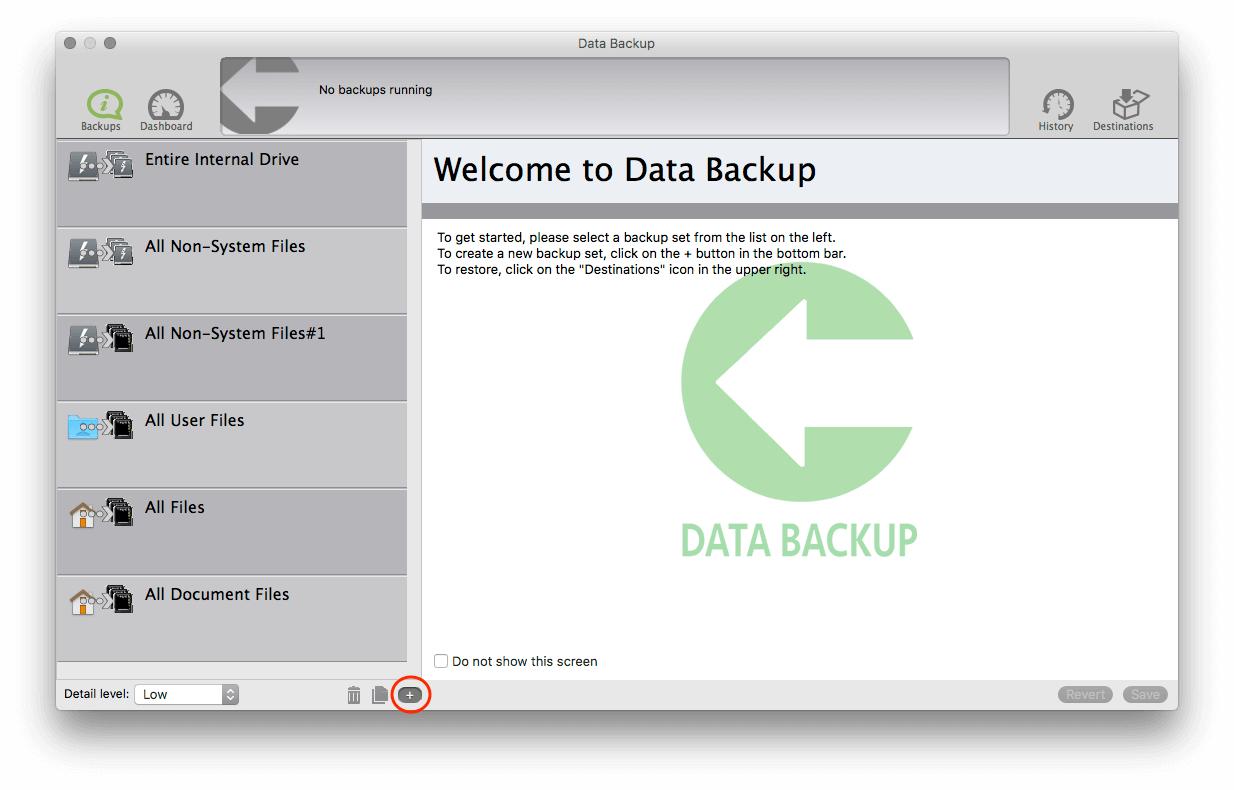
Create a new backup set by pressing the plus icon in the bottom left of the Data backup window as indicated in the screenshot below. You can also go the the File → New Backup Set dropdown menu option to create a new set.
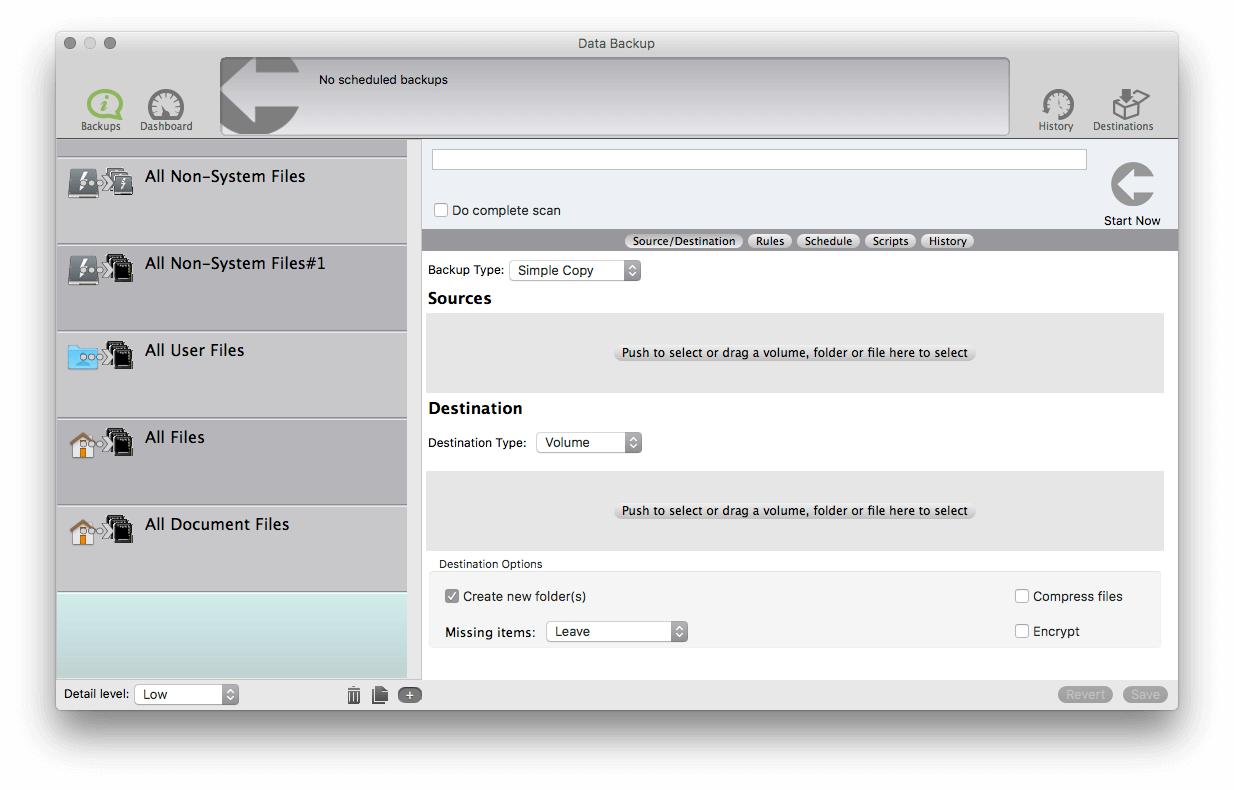
Your new backup set will be blank as shown below:
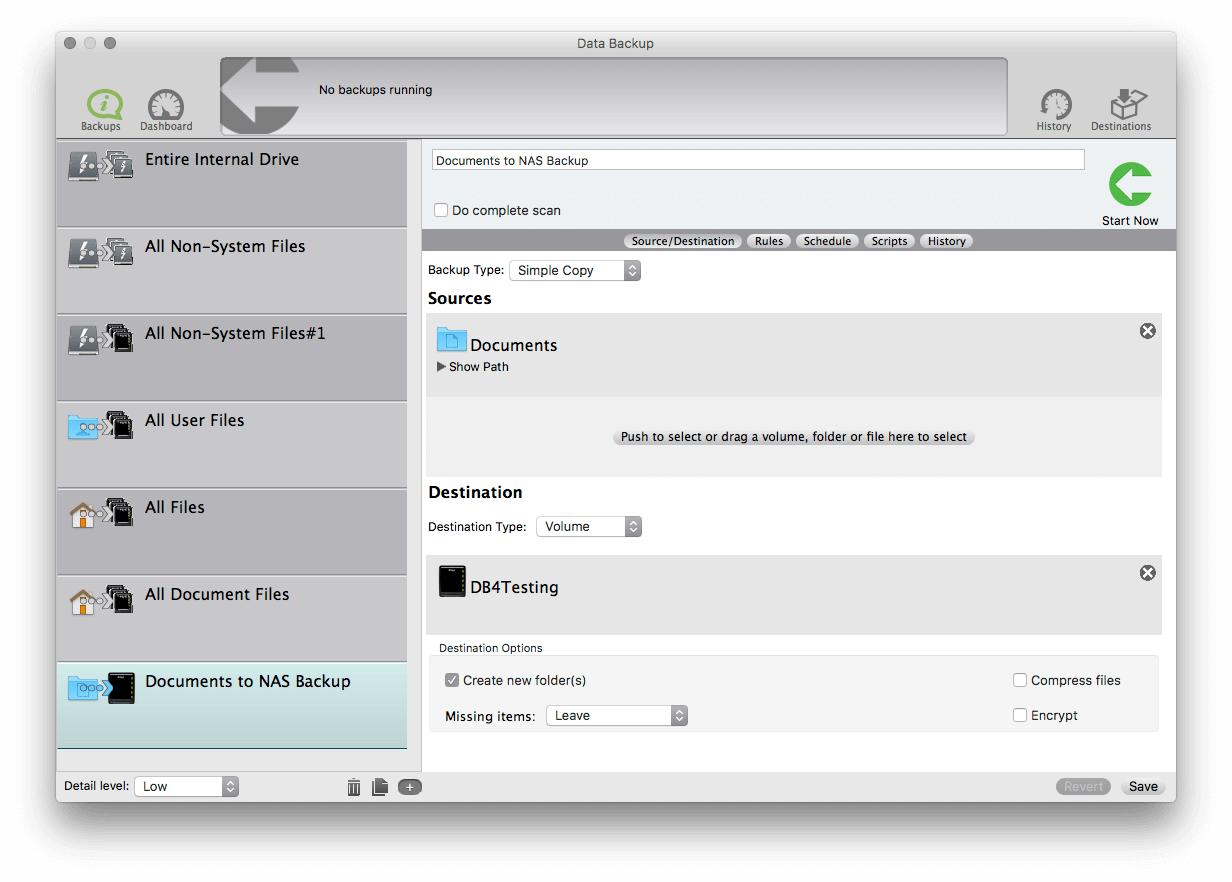
You can name your backup set in the text field at the top of the backup. In our example we will be naming it Documents to NAS Backup which you can see in the screenshot following these configuration steps.
Select your backup type in the dropbox above Sources/Destination, we will be using a Simple Copy for the purposes of this example.
Click the Sources area to select your files/folders/drives you would like to back up. You can also drag a file/folder/drive into this area to add it to the set. For this example, we have dragged the Documents folder of this computer to Sources.
Click the Destination area to choose your NAS storage device. Alternatively, you can drag it from your desktop into the area if you followed the extra step from the last section to make it visible on your desktop. You can also use the method described to access the device from the Finder dropdown in the first section to drag a NAS location to the destination. We will be dragging the DB4Testing from our example off of the desktop into Destination.
Configure any additional settings as you would like, and your completed set should look similar to the one below:
You are now ready to run your NAS backup with Data Backup by pressing the Start Now button in the upper right of the window! You may be prompted to save your set, which is useful if you’d like to run this backup again to update changed/removed files or if you’d like to set up a schedule for your backup to run at specific times.
You can verify that your files have been successfully backed up by accessing your network attached storage device as described in the first section. Data Backup also performs file verification, and will report if any files are missed by notifying you that the backup has ‘Completed with errors’. If you see this you can check the History tab of the backup to see which files were not transferred, or why a backup has failed. Otherwise, if the software reports that the backup has completed successfully, you can trust that all selected files/folders were successfully backed up.
Final Thoughts
Performing a NAS backup with Data Backup is designed to be nearly identical to configuring a traditional backup to a locally connected device. This makes it easy to move large collections such as music, movies, TV shows, and other data to a central location you can access from all of your devices in your home. By adding this extra layer of protection by moving your files to a remote device, you can prevent data loss from situations such as spills, floods or fire, depending on where your network attached storage device is located. And of course if you experience any issues, we welcome you to contact our free support team for further assistance with your NAS backup.
About the Author
Ryan O.
My name is Ryan and I provide technical support and perform software testing for Prosoft Engineering, to ensure we provide customers with the best software experience possible. I also provide customer service for clients at The Data Rescue Center that have physically damaged devices. I enjoy helping customers maximize their chance of recovering and protecting their files, regardless of their potential data loss situation.