Recovering Data from a Mac RAID Array
Today, I spoke with a MacBook Pro user regarding lost files on an external hard drive due to a hard drive failure.
He purchased Data Rescue and ran the scan on the external drive to get the .mov movies originally recorded on his home camcorder. After Data Rescue finished scanning the drive, he recovered the files; but the files would not open. This is when he reached out to our support staff, to find out if the movie files could actually be recovered.
I told him that Data Rescue supported .mov file recovery and many Mac users use Data Rescue to recover them. His particular problem seemed to have something else at the heart of the matter. Time for some low-level, technical support guru investigating!
Do You Know You Have a RAID?
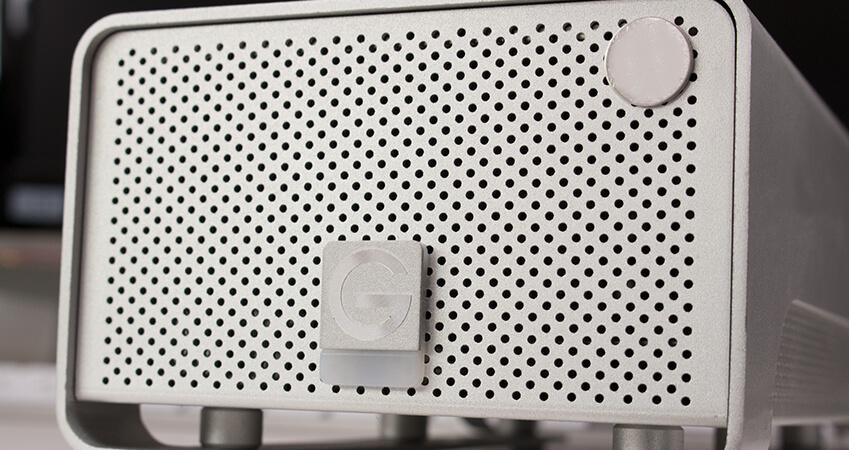
After enquiring, I found out that the .mov files were inside of a hard drive enclosure that had two drives in a RAID array. In fact, the user had no idea that he had a RAID configuration and was surprised to learn that this was the issue preventing a successful scan. It turns out that he was running a scan on the individual drives separately, when the files were actually spread across the two drives.
I told him that Data Rescue has the capability to recover from the two drives attached to the Mac in a RAID array. Here’s how:
If the RAID array is still intact, you should see it as a single hard drive within the “Select Drive” screen of the software. If so, you will not need to set up special parameters. You can immediately begin scanning the drive. This can be done with the standard license of the software.
However, if you are suffering from more severe data loss and your RAID array is displayed as two separate hard drives, recovery through Data Rescue is still possible, but you will need the advanced tools only included in Data Rescue Professional to reconfigure your RAID array through the software itself.
Note: You can try out the professional mode in the demo version of the software to test your specific configuration.
Data Rescue Supports 2 Basic Types of RAID
Stripe – This is also known as RAID-0. As data is read sequentially from the RAID set, it comes first from the first component drive until a stripe-sized amount has been read, then the next data comes from the second component drive, and so on, in round-robin fashion.
JBOD – This is not an official RAID level, but rather a way to make multiple hard drives appear as one big drive by concatenating them together. As data is read sequentially from the RAID set, it comes first from the first component drive, until the end of that drive is reached, then continues coming from the second component drive, and so on until the end of the last component drive.
New in Data Rescue 5 is the Auto-Detect button, which will enumerate through each supported RAID type and common stripe sizes (if applicable) and performs a quick scan with each configuration. If files are discovered through the scan, then that configuration state is saved. When completed, a list of states discovered will be presented and a result can be chosen.
Once the RAID set has been added, it can be selected to scan for data. In some cases, data may not be opened properly when recovered if the drives are not arranged in the correct order.
For more information on RAID-related recoveries, check out this blog.
Add Your RAID to Data Rescue
The Add Virtual RAID in Data Rescue Professional allows you to simulate a RAID configuration based on the RAID functionality built into Mac OS. This is helpful in case a RAID configuration fails to mount or be recognized as a single volume.
Note: Add Virtual RAID does not attempt to fix or repair a RAID set. Instead, the RAID is configured through Data Rescue for the purpose of scanning for data.
In order to input your RAID configuration into Data Rescue, you will need to know how your RAID was originally setup; and how large the stripe size would be.
Once the RAID array has been added, it can be selected to scan for data. In some cases, data may not open properly when recovered because the hard drives were not arranged in the correct order. It is imperative that you select the RAID members in the correct order for the best results.
To simulate RAID configurations in Data Rescue Professional, please follow these steps:
If you are not already in the Professional Mode of the software, go to the View → Switch to Professional Mode from the drop down menu option.
Click on the Add Virtual RAID icon at the top of the window.
When the window opens, the Available Drives list shows all drives that Data Rescue can access. Select one or more drives and click Add to append them to the RAID Members list.
Once a drive is added to the list it can be removed via the Remove button, or its position altered via the Move Up and Move Down buttons.
Select the configuration type and stripe size, if applicable.
Once the RAID set has been added, it can be selected to scan for data. In some cases, data may not be opened properly when recovered if the drives are not arranged in the correct order.
Troubleshooting Your RAID Recovery
If data is not being recovered properly from the RAID, we suggest the following steps to troubleshoot the issue:
1. If you are running on a Mac, you will want to adjust the Allocation Block layout and re-attempt the recovery until all options are exhausted or the files are recovered. When you open the Allocation Block layout in the View tab you may see multiple options to select from. What this is doing is telling the software to start reading the data from a specific location of the drive. Depending on your setup, you may see only a single option or multiple options to select from the Allocation Tab.
Note: While in the Mac version, you can simply alter the starting point from within the Scan Results screen. In the Windows version, you will need to setup the offset and size information manually through the driver editor. This process is only recommended for advanced users who know their exact RAID configuration.
2. Redefine the RAID set by using Add Virtual RAID, and drag to rearrange the order of the hard drives/volumes. Data Rescue does not currently support editing an existing RAID set. To change the configuration, you must define a new RAID set using the different parameters.
No Matter the Failure, Prosoft Has You Covered!
Data Rescue, quite simply, is the best performing Mac recovery software; especially when it comes to recovering files from a RAID. In the times of a simple failure, Data Rescue can recover your data from a RAID Array with no additional setup, yet still provides the in-depth tools needed to perform recoveries on Arrays that are more significantly damaged.
While the best practice to keep yourself safe from data loss is having valid, active backups, Data Rescue (as well as The Data Rescue Center) have your back in times when you need to be rescued.
About the Author
Matt W.
My name is Matthew and I am a Technical Support Representative for Prosoft Engineering as well as our sister company, The Data Rescue Center. I am a people person and it is my passion to help others successfully use, and maximize the potential of their hardware and software.