Data Recovery for Other Storage Media Devices
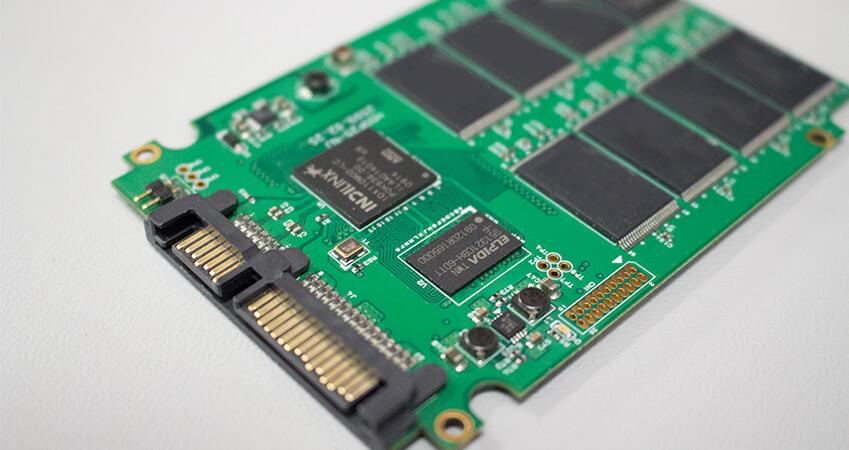
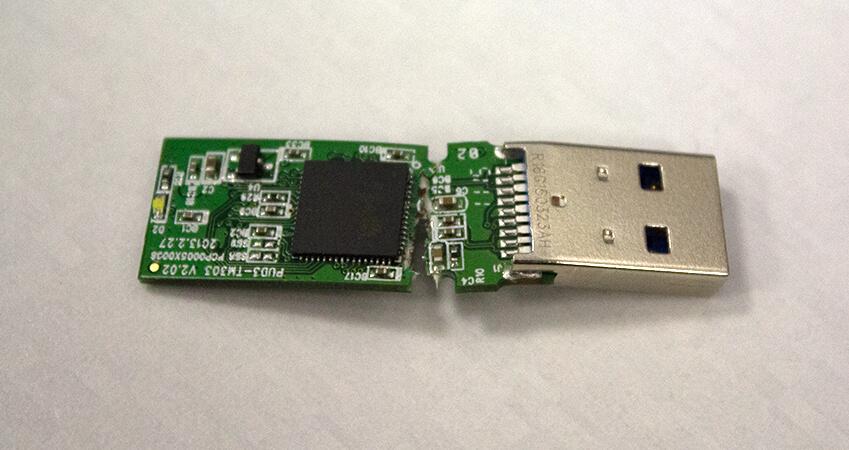
Although hard drives remain the primary storage device for most computer users, they are not the only storage mechanism that people use. In addition to a computer’s internal hard disk, users may also rely on other types of storage media such as the increasingly common Solid State Drives (SSD), external hard drives, USB flash drives, SD cards, CF cards, and more. What a lot of people don’t realize is that these alternative types of storage media can sometimes be prone to failure, and you may (in some scenarios) have to attempt a data recovery for media other than hard drives.
Attempting data recovery on media other than hard drives brings up two main questions. First, why does the potential for data loss exist on seemingly stable media with no moving parts, such as an SSD or SD card? Second, if data loss or data corruption does occur, how can you fix the problem and get your data back?
How Data Loss Can Occur
Let’s start by talking about some of the reasons why data loss or data corruption might occur on your device. Problems with the data on removable media tend to have two main causes – physical damage and logical wear.
SD cards and similar types of flash media (such as SSDs) tend to be extremely reliable. Even so, it is possible to physically damage an SD card. It could be as simple as damaging an SD card by dropping it on the floor or accidentally rolling an office chair over it. However, the damage is more often caused by the ways in which SD cards and similar storage devices are used.
Two of the most common devices in which SD cards are used are cell phones and cameras, both of which tend to get dropped from time to time. Some devices, such as extreme sports cameras, tend to take even more physical abuse.
If you are the owner of one of the popular GoPro cameras, all of which use SD media, you know that the device can occasionally take a drop or other physical impact. Considering the abuse that these cameras take, they do an excellent job of protecting the storage device within them. Even so, we put these cameras through a lot by using them in all kinds of situations, including: onboard RC aircraft (which sometimes suffer rough landings), speed boat racing, scuba diving, spelunking, off-roading, skiing, snowboarding, skydiving, and other extreme sports. Needless to say, we can easily cause damage to cameras and to the media that they contain through regular use.
The other reason data loss and data corruption may sometimes occur on SD cards or other removable media is because solid state media (including SSDs, SD cards and USB memory sticks) store data within flash memory. Flash memory cells eventually wear out. Modern flash storage devices can typically handle a limited number of read/write operations, afterwhich they become unuseable. However, formatting such a device can shorten its lifespan since formatting may interfere with the device’s logical wear leveling mechanism. Flash cells can also fail prematurely if the card is exposed to static electricity. Files on a flash-based device can also become inaccessible if a portion of the data becomes unreadable due to corruption.
The bottom line is that although SD cards and other forms of flash media tend to be extremely durable, they can and sometimes do fail. When such a failure does occur, the device’s data may be lost. This can be especially worrisome since such devices often contain irreplaceable items, such as personal photos and videos.
How You Can Get Your Data Back
So what can you do if data loss or data corruption do occur on an SD card or other external storage device? The good news is that data recovery tools such as Data Rescue can usually be used to recover data from logically failing removable media. If you have suffered from physical failure of the device, The Data Rescue Center, specializes in physical recovery services.
How is recovery with software possible? Well, a removable media device isn’t all that different from the hard drive inside your computer. In fact, if you connect an SD card or a USB flash drive to your computer, it is usually made accessible through your operating system, just like the computer’s internal hard disk. Furthermore, removable storage devices use file systems that are similar to or the same as those used on hard drives.
SD cards and other external drives use the same types of file systems that internal Mac drives do. For example, they use file systems such as HFS+ or even the new APFS with the latest release of macOS 10.13 High Sierra. The actual file system used varies depending on the card’s capacity, manufacturer, intended use, and age. You may have also reformatted the device to a desired file system, overwriting the device’s initial file system from the manufacturer.
HFS+ has been the dominant file system in the Mac world for many years, and more recently APFS was introduced. Utilities that are designed to recover data from a damaged or corrupt hard disk usually work by analyzing the file system and attempting to reassemble the data. Because such utilities work at the file system level, they will work for any storage medium that uses a compatible file system, regardless of that media’s physical form factor. Data Rescue also has the ability to look for files based on known file patterns if the file system is damaged or otherwise inaccessible, making it a powerful recovery tool in almost any situation.
For a quick guide on recovering from flash-based storage with Data Rescue, check out the next section as we walk you through the steps for recovery from a device other than a hard drive.
Recovery from Flash Storage Using Data Rescue
In this guide we will be recovering images that were lost on an SD card, a form of flash storage commonly used with phones, cameras, and other digital media devices. Follow along with these steps to perform recovery.
Note: For best results we recommend connecting your SD, CF or other flash storage device using a USB card reader rather than directly connecting the card or connecting your camera device to the computer with the card left in it.
Step 1: Downloading and Installing Data Rescue
The first step in recovering from your reformatted drive is to download and install the software. If you have already installed Data Rescue you can skip to the next section. The software can be downloaded directly from our website on our Downloads page. After the download has finished, open the Data Rescue DMG file. A window will open with the Data Rescue logo. To install the software, you will want to drag the icon into your Applications folder as pictured below:
The software is now installed and can be launched from your Applications folder. You will be prompted to enter your name and asked for either your demo or purchased serial number. After entering that information, you will be taken to the Welcome screen and are ready to select your reformatted drive for scanning.
Step 2: Selecting Your Device For Scanning
Select ‘Start Recovering Files’ from the Welcome screen and you will be taken to the Source Selection screen pictured below.
In this example we have connected our SD card through a Lexar USB card reader. We are selecting the top level of the device (Lexar Pro LRW400 -1) as opposed to the partition (SD Card) as this will provide the best scan results. Press ‘Next’ after selecting your source device to continue.
Step 3: Selecting A Scan Type
After selecting your source device you will be taken to the Scan Selection screen pictured below.
Form the Scan Selection screen you can choose either a Quick or Deep Scan. A Quick Scan will examine the drive for files using existing file system directory information, whereas a Deep Scan will find files from deleted or reformatted drives by using known file patterns. For the most comprehensive results, we recommend choosing the Deep Scan. After selecting your scan type, press ‘Start’ to begin scanning.
Step 4: Marking Files For Recovery
After your scan has completed, you will be taken to a Scan Results screen similar to the one below.
In the above image we have gone into the Reconstructed Files/Images folder as we were looking for lost images. We have marked a few of the images for recovery in the above example. For common file types, you can highlight a single file and use the ‘Preview’ button in the upper right corner to view the file before recovery.
Once you have marked the files you need to recover, press the ‘Recover’ button in the lower right. You will be asked to select a recovery destination which can be any location other than the device you have scanned. This prevents lost files on the source device from being overwritten. Once the recovery is complete, you can go to the recovery location to access the files normally.
Summary
While in our example we have recovered from an SD card, it is important to remember that recovery is possible from almost any storage media, including: HDDs, SSDs, flash-based storage such as CD cards and USB drives, and more. All of these devices are susceptible to logical data loss and physical damage that makes files inaccessible. Fortunately, both of these scenarios can be addressed through either the Data Rescue software or The Data Rescue Center services to get your important data back.
About the Author
Ryan O.
My name is Ryan and I provide technical support and perform software testing for Prosoft Engineering, to ensure we provide customers with the best software experience possible. I also provide customer service for clients at The Data Rescue Center that have physically damaged devices. I enjoy helping customers maximize their chance of recovering and protecting their files, regardless of their potential data loss situation.